


Light switches are a crucial part of any home’s electrical system, yet for many homeowners, wiring one can feel intimidating. The good news? Wiring a light switch is not as complicated as you might think. With the proper guidance, it’s a straightforward process that anyone with basic DIY skills can accomplish safely.
This blog will walk you through everything you need about wiring a light switch, including understanding diagrams, the tools you’ll need, safety tips, and a step-by-step guide to getting the job done. Whether installing a single-pole switch or upgrading to a dimmer, we’ve got you covered.
Why Understanding a Wiring Diagram is Important
Before you grab your toolbox, it’s essential to understand wiring diagrams as they act as roadmaps for your electrical project. A wiring diagram shows how wires are connected and where to go. You can easily identify whether you’re running power from the breaker box, a light fixture, or another switch by referencing it.
Key elements you’ll find in a wiring diagram include:
- Switch: Represents the light switch.
- Wire Connections: Marks where wires meet (often as dots or intersections).
- Neutral Wire: Usually white, it completes the electrical circuit.
- Hot Wire: It is usually black or red and carries electricity to the switch.
- Ground Wire: A bare or green wire providing a path for electrical grounding.
Understanding these components will help you troubleshoot issues and ensure your wiring project is successful.
Tools and Materials You’ll Need
You’ll need some basic tools and materials to wire a light switch. Here’s a quick checklist:
Tools:
- Screwdrivers (Phillips and flathead)
- Wire cutters/strippers
- Voltage tester
- Needle-nose pliers
- Electrical tape
Materials:
- Light switch (single-pole, three-way, or dimmer, depending on your project)
- Electrical box (if replacing or installing a new one)
- Electrical wiring (14-gauge or 12-gauge, based on your circuit’s requirements)
- Wire connectors (commonly called wire nuts)
Having the right tools and materials will ensure that your project goes smoothly from start to finish.
Types of Light Switches
Not all light switches are created equal. Selecting the correct type for your project is crucial. Here are the most common options:
Single-pole Switch
This is the most basic type of light switch, controlling a single light fixture or outlet. It has two terminals (plus ground) and is ideal for simple on/off functionality.
Three-way Switch
A three-way switch lets you control a light fixture from two locations. These are commonly found in hallways or staircases where multiple switches are convenient.
Dimmer Switch
Dimmer switches allow you to adjust the brightness of a light. They work with specific types of bulbs, including LED-compatible dimmers.
Smart Light Switch
Want to modernize your home? Smart switches can be controlled via apps or voice assistants like Alexa or Google Home, adding convenience and energy efficiency.
Choose the right switch based on your needs, then move on to wiring.
Step-by-Step Guide to Wiring a Light Switch
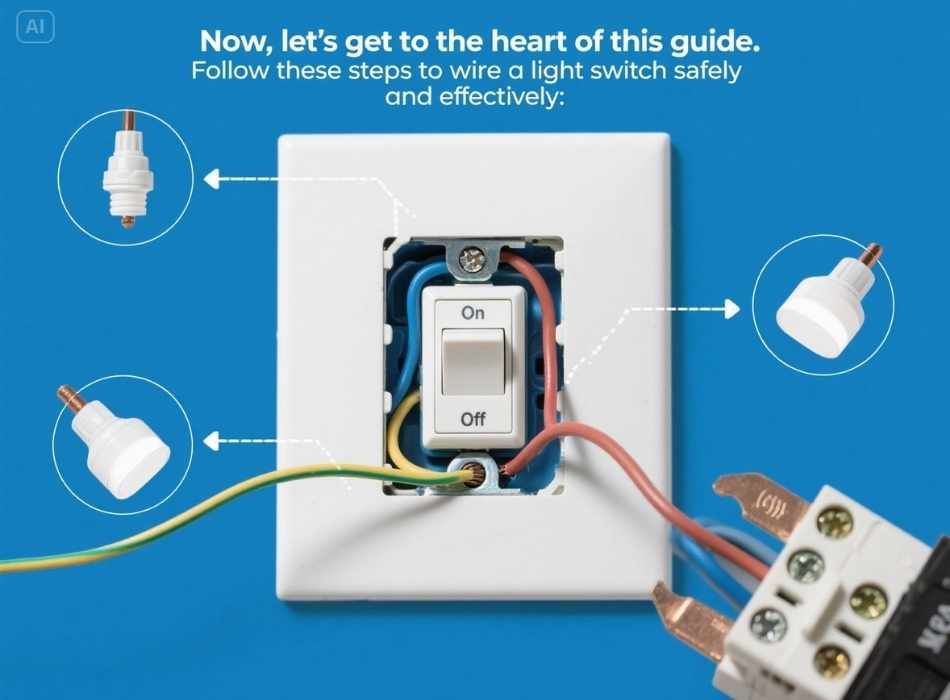
Now, let’s get to the heart of this guide. Follow these steps to wire a light switch safely and effectively:
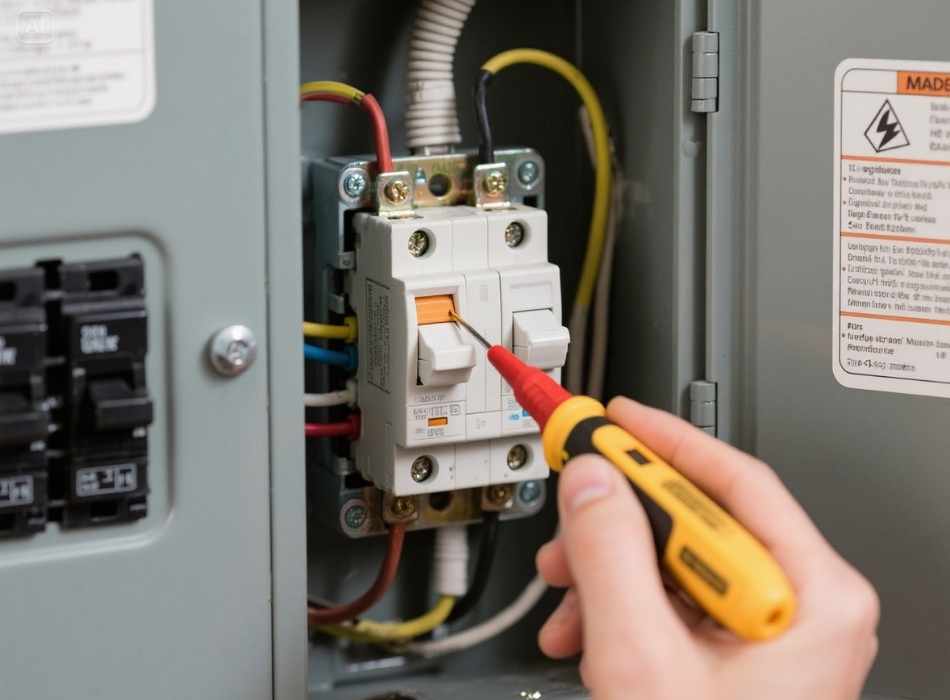
1. Turn Off Power
Safety is paramount. Locate your home’s breaker panel and turn off the circuit, powering the light switch. Use a voltage tester on the existing wires to confirm there’s no electricity running through them.
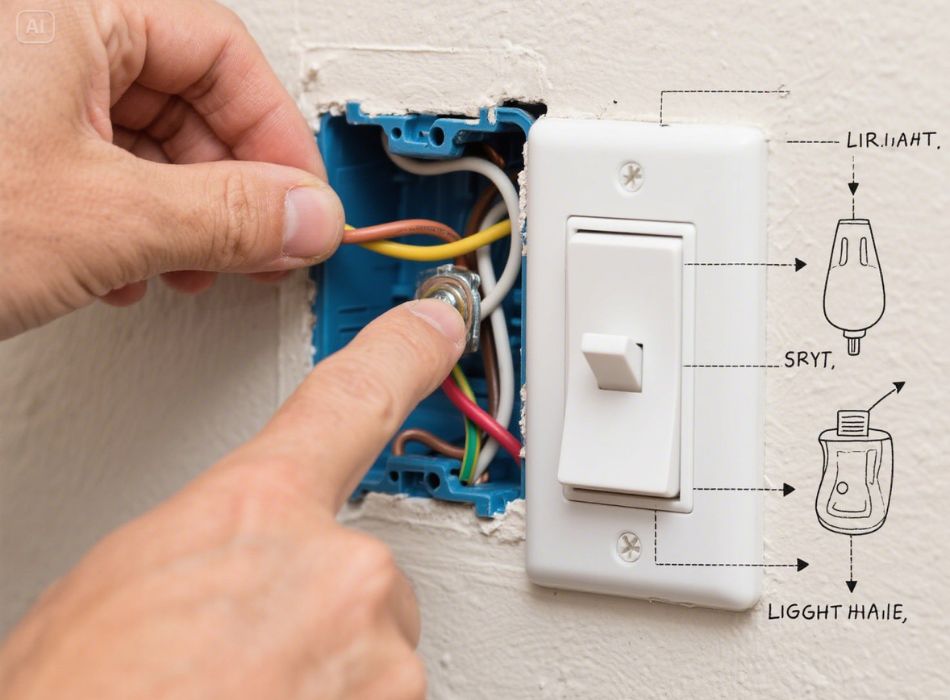
2. Remove the Old Switch (If Replacing)
- Unscrew the switch plate.
- Use a screwdriver to detach the current switch from the electrical box.
- Disconnect the wires attached to the switch, noting where each Wire is connected.
3. Prepare the Wires
- Inspect the wires for any damage. If the ends are worn or frayed, trim them with wire cutters.
- Use a wire stripper to remove about ¾ inch of insulation from the ends of each Wire.
4. Connect the Wires
Refer to your wiring diagram at this stage. The connections typically work as follows:
- Hot Wire (black): This connects to one terminal on the switch.
- Load Wire (black or colored): Connect the Wire running to your light fixture to the other terminal.
- Neutral Wire (white): This may not connect directly to the switch but will be twisted with other neutral wires in the electrical box.
- Ground Wire (green or bare): Attach this to the green grounding screw on the switch.
Secure each connection with a wire nut and wrap it with electrical tape for safety.
5. Install the New Switch
Push the connected wires back into the electrical box carefully, ensuring enough room for the switch to fit snugly. Align the switch with the electrical box and secure it with screws.
6. Attach the Switch Plate and Test
Screw the switch plate back on, turn the power back on at the breaker, and test your switch. If you’ve wired everything correctly, your light should function as expected.
Common Mistakes to Avoid
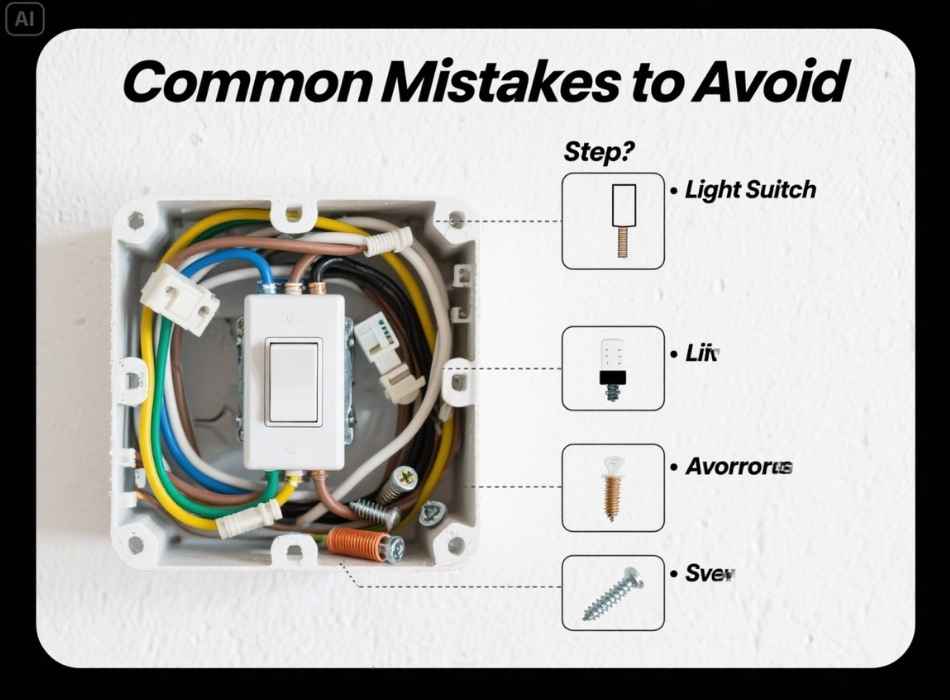
Wiring a light switch isn’t complicated, but there are a few pitfalls to watch out for:
- Not Turning Off the Power: Working on live wires is dangerous.
- Incorrect Connections: Miswiring could cause a short circuit or leave the light switch inoperable.
- Overcrowding the Electrical Box: Ensure all wires fit neatly without cramming.
Taking your time and double-checking your work will help you avoid these errors.
Safety Tips for Electrical Projects
Here are a few crucial safety tips to keep in mind:
- Always work in a well-lit area.
- Never touch exposed wires while the power is on.
- Wear rubber-soled shoes while working on electrical projects.
- Consult an electrician if you’re unsure about any part of the process.
Safety should always come first when dealing with electrical work.
Light Up Your Home with Confidence
Wiring a light switch doesn’t have to be an overwhelming task. You can complete this project safely and effectively with the right tools, materials, and guidance. By understanding diagrams, following the steps outlined above, and taking proper safety precautions, you’re well on your way to enhancing your home’s electrical system.
If you’re unsure or need further help, consult a licensed electrician. Taking the time to learn and execute this project saves money and boosts your DIY confidence.
Happy wiring!


