


Repairing a damaged door is a straightforward project for an experienced DIYer with the right tools. Whether it’s a hollow core or solid wood door, these steps will guide you through a professional-level fix that’s durable and aesthetically seamless.
Tools and Materials You’ll Need
For this project, you’ll need the following supplies. Experienced DIYers may already have many of these, but ensure all tools are in working order to avoid delays.
Materials:
- Low-expansion spray foam insulation (designed for windows and doors)
- Wood filler, auto body filler, or spackling compound
- Sandpaper (start with 120-grit; finish with up to 320-grit for a polished finish)
- Primer and paint (or matching stain if working with a stained wood door)
- Cardboard, newspaper, or paper towels (for hollow doors)
- Optional specialty materials for advanced finishing:
- RTV silicone rubber (to replicate texture for hollow doors)
- Polyester or acrylic resin (for finer custom textures on wood doors)
Tools:
- Utility knife
- Putty knife
- Sanding block or orbital sander
- Rubber gloves
- Hammer and flathead screwdriver (to remove the door from the hinges if needed)
- Sawhorses or workbench for a stable working surface
- Paintbrush and rags
Pro Tip: Wear old clothes and gloves while working with spray foam or filler, as they can be challenging to clean if spilled.
Step 1: Prepare Your Workspace and Door
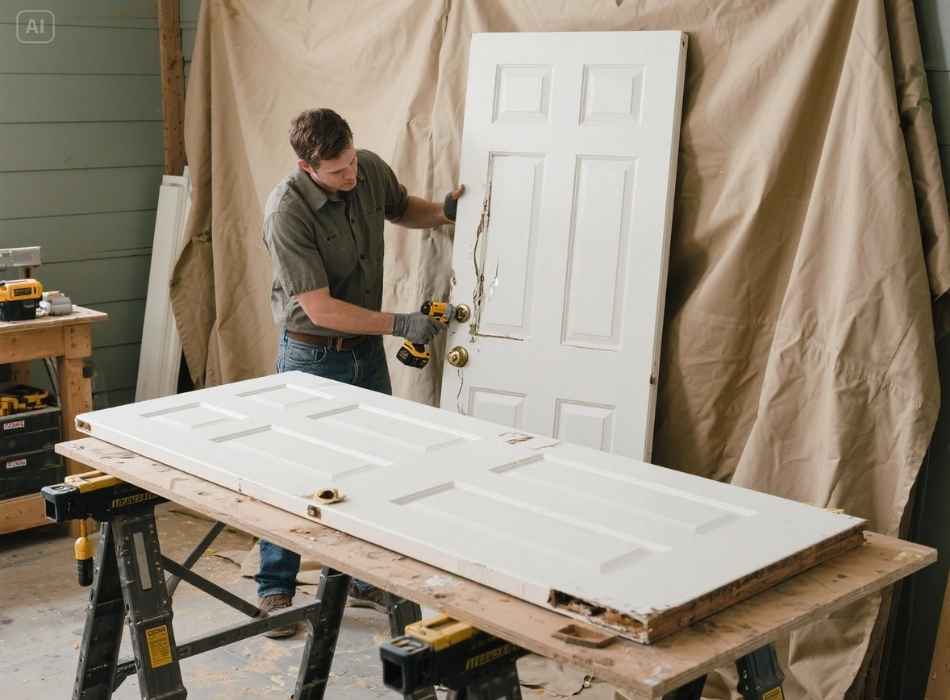
Remove the door from its hinges and set it flat on a sturdy surface like a workbench or sawhorse for best results. Removing the door gives you precision control during the repair process and keeps messes contained. If door removal isn’t an option, protect surrounding areas with drop cloths or tarps.
For Hollow Core Doors
Trim the rough edges of the hole using a utility knife. Smooth the perimeter gently to create a clean edge without compromising the surrounding door structure.
For Solid Wood Doors
Measure and widen the hole (if necessary) to fit a wooden dowel snugly. Use a dowel close to the hole’s diameter to minimize gaps once inserted.
Step 2: Fill the Hole
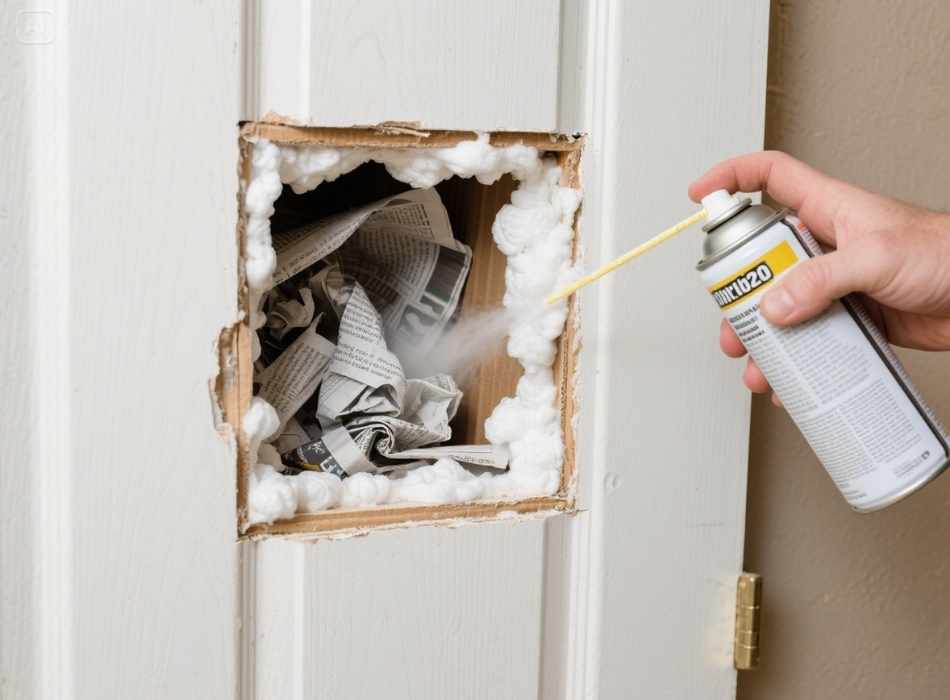
Hollow Core Doors
Insert balled-up newspaper, cardboard, or paper towels into the hollow cavity to form a firm backing for the foam. Pack the material tightly along the edges for a well-contained filling area. Follow spray foam instructions precisely, shaking the can vigorously beforehand. Insert the straw toward the back of the hole and spray in even circles until the cavity is two-thirds full.
Pro Tip: Over-filling isn’t a concern as foam expands while curing; overflow will be trimmed later.
Solid Wood Doors
Option 1: Fill the hole with spray foam (described above).
Option 2: Cut a dowel to match the depth of the hole, ensuring the dowel sits flush to the surface once inserted. Apply wood glue liberally before placing the dowel, tapping it in securely. For both options, allow 24 hours for complete curing or drying.
Step 3: Trim and Level the Foam
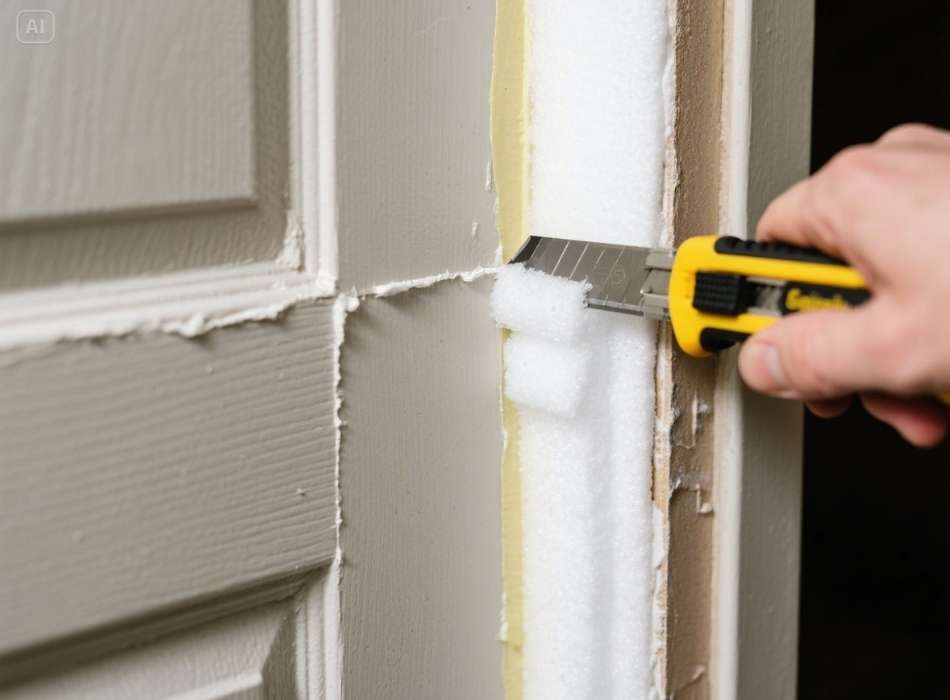
Once the foam has hardened, use a utility knife to trim the excess. Begin with a shallow, parallel cut along the door’s surface, shaving down until the foam is flush. If a slight indentation remains, it will be addressed in the filler application stage.
Step 4: Apply Filler and Smooth
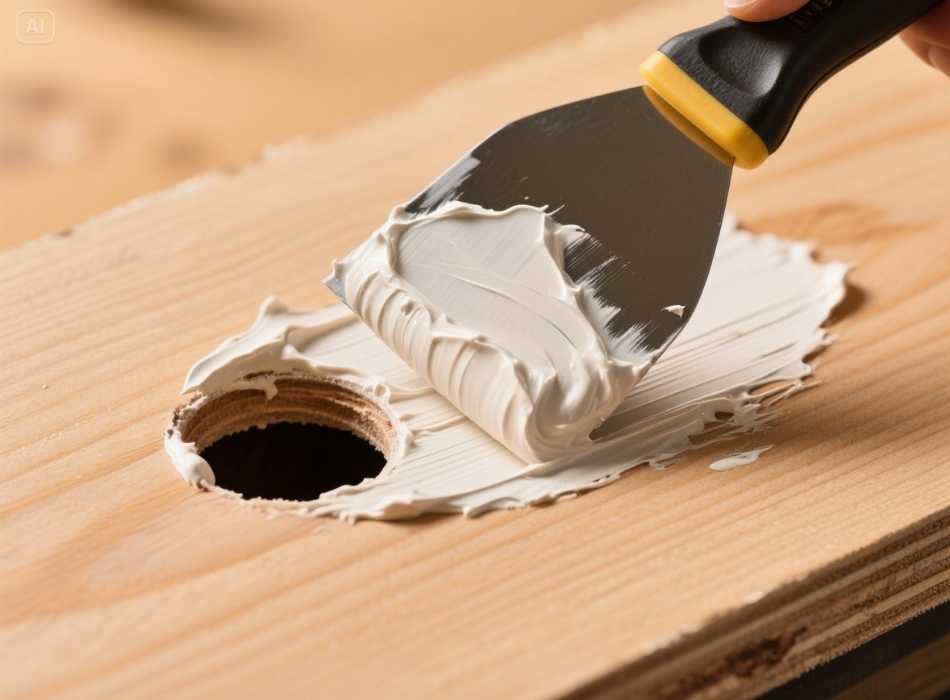
Use an auto body or high-quality wood filler for structural integrity and a professional finish. Auto body filler is highly durable and perfect for consistent wear and tear areas.
If using auto body filler, mix the base with the hardener according to the manufacturer’s instructions. Apply the filler generously utilizing a putty knife, ensuring it slightly overlaps the hole. Smooth it as evenly as possible while leaving enough excess to sand down later for a perfectly flush surface.
Allow the filler to cure completely before moving forward.
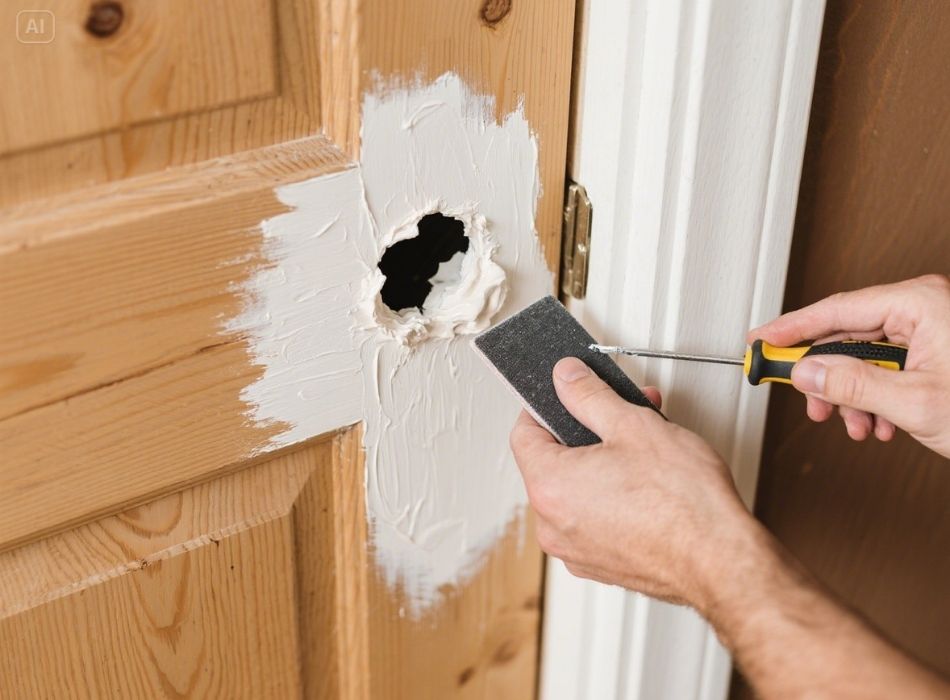
Step 5: Sand and Finish
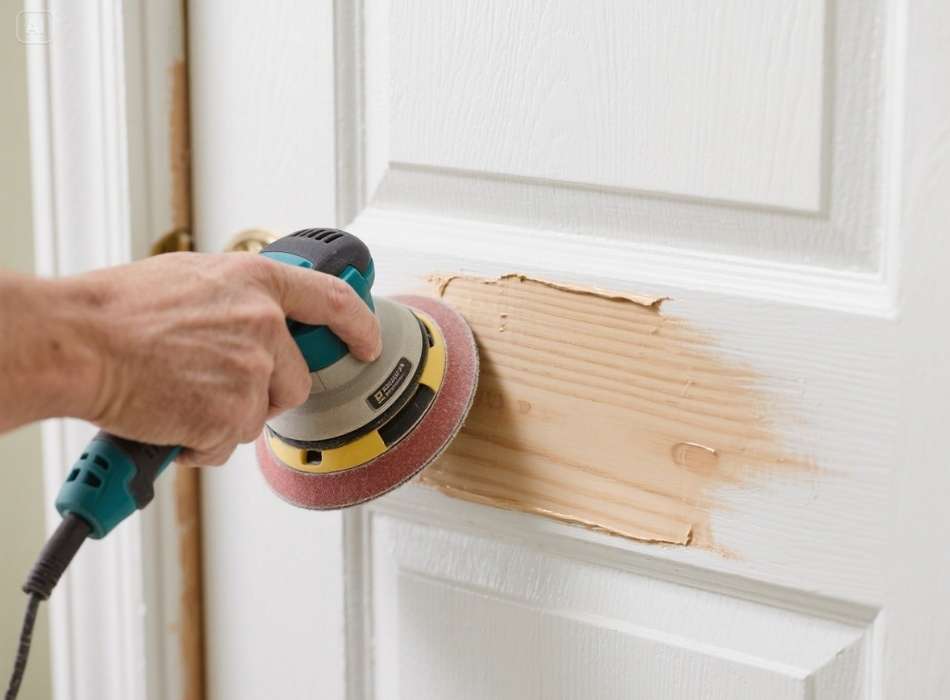
Begin sanding the filler with 120-grit sandpaper, then gradually move to finer grits (up to 320) for a polished surface. Use an orbital sander if the door is flat and non-textured for uniform results.
For smooth doors, finish by priming and applying two coats of paint. If you’re working with a stained door, use color-matched wood filler during Step 4 to avoid visible inconsistencies. However, restaining the entire surface is often necessary for a flawless look.
For Textured Doors
Advanced DIYers can replicate the door’s pattern using RTV silicone rubber or polyester resin. Create a texture mold from an undamaged door section, ensuring it sets firmly before applying it over the repaired hole.
Advanced Tips for a Seamless Finish
- Choosing the Right Filler: Auto body filler offers unparalleled durability for high-impact areas. Wood filler is a strong, economical alternative.
- Layer Your Paint for Consistency: Multiple thin coats of paint or stain create a more natural blend, reducing visible patchwork.
- Use a Finish Block: This tool ensures smooth, even sanding when working on intricate door profiles.
When to Replace the Door

Some damage exceeds repair, even for the most skilled DIYers. Consider replacing the door if:
- The hole is larger than 6 inches.
- Structural integrity is compromised (e.g., multiple holes, cracks, widespread damage).
- The door is a hollow-core exterior type, which offers minimal durability and energy efficiency.
Replacing a damaged door may provide an opportunity for an upgrade, such as installing a solid wood exterior door for better longevity and insulation.
Seamless Repairs and Pro-Level Craftsmanship
Repairing a damaged door is a satisfying project for any skilled DIYer. With attention to detail and high-quality materials, your door can look even better than before. Transform a simple fix into a showcase of your craftsmanship!
If you’re taking on multiple repairs or upgrades, double-check your tools and materials to ensure you’re prepared for your next project.
Summary of Changes
Included guidance on when replacement is the optimal solution.
Adjusted tone to appeal to experienced DIYers, incorporating professional and advanced tips.
Highlighted optional tools and processes for improved results (e.g., making texture molds).
Streamlined explanations for clarity, assuming familiarity with basic repair techniques.
Added advanced tips for a seamless, professional finish.


