


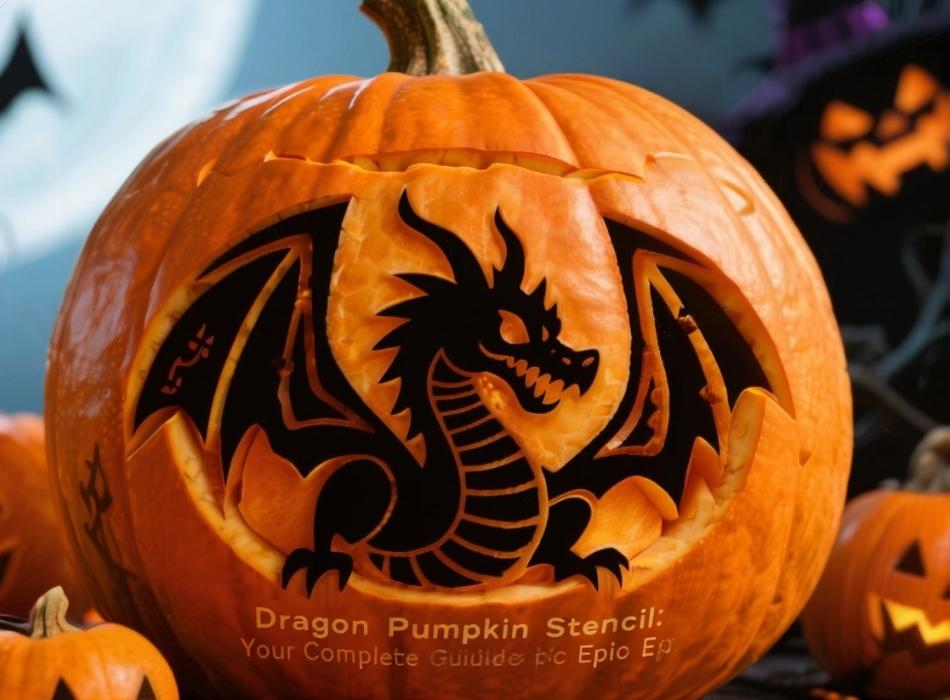
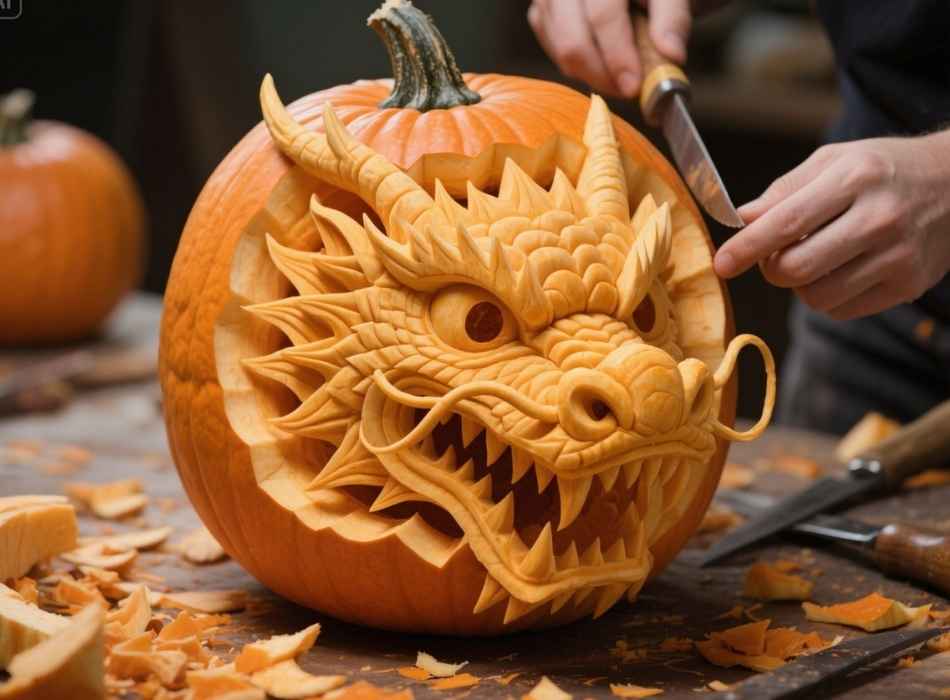
Halloween brings out the creative spirit in all of us, and nothing captures the magic quite like a fearsome dragon carved into a glowing jack-o’-lantern. Dragon pumpkin stencils offer the perfect opportunity to move beyond basic triangle eyes and crooked smiles, creating something truly spectacular for your front porch display.
Whether you’re a seasoned carver looking for your next challenge or a beginner ready to tackle something more ambitious, dragon designs provide endless possibilities. From simple silhouettes perfect for newcomers to intricate multi-layered masterpieces that showcase advanced techniques, there’s a dragon stencil suited to every skill level.
This comprehensive guide will walk you through everything you need to know about creating stunning dragon pumpkin carvings. You’ll discover how to choose the right stencil design, select the perfect pumpkin, master essential carving techniques, and troubleshoot common challenges. By the end, you’ll have all the knowledge and confidence needed to create a dragon jack-o’-lantern that will be the envy of your neighborhood.
Choosing the Perfect Dragon Pumpkin Stencil
The success of your dragon pumpkin largely depends on selecting the right stencil design. Dragon stencils come in various complexity levels, each offering unique advantages and challenges.
Beginner-Friendly Dragon Designs
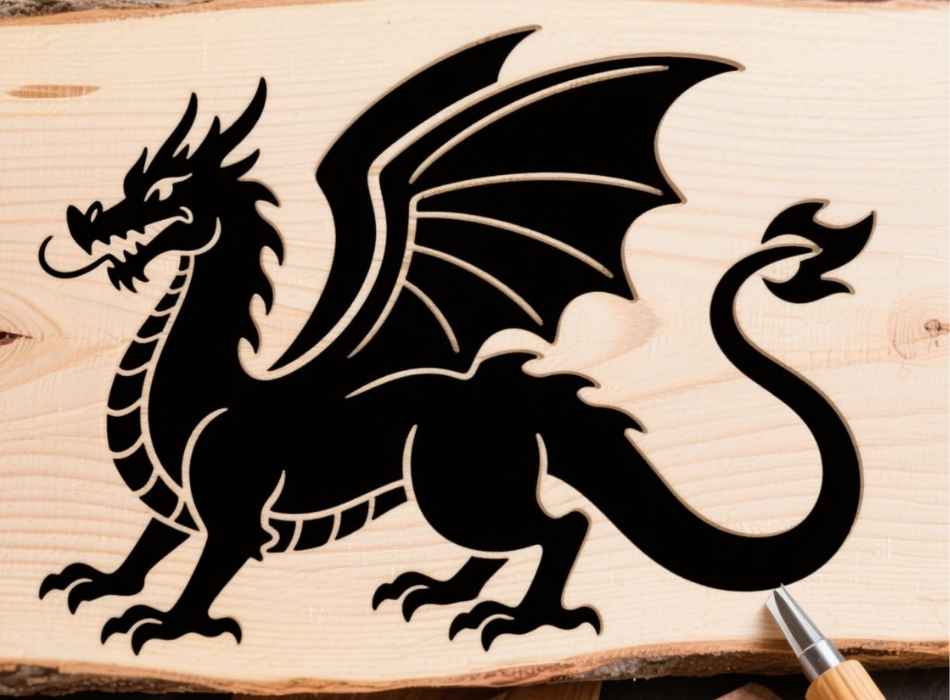
Simple dragon silhouettes work beautifully for first-time carvers or those working with children. These designs typically feature bold, continuous lines with minimal fine details. Look for stencils that emphasize the dragon’s distinctive profile—the elongated neck, pointed wings, and characteristic tail curve. Basic designs often incorporate larger cutout areas that are easier to navigate with standard carving tools.
Flying dragon silhouettes create dramatic shadows when lit from within. The outstretched wings provide substantial areas for light to shine through, while the flowing body lines add elegant movement to your design. These stencils work particularly well on medium to large pumpkins where the proportions can be appropriately maintained.
Intermediate Dragon Stencils
Stepping up in complexity, intermediate designs introduce multiple cutting depths and more detailed features. These stencils might include scaled textures, facial features like eyes and nostrils, or wing membrane details. Some incorporate flame elements emerging from the dragon’s mouth, adding an extra layer of visual interest.
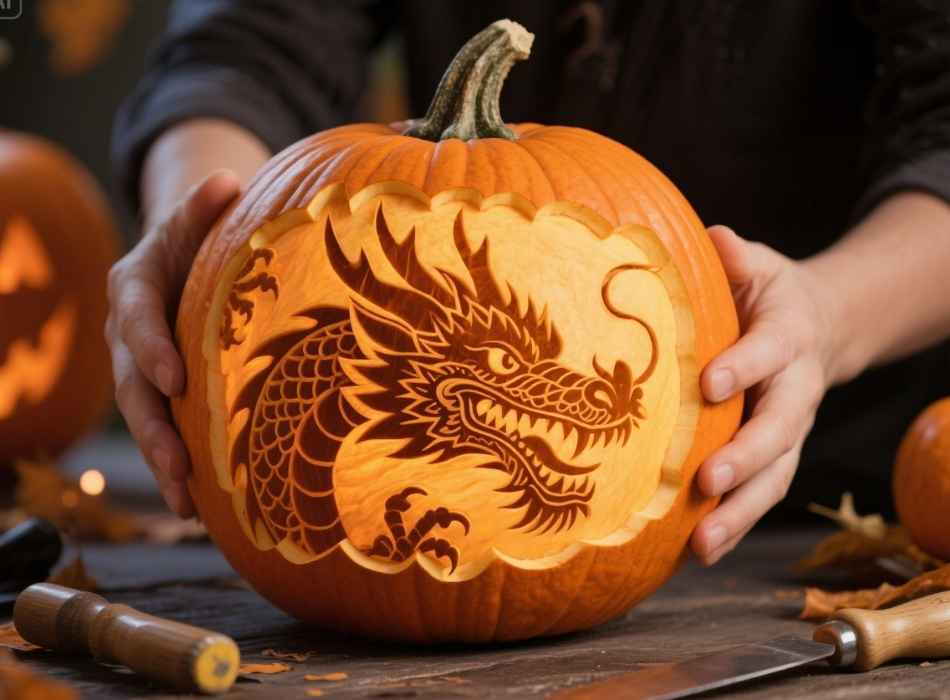
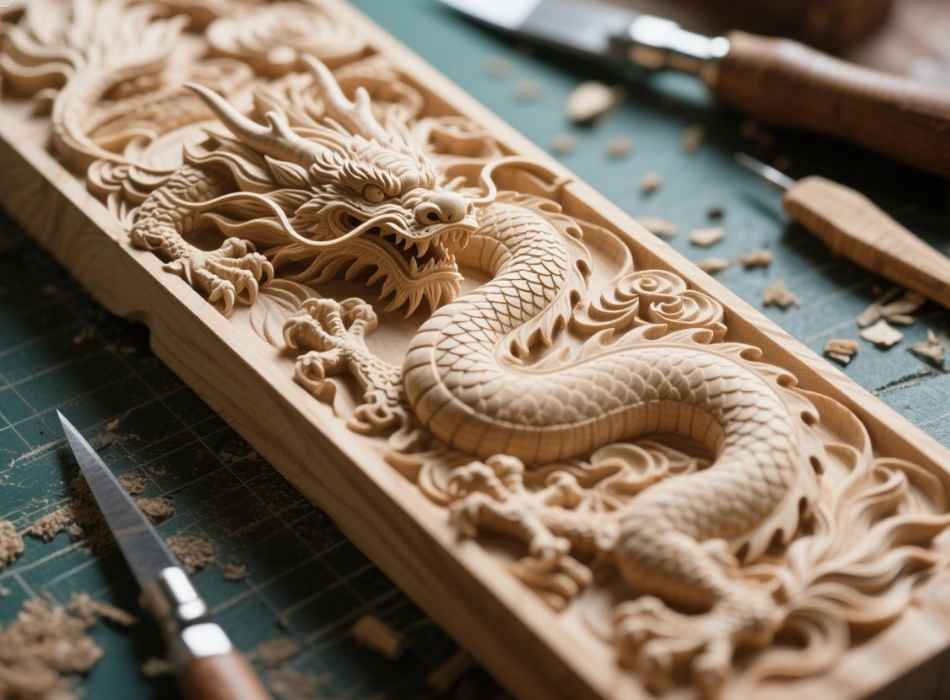
Chinese-style dragons offer compelling intermediate options with their serpentine bodies and ornate details. The flowing, ribbon-like form translates beautifully to pumpkin carving, allowing for creative interpretation of traditional design elements. These stencils often work well when wrapped around the pumpkin’s curve, creating a sense of movement and dimensionality.
Advanced Multi-Layer Designs
Expert-level dragon stencils utilize multiple carving depths to create stunning three-dimensional effects. These designs require careful planning and precise execution but produce breathtaking results. Advanced stencils might feature fully detailed dragon portraits with intricate scale patterns, elaborate wing structures, or complex scenes showing dragons in their natural habitats.
Multi-layer carving involves removing different amounts of pumpkin flesh to create varying levels of light transmission. The thickest areas block light completely, medium areas allow soft light to filter through, and fully carved sections provide bright illumination. This technique creates remarkable depth and realism in your finished piece.
Selecting Your Pumpkin Canvas
The pumpkin you choose significantly impacts your carving success. Different dragon designs work better with specific pumpkin characteristics, so understanding these relationships helps ensure optimal results.
Size Considerations
Large pumpkins provide the most flexibility for dragon stencils, especially complex designs with fine details. A pumpkin measuring 12 inches or more in diameter gives you adequate space to include intricate elements without compromising the overall design integrity. Large pumpkins also offer thicker walls, which are essential for multi-layer carving techniques.
Medium pumpkins work well for intermediate designs and most beginner stencils. These pumpkins typically measure 8-12 inches across and provide a good balance between workability and display impact. They’re easier to handle during carving while still offering sufficient surface area for detailed work.
Small pumpkins present unique challenges but can create charming results with the right approach. Simple dragon silhouettes work best on smaller canvases, focusing on bold shapes rather than fine details. Consider creating multiple small dragon pumpkins to tell a story or create a themed display.
Shape and Proportion
Round pumpkins offer the most versatile canvas for dragon designs. The symmetrical shape works well with both flying dragons and portrait-style carvings. Look for pumpkins with smooth, even surfaces that won’t interfere with your stencil placement.
Tall, oval pumpkins suit vertical dragon compositions beautifully. These shapes work particularly well for rearing dragons or designs that emphasize the creature’s impressive height. The elongated form naturally complements the dragon’s serpentine body structure.
Wide, flat pumpkins excel with horizontal dragon designs. Flying dragons with outstretched wings look spectacular on these broad canvases, allowing the full wingspan to be displayed proportionally.
Surface Quality Assessment
Examine your chosen pumpkin carefully for surface imperfections that might interfere with carving. Soft spots, deep ridges, or irregular bumps can make precise cutting difficult. The ideal pumpkin has a firm, smooth surface with consistent thickness throughout.
Check the stem area to ensure it’s sturdy and well-attached. A loose or damaged stem can make handling difficult during the carving process. The bottom should sit flat and stable, preventing your finished jack-o’-lantern from rolling or tipping over.
Essential Tools and Materials
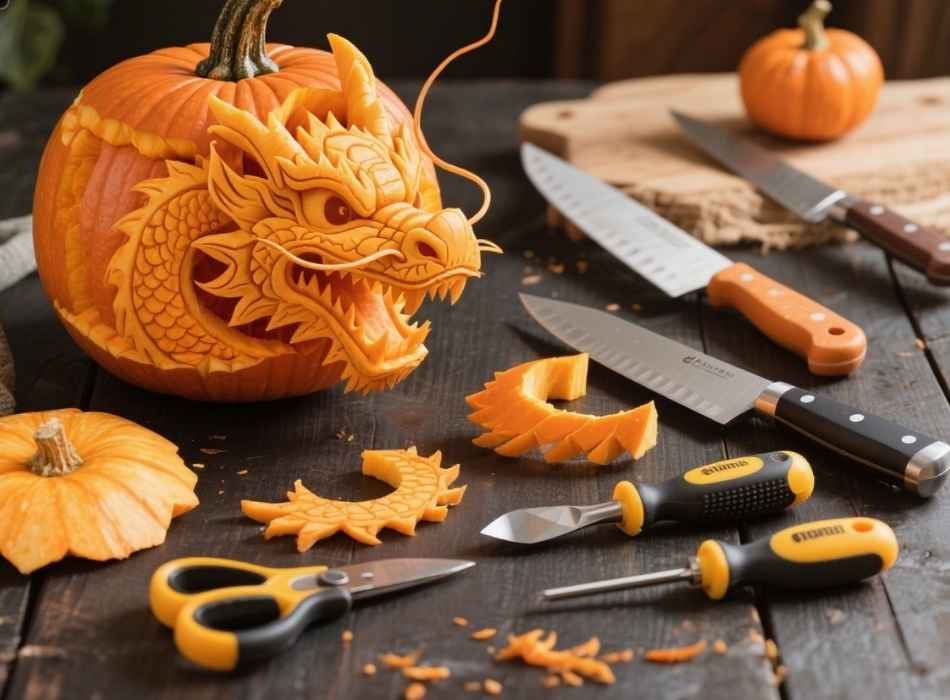
Proper tools make dragon pumpkin carving significantly easier and more enjoyable. While basic kitchen knives can work in a pinch, specialized carving tools produce much better results.
Carving Tool Basics
A sharp, serrated knife serves as your primary cutting tool for removing large sections and making initial cuts. Choose a knife with a thin blade that can navigate tight curves without requiring excessive force. Serrated edges grip the pumpkin flesh better than smooth blades, reducing slipping incidents.
Small detail knives or craft knives handle intricate work, such as scale patterns or facial features. These tools offer precise control for fine lines and small cutouts. Replace blades regularly to maintain clean cutting performance.
Pumpkin saws, designed explicitly for jack-o’-lantern carving, feature fine teeth that produce smooth cuts with minimal flesh tearing. These tools work particularly well for following curved stencil lines and creating clean edges.
Specialized Dragon Carving Tools
Linoleum cutting tools excel at creating textured effects like dragon scales or wing membranes. The various gouge shapes allow you to remove controlled amounts of pumpkin flesh, perfect for multi-layer carving techniques.
Clay sculpting tools help refine carved areas and create subtle details. These tools are handy for smoothing rough edges or adding finishing touches to your dragon’s features.
Melon ballers or small spoons work well for creating rounded elements like dragon eyes or removing pumpkin flesh from tight spaces where larger tools won’t fit.
Support Materials
High-quality stencil paper ensures your dragon design transfers accurately to the pumpkin surface. Avoid thin paper that tears easily during the transfer process. Some carvers prefer plastic stencils that can be reused multiple times.
Pins or small nails secure your stencil to the pumpkin surface during transfer. Use enough pins to prevent shifting while avoiding so many that they interfere with your cutting lines.
Transfer wheels or pin tools help mark your cutting lines without entirely removing the stencil. This technique allows you to reference the original design throughout the carving process.
Step-by-Step Dragon Carving Process
Creating a successful dragon pumpkin requires methodical planning and careful execution. Following a systematic approach helps ensure professional-looking results while minimizing frustrations.
Preparation and Setup
Begin by preparing your workspace with adequate lighting and easy access to all your tools. Lay down newspaper or plastic sheeting to catch pumpkin debris. Position your pumpkin at a comfortable working height to prevent back strain during extended carving sessions.
Clean your chosen pumpkin thoroughly, removing any dirt or residue that might interfere with stencil adhesion. Allow the surface to dry completely before proceeding with design transfer.
Remove the top of your pumpkin and clean out all the inner flesh and seeds. Save the seeds for roasting if desired. Scrape the inner walls to achieve a relatively uniform thickness, typically around three-quarters of an inch for most designs.
Design Transfer Techniques
Position your dragon stencil on the pumpkin surface, taking care to center the design appropriately. Consider how the dragon will look from your intended viewing angle. Flying dragons often look best when positioned to appear in motion, while portrait designs should face forward.
Secure the stencil with pins placed outside the cutting lines. Use just enough pins to prevent shifting without creating unnecessary holes in your pumpkin.
Transfer the design using your preferred method. Pin pricks along the cutting lines create dotted guidelines you can follow during carving. Some carvers prefer tracing around the stencil with a marker, though this approach works better with simpler designs.
Carving Execution Strategy
Start with the largest cutout areas first, working your way down to more minor details. This approach prevents weakening the pumpkin structure before completing significant cuts. Large wing sections or body areas should be completed before attempting intricate facial features or scale patterns.
Make initial cuts slightly inside your marked lines, then gradually trim back to the exact edge. This technique prevents over-cutting, which is nearly impossible to correct. Take frequent breaks to step back and assess your progress.
For multi-layer carving, complete all full-depth cuts first, then work on areas that require partial flesh removal. Use consistent pressure when creating graduated depths to maintain even light transmission.
Advanced Techniques for Stunning Results
Once you’ve mastered basic dragon carving, several advanced techniques can elevate your creations to professional quality.
Multi-Depth Carving
This technique creates remarkable three-dimensional effects by varying the depth of cuts throughout your design. Plan your depth variations before beginning, marking areas for complete removal, partial removal, and surface etching.
Full removal areas provide the brightest illumination and should be reserved for key features like dragon eyes or flame elements. Partial removal creates subtle backlighting perfect for wing membranes or body contours. Surface etching adds fine details without compromising structural integrity.
Use consistent pressure and cutting angles within each depth category to maintain uniform light transmission. Test your lighting effects frequently during carving to ensure the desired results.
Texture Creation Methods
Dragon scales create stunning visual texture when executed properly. Mark scale outlines lightly, then use small gouging tools to create consistent depth and shape. Overlap scales naturally, following the contours of the dragon’s body.
Wing membrane textures can be achieved through careful scraping rather than complete cutting. Remove thin layers of pumpkin flesh to create translucent areas that glow softly when illuminated.
Flame effects benefit from varied cutting depths that create movement and energy. Carve flame tongues at different depths to simulate the layered appearance of real fire.
Lighting Enhancement
Traditional candles provide classic flickering illumination but require careful monitoring for safety. Position candles away from carved edges to prevent heat damage. Use dripless candles to avoid wax buildup inside your pumpkin.
LED lights offer safer, longer-lasting illumination with consistent brightness. Color-changing LEDs can create dramatic effects, especially with dragon themes. Red or orange lighting enhances the fierce appearance, while blue creates a mystical ice dragon effect.
Battery-powered string lights work well for larger designs with multiple illuminated areas. Thread lights through different sections to create varied brightness levels and highlight specific design elements.
Troubleshooting Common Challenges
Even experienced carvers encounter difficulties when working on complex dragon designs. Understanding common problems and their solutions helps maintain your momentum and achieve better results.
Design Transfer Issues
Stencils that don’t lie flat against curved pumpkin surfaces can cause transfer problems. Make relief cuts in the stencil paper to help it conform to the pumpkin’s shape. For severe curves, consider using multiple smaller stencil pieces rather than one large sheet.
Stencil shifting during transfer creates misaligned cutting lines. Use more pins placed closer together, or consider using a temporary adhesive spray designed for stencil work. Obliterate adhesive residue before carving.
Unclear transfer marks make following your design difficult. Use a fine-tip marker to darken pin-prick lines, or re-transfer specific sections as needed. Keep your original stencil available for reference throughout the carving process.
Cutting Difficulties
Tough pumpkin flesh that resists cutting indicates either dull tools or an overripe pumpkin. Sharpen or replace blade tools regularly during extended carving sessions. If the pumpkin is the problem, consider starting over with a fresh specimen.
Tearing along cut lines usually results from forcing dull tools or cutting too quickly. Slow down your cutting speed and ensure your tools are sharp. Support the pumpkin wall from behind when making detailed cuts to prevent flex-induced tearing.
Accidental over-cuts can often be salvaged with creative problem-solving. Small mistakes can sometimes be incorporated into the design as additional details. Larger errors might require modifying your design or starting over with a new pumpkin.
Structural Integrity
Weak areas that threaten to break during carving need immediate attention. Stop carving in the affected area and consider design modifications that eliminate narrow connecting pieces. Sometimes, adding small support bridges can preserve your design while maintaining structural stability.
Thin walls that develop during carving can be reinforced by avoiding further cuts in adjacent areas. Monitor wall thickness throughout your carving process and adjust your technique as needed to maintain adequate support.
Preservation and Display Tips
Extending the life of your dragon pumpkin and showcasing it effectively requires proper care and strategic placement.
Longevity Techniques
Carved pumpkins naturally begin deteriorating immediately after cutting. Slow this process by keeping your creation in cool, dry conditions when not on display. Refrigeration can extend life significantly, though this isn’t practical for large pieces.
Commercial pumpkin preservatives help delay rotting and maintain structural integrity. These products typically contain bleach or other antimicrobial agents that slow bacterial growth. Follow product instructions carefully and reapply as directed.
Natural preservation methods include petroleum jelly applied to cut edges or soaking in diluted bleach solutions. Some carvers report success with hairspray or clear acrylic sealers, though these methods may affect lighting effects.
Strategic Display
Position your dragon pumpkin where its intimidating presence can be fully appreciated. Elevated positions like porch steps or garden walls create commanding views while protecting the pumpkin from ground moisture.
Consider the viewing angle when positioning your display. Dragon profiles look best when viewed from the side, while front-facing designs should be placed to face approaching visitors. Lighting direction also affects the dramatic impact of your creation.
Weather protection extends display life significantly. Covered porches or other sheltered locations protect from rain while maintaining visibility. If weather coverage isn’t available, consider bringing your pumpkin indoors during severe weather.
Photography and Documentation
Capture your dragon masterpiece with proper photography techniques that showcase your hard work. Evening photography with internal lighting activated produces the most dramatic results. Use a tripod for sharp images in low-light conditions.
Document your carving process with progress photos that can help you improve future projects. Note which techniques worked well and which presented challenges. This documentation becomes valuable reference material for subsequent dragon carvings.
Share your creation on social media or pumpkin carving communities to inspire others and receive feedback. Many online communities offer helpful suggestions and celebrate exceptional work.
Taking Your Dragon Carving to the Next Level
Dragon pumpkin stencils offer endless opportunities for creative expression and skill development. Start with simpler designs to build confidence and technique, then gradually tackle more complex projects as your abilities improve.
Consider creating themed displays with multiple dragon pumpkins of varying sizes and designs. Small dragons can serve as “babies” around a larger parent dragon, creating engaging storytelling opportunities. Different dragon types—European, Asian, or fantasy variations—can showcase your versatility.
Experiment with unconventional materials and techniques as you advance. Foam pumpkins allow for permanent displays and practice without time pressure. Some carvers incorporate additional materials like colored gels, mirrors, or metallic paints to enhance their dragon themes.
Connect with local carving communities or online forums where enthusiasts share techniques, stencils, and inspiration. These communities often organize contests or group carving events that can motivate you to push your creative boundaries further.
Most importantly, enjoy the process of bringing these mythical creatures to life through your artistic vision and carving skills. Each dragon pumpkin represents a unique creative achievement that brings joy to both the creator and those who admire the finished work.


