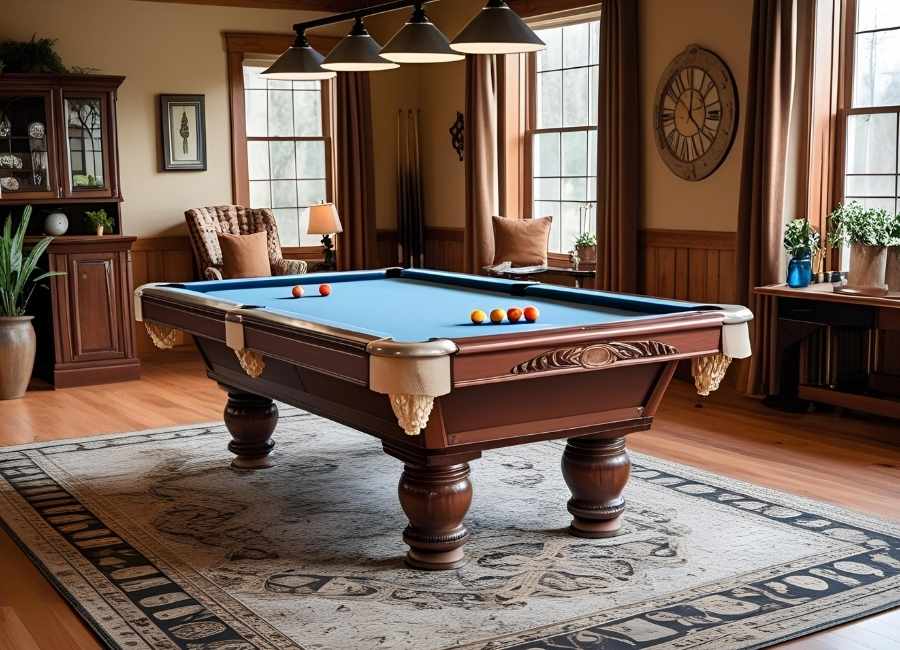
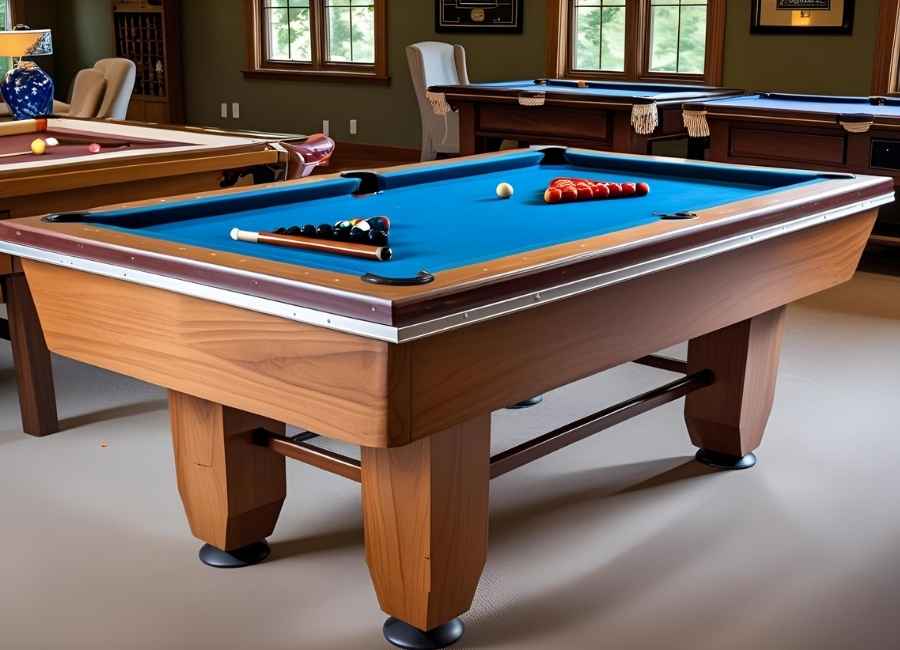
A worn pool table felt can really affect your game. Damaged cloth changes how the balls move, making the game less predictable. Refilling your table is essential to keep it playing its best.
This guide shows you how to refelt a pool table step by step. We’ll review the tools you need and show you how to reassemble everything. By the end, your table will look and play like new.
Gather Your Tools and Materials
Before you begin, gathering all the necessary tools and materials will save you time and prevent interruptions. You don’t want to be halfway through the process only to realise you’re missing a crucial item.
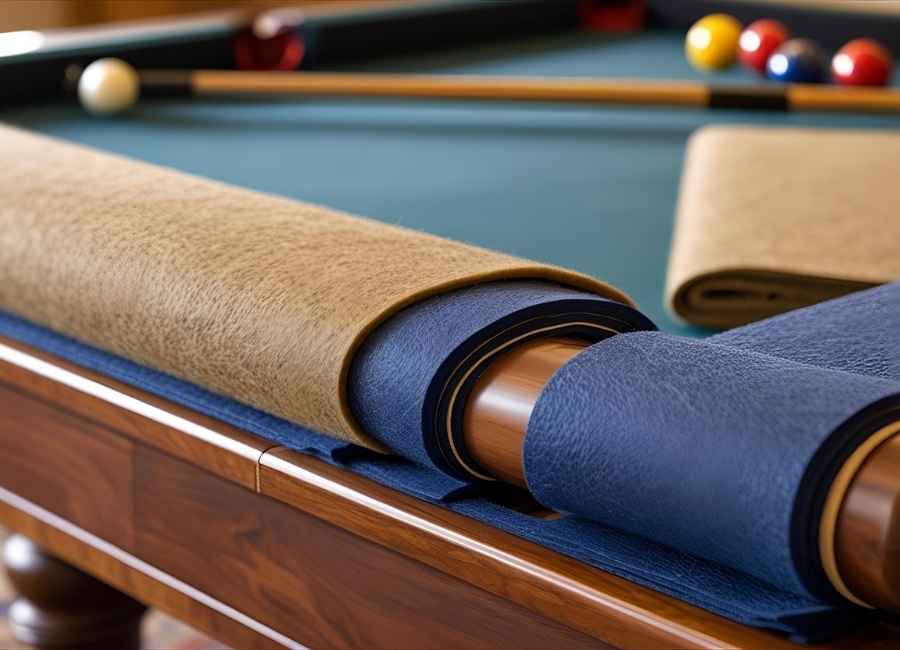
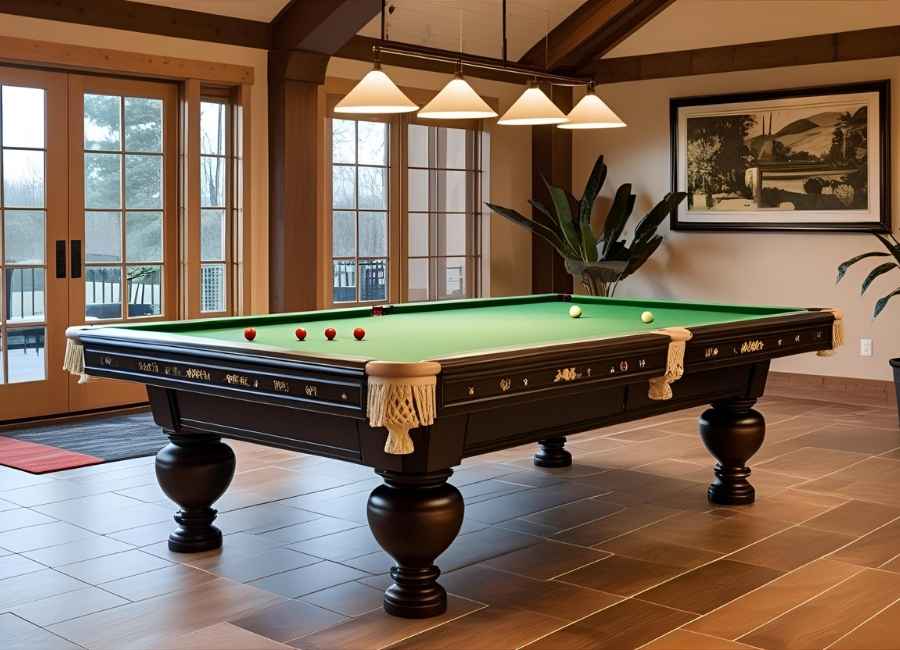
Choosing the Right Felt

The felt, also known as billiard cloth, is the key component of this project. It affects how your table plays, its duration, and its appearance. There are three main types to choose from:
- Recreational-Grade: This cloth has a noticeable nap (a fuzzy texture) and plays slower. It’s a forgiving option, making it great for beginners or families with children.
- Intermediate-Grade: This felt is faster and more durable than recreational cloth. It’s a good balance of performance and long-lasting use for most homes.
- Professional-Grade: This is the best quality cloth, used in professional tournaments. It has more wool and a tight weave, making the surface smooth and fast. (Simonis 860HR Billiard Cloth, n.d.) Choose this if you want your table to play like those in top pool halls.
Essential Tools
Besides the new felt, you’ll need a few other tools to make the job go smoothly. Have these ready:
- Level
- Screwdriver
- Ratchet or wrench set
- Staple gun and staples (if applicable)
- Spray adhesive (like 3M Super 77)
- Wire cutters or staple remover
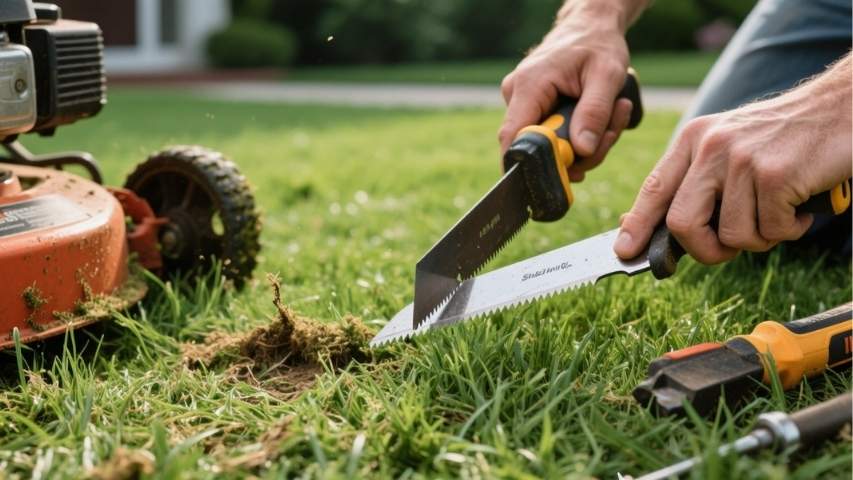
- Sharp scissors or a razor blade
- Clean, dry cloths
With these tools, you’ll be able to disassemble the table, remove the old felt, and install the new one for great results.
Step 1: Disassemble the Table
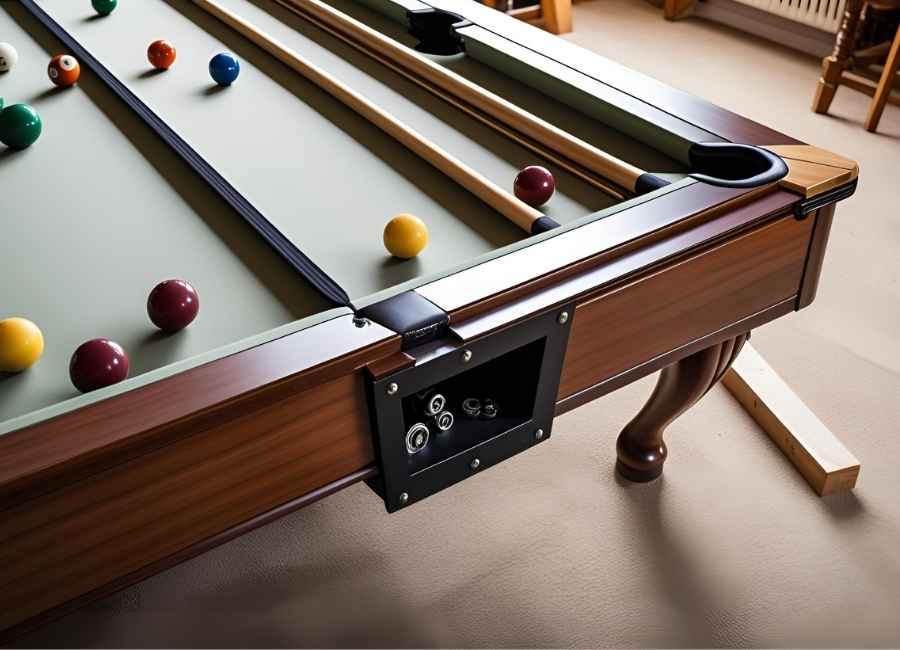
Once you have your tools ready, start by disassembling the table. Remove the staples that hold the pocket liners using a staple remover or wire cutters. Collect the staples so you don’t step on them. After that, lift out the pockets and set them aside.
Next, you can use your wrench or ratchet to unscrew the bolts securing the side rails. Depending on your table’s design, the rails may be a single piece or multiple sections. Once the last bolt is removed, carefully lift the rails off the table and place them in a safe spot.
Step 2: Remove the Old Felt
Take your time removing the old felt so you don’t damage the slate underneath. How you remove it depends on how it was attached.
If Stapled: For stapled felt, use a staple remover to pry out each staple carefully. Take your time to prevent any damage to the wood backing. Once all the staples are removed, fold the old felt and set it aside.
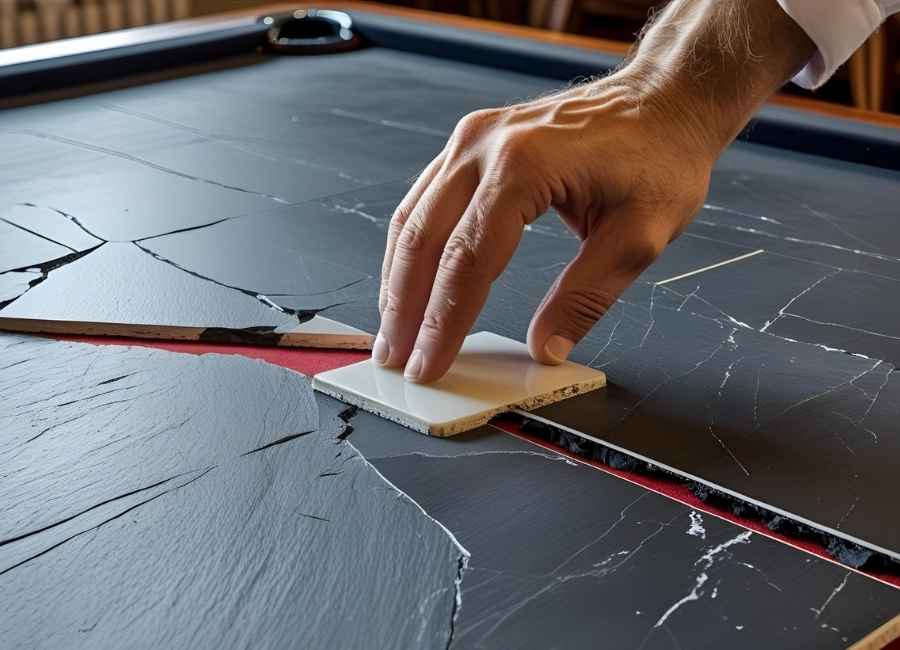
If Glued: If the felt is glued down, you can usually pull it away from the slate. You can work slowly to minimise tearing. After the felt is off, you may find adhesive residue on the surface. Use a scraper to gently remove this, being careful not to scratch the slate.
Step 3: Clean the Slate Surface
Slate is a strong material and is the base of a good pool table. (Slate vs. Non-Slate Pool Tables – Which Wins?, n.d.) Before you put on new felt, make sure to clean the slate well.
Use a clean, dry cloth to wipe away any dust, debris, or old adhesive residue. Avoid using wet cloths or cleaning sprays, as moisture can soften the slate and affect its integrity over time. A clean, smooth surface is crucial for an even playing field.
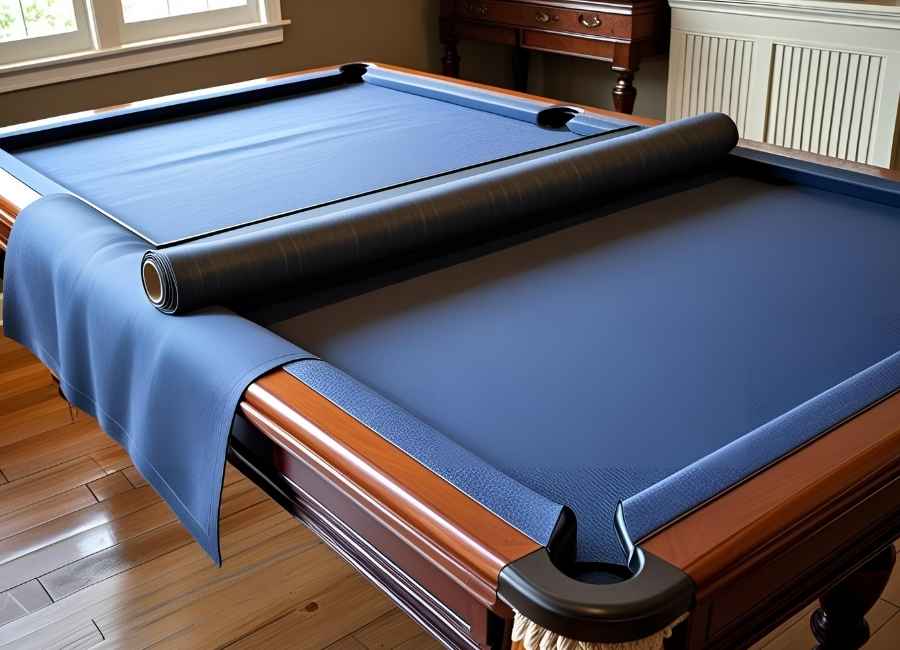
Step 4: Measure the Table and Cut the Felt

Accurate measurements are key to a successful. Getting the correct measurements is crucial for a successful refit. You can use a tape measure to check the size of the playing surface and the rails. Most pool tables are twice as long as they are wide, but it’s best to measure both length and width. (Standard Pool Table Dimensions and Required Room Sizes, n.d.) Inches to be safe. Lay the new felt on the table and let it settle for a bit. Run your hands over the surface to check for any bumps. Once you’re ready, use a sharp pair of scissors to cut the felt according to your measurements, leaving enough extra material to cover the rails later.
Step 5: Install the New Felt
Now it’s time to put on the new felt. You can do this by stapling or gluing it down.
Stapling the Felt
You can only use this method if your table’s slate has wood underneath for the staples to hold onto.
- Lay the felt over the table. Start on one of the shorter sides, placing a staple in the center.
- Go to the other short side, pull the felt tight, and staple the center.
- Keep stapling from the center out on both short sides, making sure the felt stays tight and smooth.
- Do the same for the long sides. Keep the felt tight to avoid wrinkles or bumps, so the surface stays even.
Gluing the Felt
If your table doesn’t have a wooden backing, you’ll need to use glue instead.
- Start at a short side and spray a thin layer of adhesive on the edge of the slate.
- Wait about 30 seconds for the glue to get sticky.
- Press the felt firmly onto the adhesive, starting from the center and working your way out.
- Go to the other side, pull the felt tight, and glue it down the same way.
- Continue this for all four sides, ensuring the felt remains taut and smooth across the entire surface.
After the felt is attached, use a razor blade to cut holes for the rail bolts and pockets. For the pockets, make 3 or 4 small cuts and glue the felt tabs under the slate for a neat look.
Step 6: Reflect the Rails
The rails matter as much as the table bed for good ball bounce. Use the extra felt to cover them. You can use staples or glue, just like with the slate.
Pull the felt tight around each rail and fasten it. If you use staples, put them close together so the fabric doesn’t move. This part can be tricky, so go slowly to get a good fit.
Step 7: Reinstall the Rails
Once the rails are covered, reassemble the table. Attach the rails and tighten all the bolts. Start with the side rails, then add the head and foot rails. Well-installed rails help the balls bounce accurately, giving the table a professional feel.
Step 8: Final Touches
You’re almost done. Put the pocket liners back on and make sure they’re secure. Wipe down the table to remove dust. Use a level to check that the surface is level, and adjust the legs as needed.
Getting Your Table Game-Ready
Refurbishing a pool table is a satisfying project that can save you money and give you a sense of pride. You can follow these steps to get your table looking and playing like new. Now, rack up the balls and enjoy your refreshed table.