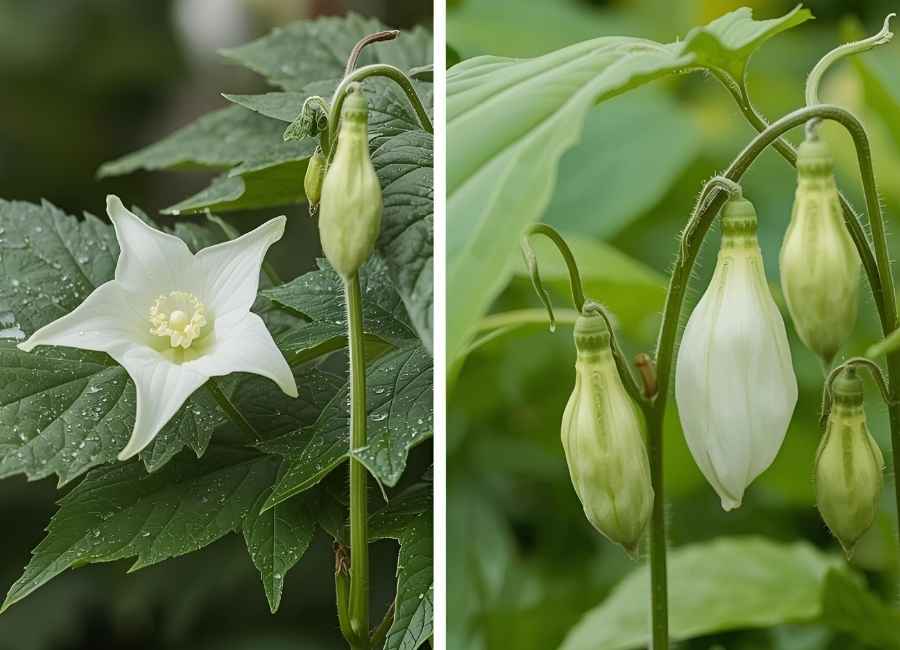
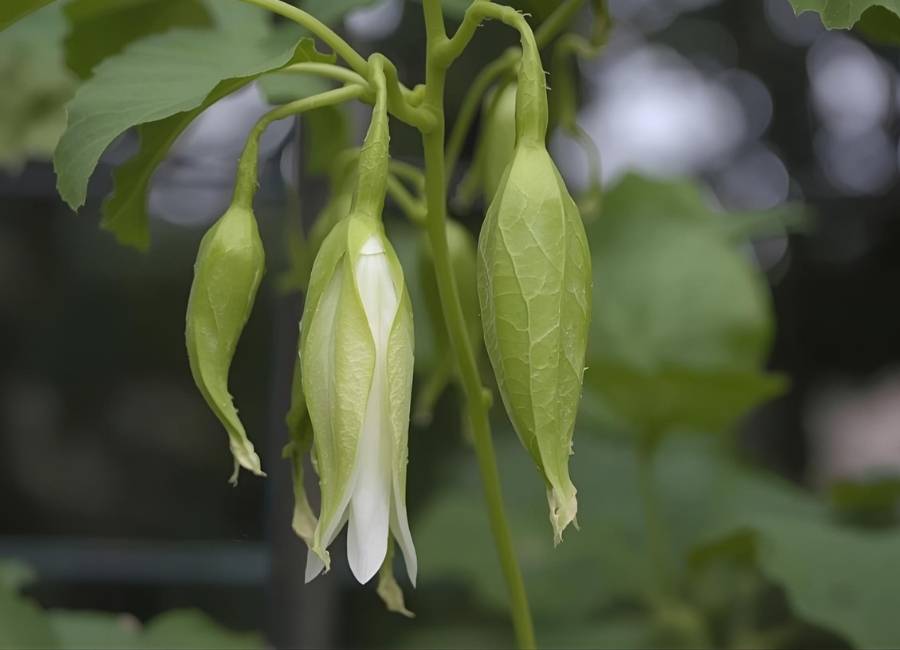
Moonflowers, with their fragrant blooms that unfurl under the evening sky, are a gardener’s dream. Whether you’re captivated by their beauty or their allure as an easy-to-grow plant, moonflowers offer a unique opportunity to propagate them from pods for your garden. If you’ve been wondering how to propagate moonflower pods, this step-by-step guide will walk you through the process and ensure success.
What You’ll Learn

By the end of this guide, you’ll know how to collect, prepare, and plant moonflower seeds from pods to grow vibrant and healthy plants. Plus, we’ll share tips for optimizing their growth and making sure your moonflowers thrive season after season.
What Are Moonflower Pods?
Moonflower pods, which develop after the plant has bloomed and been pollinated, are seed-filled capsules that hold the promise of future plants. These pods are typically light green when unripe, turning brown as they mature. Inside are the seeds that, with proper care, can be used to grow new moonflower plants.
The propagation of moonflowers is simple but does require attention to timing and the right methods. Follow the steps below to propagate moonflower pods successfully.
How to Propagate Moonflower Pods in 6 Simple Steps

1. Wait for the Pods to Mature
Timing is key when propagating moonflower pods. You’ll need to wait until the pods on your moonflower plant have matured before collecting them. Look for the following signs that the pods are ready to harvest:
- The pods turn brown or tan and feel dry to the touch.
- The pod begins to crack open naturally, revealing seeds inside.
- The seeds inside are dark brown or black, indicating they’re fully ripe.
Avoid harvesting pods that are still green, as the seeds inside may not be viable.
Pro Tip: To avoid losing seeds, keep an eye on the pods as they approach maturity. Collect them before they fall off or split open entirely.
2. Harvest the Pods
Once the pods are mature, gently remove them from the plant. Use a pair of gardening shears or scissors to avoid damaging the parent plant. Place the harvested pods in a container or paper bag so the seeds don’t scatter.
Important Reminder: Handle the pods carefully to avoid accidentally crushing them or losing seeds during the process.
3. Extract and Prepare the Seeds
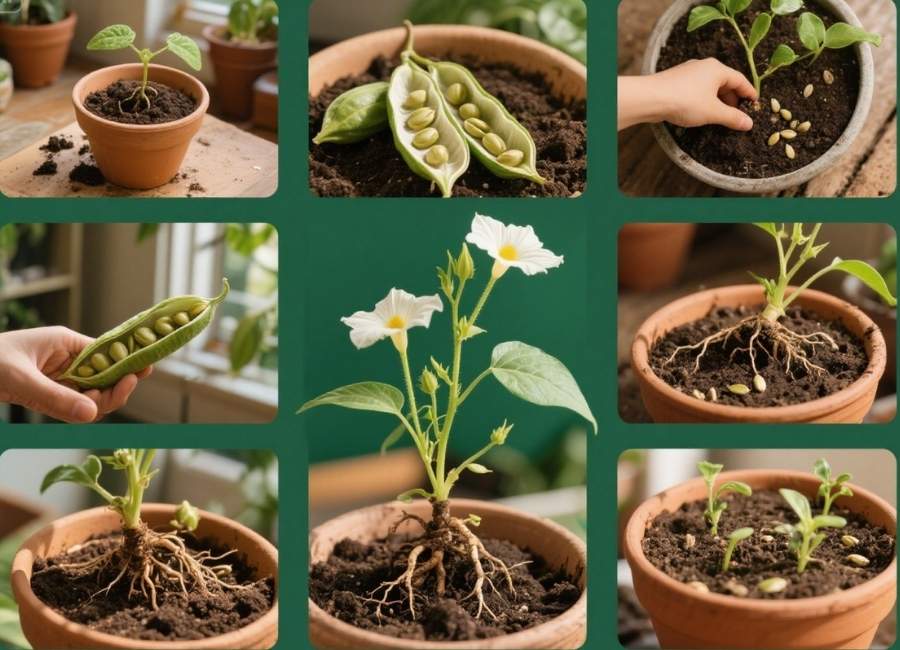
Break open the harvested pods to extract the seeds. Inside, you’ll notice small, hard seeds that serve as the foundation for propagation.
Here’s how to prepare them for planting:
- Place the seeds in a bowl of water to remove any remaining pod material.
- Discard any seeds that float to the top, as they are less likely to germinate.
- Dry the viable seeds thoroughly with a paper towel before planting.
It’s also helpful to scarify the seeds. This step involves lightly scratching or nicking the hard outer coating of the seed to improve water absorption and encourage germination.
How to Scarify Seeds:
Using sandpaper or a nail file, gently rub one side of the moonflower seed until the outer coat starts to wear off slightly. Be careful not to go too deep.
4. Choose the Right Planting Location or Container
Moonflowers thrive in warm, sunny environments, so it’s essential to choose the right spot for planting. Whether you’re sowing seeds directly in the ground or germinating them in containers first, ensure they have access to:
- Full Sunlight: Moonflowers need a minimum of 6-8 hours of sunlight to grow strong and healthy.
- Well-Draining Soil: The soil should be rich, loamy, and drain well to prevent waterlogging.
- Support Structures (if needed): Since moonflowers are climbing plants, consider installing a trellis, fence, or pole near your planting area.
If you’re planting the seeds in pots, use containers with sufficient drainage and fill them with high-quality potting soil.
5. Plant the Seeds
Now it’s time to plant! Follow these steps for optimal results:
- Sow the seeds about ¼ to ½ inch deep in the soil.
- Space the seeds approximately 6-8 inches apart if planting multiple moonflowers.
- Lightly cover the seeds with soil and water gently to keep the soil evenly moist—not soggy.
Moonflower seeds germinate at soil temperatures of around 70°F to 85°F, so planting in late spring or early summer gives the best results. If starting seeds indoors, use a seedling heat mat to maintain consistent warmth.
6. Care for Your Moonflower Seedlings
Once the seeds germinate (typically within 7-14 days), you’ll start to see little green shoots emerging. Proper care during this phase will ensure your moonflower seedlings grow healthy and strong:
- Water the seedlings regularly but avoid overwatering. Keep the soil slightly moist.
- Thin out weaker seedlings, leaving only the strongest ones with ample room to flourish.
- Fertilize sparingly with a balanced, slow-release fertilizer to encourage growth.
For climbing moonflowers, guide the seedlings toward the nearest support structure as they grow.
Bonus Tip: Protect young seedlings from pests by placing a makeshift barrier, such as a mesh dome, during their early growth stages.
Extra Tips to Make Your Moonflowers Thrive
- Regular Deadheading: Remove spent blooms during the flowering season to encourage more blooms and prevent overcrowding of seeds.
- Seasonal Care: Moonflowers are sensitive to frost, so ensure you plant them after the last frost date or protect them by moving containers indoors.
- Saving Seeds for the Future: If you’ve collected more seeds than you need, store them in a paper envelope or airtight container in a cool, dark place. Properly stored seeds can remain viable for up to two years.
By following these simple steps and care tips, your moonflowers will reward you with stunning blooms that light up your evenings and fill your garden with fragrance.
Your Evening Garden Awaits
Propagating moonflower pods is a rewarding experience that requires a bit of patience and care but ultimately delivers breathtaking results. Whether you’re growing them to enhance your garden’s nighttime charm or to share their magic with others, these steps will guide you to success.
Are you ready to get started? Happy gardening!


