


If you’ve been itching to expand your gardening repertoire, growing orach in a bag is a simple, fun, and space-saving way to do it. Orach, also known as mountain spinach, is a vibrant and nutritious leafy green that thrives in small spaces, making it perfect for urban gardeners or those with limited outdoor areas. Whether you’re a seasoned gardener looking to try something new or a total beginner, this guide will walk you through the steps to successfully grow orach in a bag.
By the time you’re done reading, you’ll know how to select the right bag, prepare your soil, grow your seeds, and enjoy a thriving crop of orach, all while maintaining a sustainable and low-maintenance setup.
Why Grow Orach in a Bag?
Before we get into the how-to specifics, it helps to understand why orach is such a great choice for container gardening, particularly in bags.
- Space-saving: Bag gardening is ideal for those who don’t have outdoor land. Balcony, patio, or windowsill? Bags fit almost anywhere!
- Versatility: Orach grows well in compact spaces and can be harvested rapidly for salads, sautés, soups, and more.
- Great for Beginners: Orach is surprisingly hardy and tolerant, making it easier to grow successfully than some other leafy greens.
- Minimal Supplies Needed: You don’t need an elaborate setup — just a grow bag, soil, and orach seeds to get started.
Now that you know why growing orach in a bag is worth it, let’s break down the process step by step.
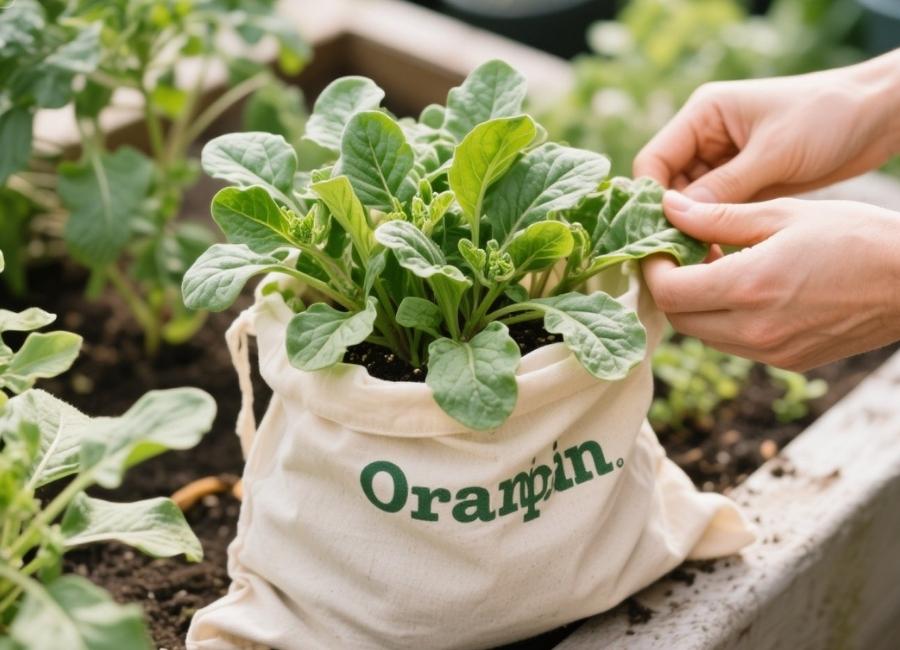
Step 1 Choose the Right Bag
Grow bags are an excellent choice for growing orach because their breathable fabric promotes healthier root systems. Unlike traditional pots, bags allow for improved air circulation, which prevents overwatering and root rot.
- Size Matters: Use a grow bag that’s at least 10-15 inches in diameter and approximately 12 inches deep. This size leaves enough room for roots to develop without overcrowding.
- Material: Fabric grow bags are highly recommended for this setup. They’re durable, reusable, and allow excess water to drain easily.
If you don’t have a specialized grow bag, clean reusable shopping bags with drainage holes will work in a pinch.
Step 2 Select the Right Soil
For orach, well-draining and nutrient-rich soil is essential. Since you’re working in a confined space, getting the soil composition right is particularly important to ensure your plants thrive.
- Go Organic: Choose an organic potting mix or garden soil amended with compost for added nutrients.
- Add Drainage: To improve drainage, mix in a handful of perlite or sand with your soil. This prevents water from becoming stagnant, which can lead to root issues.
- Feed the Soil: Orach loves a slightly alkaline pH (6.5–7.5). If your soil leans acidic, mix in some garden lime to balance it out.
Step 3 Sow Your Orach Seeds
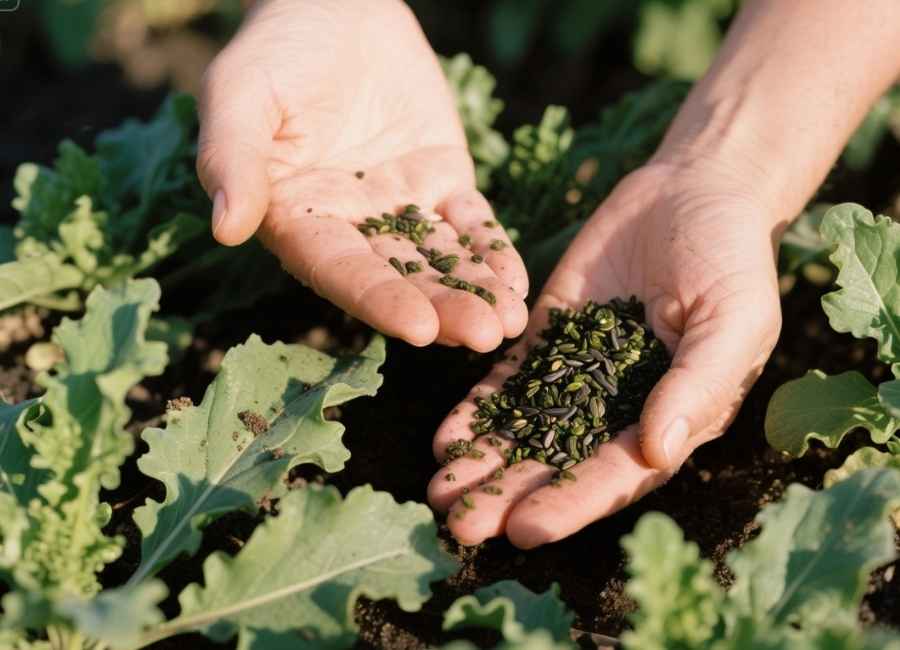
Now it’s time to sow your seeds! Orach is a cool-season plant, thriving best in spring or early fall. If you’re in a warmer climate, it can tolerate some heat but grows more vibrantly in cooler weather.
How to Sow Seeds
- Prepare the Bag
- Fill your grow bag with your prepared soil, leaving about 2-3 inches of space from the top.
- Gently pat down the soil to avoid compacting it too much.
- Plant the Seeds
- Sprinkle orach seeds evenly across the soil surface. Space them about 2-3 inches apart to give each plant enough room to grow.
- Lightly cover the seeds with ¼ inch of soil. Press gently to ensure good seed-to-soil contact.
- Water Thoroughly
- After planting, water the soil evenly until it feels damp but not soaked.
- Provide Light
- Place the grow bag in a location that gets at least 6 hours of sunlight a day. If you’re growing indoors, use full-spectrum grow lights to ensure your orach gets enough light.
Step 4 Care for Your Growing Orach
Once the seeds are planted, your job shifts to maintaining proper care. Here’s how to keep your orach plants happy and thriving.
Watering
Orach prefers consistently moist soil but dislikes being waterlogged. Water the grow bag whenever the top inch of soil feels dry. During hot weather, you may need to water more frequently.
Feeding
To ensure vigorous growth, feed your orach plants every 2-3 weeks with a diluted liquid fertilizer. An organic fertilizer high in nitrogen encourages lush, leafy growth.
Thinning the Seedlings
Once your seedlings are about 2 inches tall, thin them out by removing the weaker ones to allow the stronger seedlings to grow. The thinned-out seedlings can be transplanted or nibbled on as microgreens!
Pests and Disease Prevention
While orach is relatively pest-resistant, keep an eye out for aphids or caterpillars. Use an organic neem oil spray or insecticidal soap to combat infestations early.
Step 5 Harvesting Your Orach
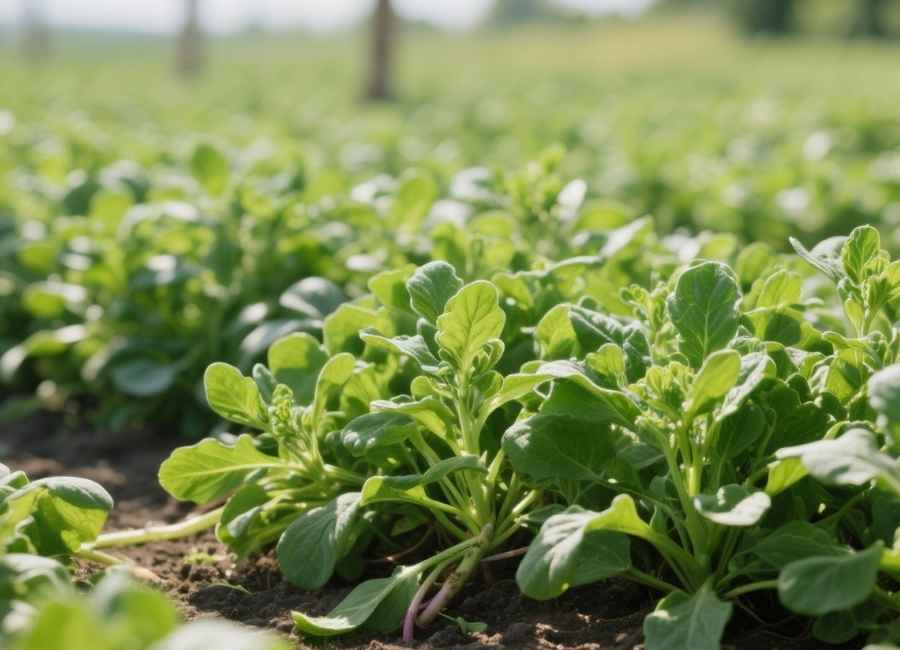
One of the most exciting parts of growing orach is how quickly you can harvest it. Most varieties will be ready to harvest about 40-60 days after planting, though you can start harvesting baby leaves as early as 25 days.
How to Harvest
- Baby Greens: Pick individual leaves early for tender greens that are great for salads.
- Fully Grown Plants: Cut the entire plant about 1 inch above the soil for a full harvest. This encourages regrowth, allowing you to enjoy multiple harvests from the same plant.
Remember to harvest in the morning for the freshest and most flavorful leaves.
Step 6 Rotating and Replanting
Orach can be grown continuously during its growing seasons. After harvesting, prepare the soil by adding a bit more compost or fertilizer before sowing fresh seeds. This ensures your plants get all the nutrients needed for a second-round bounty.
Enjoy the Fruits of Your Labor
Growing orach in a bag is a rewarding and straightforward endeavor that brings vibrant and healthy greens to your plate. Whether you’re a salad enthusiast, a sauté lover, or a juicing aficionado, homegrown orach will add a pop of flavor (and color) to your meals.
Interested in elevating your gardening game? Subscribe to our monthly garden tips newsletter for even more insights, or reach out to our team for personalized tips on creating your dream container garden.


