


The rubber plant, Ficus elastica, is adored not only for its striking glossy leaves but also for its impressive resilience. Propagating this elegant houseplant is both a rewarding and cost-effective way to add lush greenery to your home while sharing its beauty with others. But if you’re new to propagation, the process may feel a bit daunting.
Wondering how to successfully propagate your rubber plant and watch it thrive? This guide will walk you step-by-step through the process, making it simple and enjoyable.
Why Propagate a Rubber Plant
Propagation is more than just growing another plant; it’s a great way to strengthen your connection with your green companions while saving money. Rubber plants are particularly suited for propagation because they are hardy and adaptable. Here are some top reasons why propagation is worth the effort:
- Cost-effective: Instead of purchasing new plants, grow your own from the one you already have.
- Sustainability: Propagating allows you to create new plants without increasing consumer demand for mass-produced houseplants.
- Gift-worthy: Share propagated rubber plants with friends and family as thoughtful, home-grown gifts.
- Household beauty: Expand your interior greenery by filling your space with these elegant, easy-to-care-for plants.
Now that you know why propagation is worth it, let’s focus on how to do it.
Step-by-Step Guide to Propagating a Rubber Plant
Below, you’ll find a clear and detailed method to propagate a rubber plant using the stem cutting technique, the most reliable option for success.
Step 1 Choose the Right Time
Timing matters when it comes to propagation. Spring and early summer are optimal because rubber plants are actively growing during these seasons. Avoid propagating in winter when growth slows, as the cuttings may struggle to root.
Step 2 Gather the Essentials
Before you begin, make sure you have the necessary tools and materials on hand. Here’s what you’ll need:
- A healthy rubber plant with new growth
- Clean, sharp pruning shears or a knife
- Small pots with drainage holes
- Potting mix (a well-draining mix is ideal)
- Rooting hormone (optional but recommended for better success)
- Clear plastic bags (to create a humidity dome)
Step 3 Select a Healthy Cutting
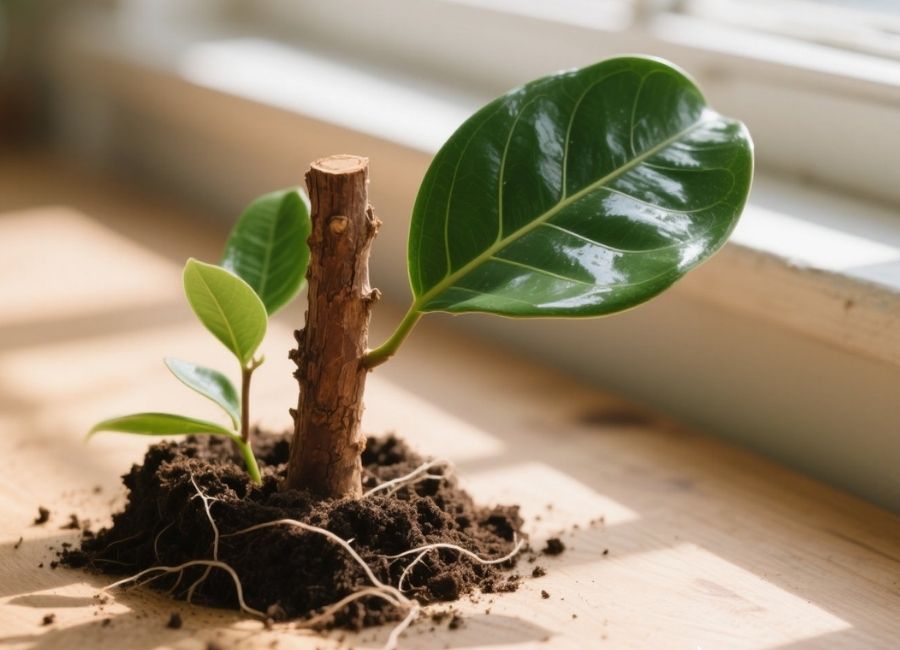
Look for a healthy stem on your plant with at least two to three leaves. Choose a segment that is around 4–6 inches long, as this provides enough size for a strong start without damaging the parent plant. Avoid stems showing signs of disease or discoloration.
Using your pruning shears or knife, make a clean cut just below a node (the area where leaves grow out from the stem).
Step 4 Prepare the Cutting
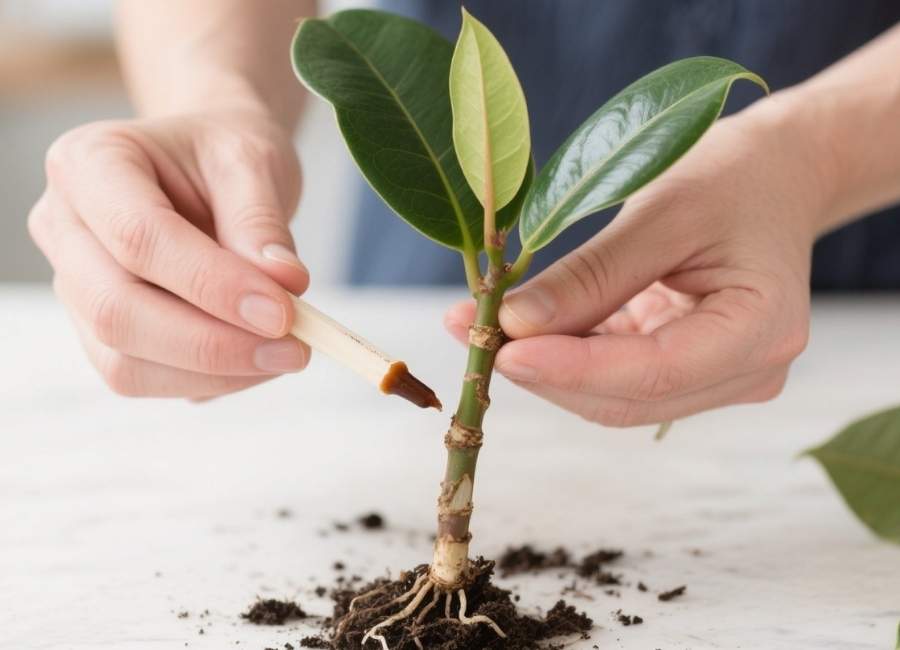
Once you’ve harvested your cutting, follow these steps to prepare it for rooting:
- Remove the bottom leaves, leaving one or two at the top. This ensures energy goes toward root formation rather than sustaining multiple leaves.
- (Optional) Dip the cut end of the stem into a rooting hormone to encourage faster root development. This step is especially helpful if you’re propagating a rubber plant for the first time.
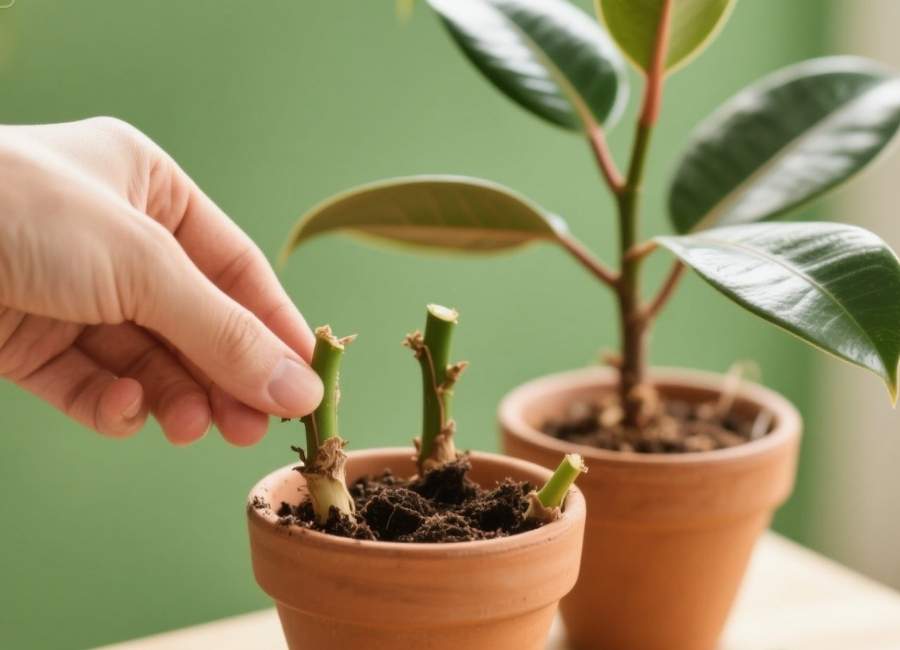
Step 5 Plant the Cutting
Fill a small pot with a well-draining potting mix, preferably one designed for indoor plants or mixed with perlite for added drainage. Create a small hole in the soil and gently insert your cutting, ensuring the bottom node is buried. After planting, press the soil lightly around the base to secure the cutting.
Step 6 Maintain Proper Conditions
Rubber plant cuttings need a specific environment to thrive during the rooting phase. Here’s how to create it:
- Humidity: Place a clear plastic bag loosely over the cutting to trap humidity. This step mimics the greenhouse effect and prevents the cutting from drying out. Ensure there’s airflow to avoid mold or rot.
- Light: Keep the pot in a spot with bright, indirect sunlight. Direct sun may scorch the delicate cutting.
- Water: Water the cutting lightly but consistently, keeping the soil just moist—not soggy. Overwatering can lead to rot.
Step 7 Be Patient and Watch for Roots
Propagation takes time, so patience is key. Within 4–6 weeks, your cutting should begin to develop roots. You can check by gently tugging on the stem; if you feel resistance, roots are forming!
Once the roots are well-developed, you can transplant the new plant into a larger pot and watch it grow into a healthy, mature rubber plant.
Common Problems and How to Solve Them

Even the most experienced plant owners encounter challenges during propagation. Here’s how to troubleshoot common issues:
- Cutting not rooting: Ensure you’re using healthy, green stems and planting during the right season. Using rooting hormone can also help.
- Leaf yellowing: Overwatering is the likely culprit. Allow the soil to dry slightly between light waterings.
- Mold on the soil: Improve airflow around the cutting and avoid overwatering.
Caring for Your New Rubber Plant
Once your propagated rubber plant is rooted and growing, keep it healthy by following these basic care tips:
- Watering: Rubber plants like their soil to dry out partially between waterings. Water thoroughly but only when necessary.
- Lighting: Provide bright, indirect sunlight for optimal growth. Rubber plants adapt well to medium light but grow slower in lower light conditions.
- Fertilizing: Feed your plant with a balanced liquid fertilizer every month during its growing season (spring and summer).
Why Propagating Builds Your Green Thumb
Propagating a rubber plant isn’t just about growing another houseplant. It’s a learning experience that deepens your connection to nature and builds confidence in your gardening abilities. Each new plant grown from your efforts tells a story—a story of patience, care, and growth (yours and the plant’s).
Want more tips on plant propagation and care? Browse our other guides or join our online community of plant lovers to keep growing your green thumb!


