


Aloe plants, with their thick, green leaves and reputation for easy maintenance, make an excellent addition to any home or garden. Not only are they beautiful and functional (hello, natural sunburn relief!), but they’re also incredibly resilient plants. However, like any thriving plant, aloe occasionally needs to be replanted to encourage healthy growth.
This guide will walk you through the step-by-step process of how to replant aloe, ensuring that your plant remains healthy, vibrant, and ready to grow.
Why You Need to Replant Aloe
Before we jump into the how, it’s important to understand the why. Replanting aloe is essential for several reasons:
- Outgrowing the Pot: Aloe plants can quickly outgrow their pots, leaving their roots cramped and stressed. If you notice roots poking out of the drainage holes, it’s time for a bigger home.
- Multiplying Pups: Aloe plants often produce smaller offshoots, called pups. These baby plants can overcrowd the parent plant, stunting growth for all.
- Nutrient Depletion: Over time, potting soil can lose its nutrients. Replanting gives your aloe fresh soil and a nutrient boost.
- Disease Prevention: Damaged or decomposing roots can lead to rot, and replanting gives you the chance to address any issues before they escalate.
Now that you know why replanting aloe is necessary, here’s how to do it.
What You’ll Need to Replant Aloe
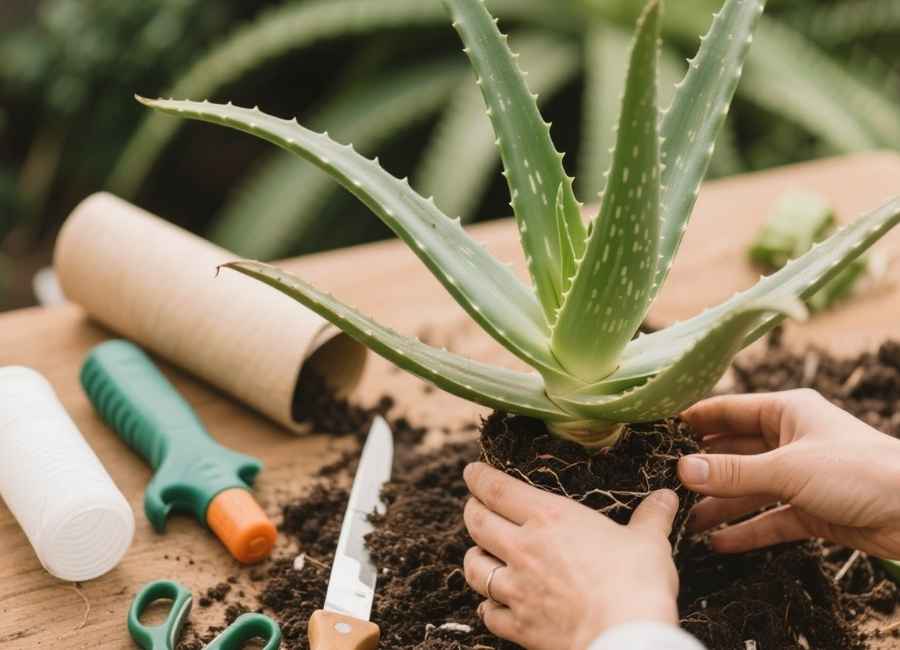
Before grabbing your aloe plant, be sure to gather the necessary materials:
- A larger pot (with drainage holes)
- Fresh, well-draining cactus or succulent soil mix
- Gardening gloves (optional, but useful if you’re handling a spiky aloe variety)
- A small trowel or spoon for digging
- Clean scissors or pruning shears
- Optional materials like a piece of mesh to cover the pot’s drainage hole
With these materials in hand, you’re ready to begin the process.
Step-by-Step Guide to Replant Aloe
1. Identify the Right Time to Replant
Timing is everything when it comes to replanting aloe. The best time to replant is during the spring or summer when the plant is actively growing. Avoid replanting during its dormant period in winter, as this can stress the plant.
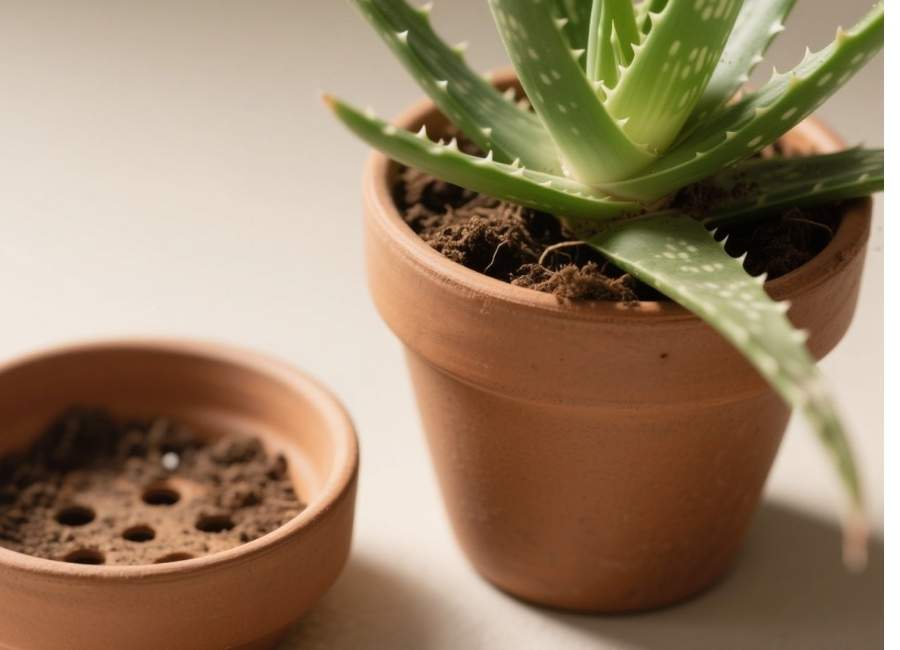
2. Choose the Right Pot
If your aloe has outgrown its current pot, select a new pot that is about one to two inches larger in diameter. Ensure the pot has proper drainage holes, as aloe plants are prone to root rot if left in standing water.
For pots with large drainage holes, consider placing a piece of mesh or a coffee filter over the hole to prevent soil from washing out.
3. Prepare the Soil
Aloe plants thrive in well-draining soil. Use a cactus or succulent soil mix that prevents the roots from sitting in water. If you don’t have ready-made succulent soil, you can create your own by mixing:
- 2 parts potting soil
- 1 part coarse sand or perlite
- 1 part coconut coir or peat moss
This blend provides the perfect balance of drainage and moisture retention.
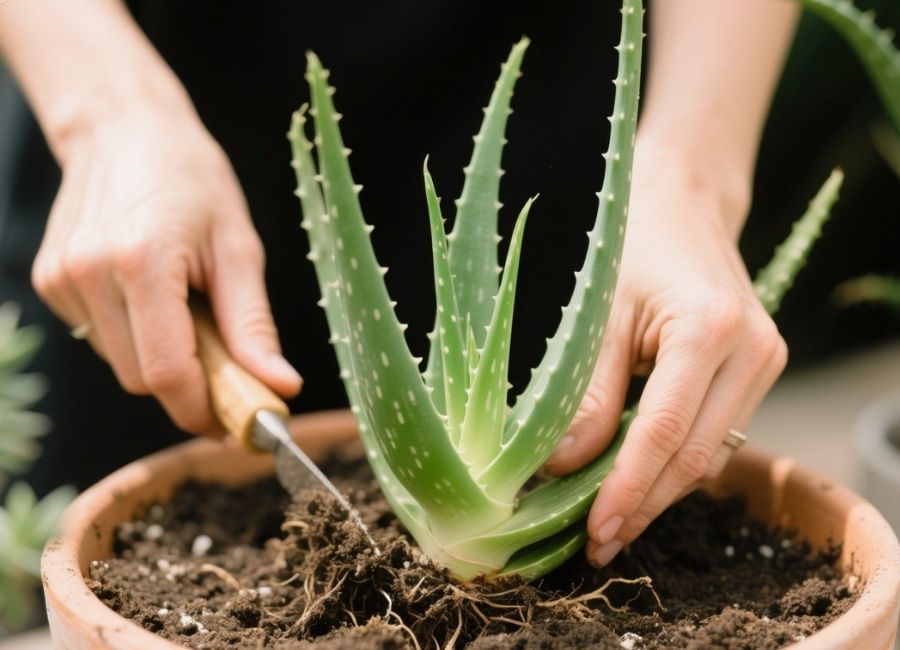
4. Remove the Aloe from Its Current Pot
Carefully loosen the soil around your aloe plant using a trowel or your fingers. Gently remove the plant by tipping the pot to the side and pulling the aloe out by the base, being cautious not to damage its roots.
If pups (offshoots) are attached, you’ll need to separate them during this step. Hold the pup gently and wiggle it until its roots detach from the parent plant. For stubborn pups, use clean scissors or pruning shears to snip them off.
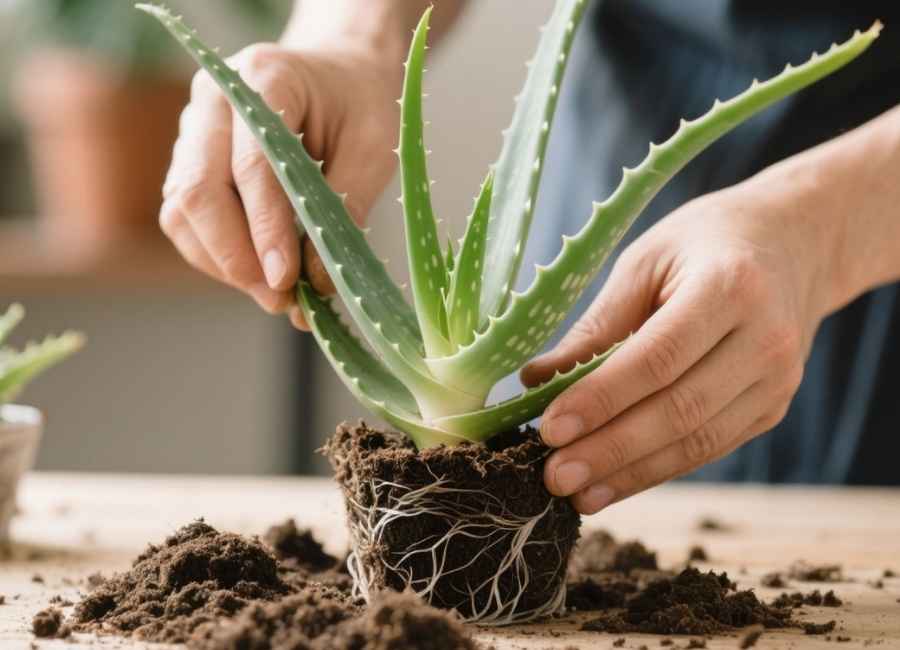
5. Inspect and Trim the Roots
Examine the roots of your aloe plant. Healthy roots will look firm and white or light brown, while damaged or rotting roots will appear mushy, dark, or black. Use clean scissors or pruning shears to trim away any unhealthy roots. This will prevent rot and give your aloe a fresh start.
6. Plant in the New Pot
Fill the bottom of the new pot with a layer of fresh soil. Place your aloe plant in the middle of the pot, ensuring that the roots are spread out. Add more soil around the base, pressing gently to secure it. The plant’s base should sit just above the soil line to reduce the risk of rot.
If you’ve separated any pups, plant them in their own mini pots using the same process.
7. Wait to Water
This step is crucial. After replanting, wait at least one week before watering your aloe plant. This gives the roots time to heal and reduces the risk of rot. Once the waiting period is over, water your aloe lightly and allow the soil to dry out completely before watering again.
Caring for Your Replanted Aloe
Now that your aloe is replanted, proper care will ensure its long-term health and vitality.
- Watering: Aloe plants prefer the “soak and dry” method. Water thoroughly, then allow the soil to dry completely before the next watering. Overwatering is a common mistake, so err on the side of caution.
- Light: Place your aloe in a spot with plenty of bright, indirect sunlight. While aloe loves light, too much direct sunlight can scorch its leaves.
- Fertilizing: Aloe plants don’t need heavy fertilization. Feed them with a diluted cactus or succulent fertilizer during their active growing season (spring and summer) for a nutrient boost.
- Rot Prevention: Ensure the pot’s drainage holes remain open and avoid leaving your aloe in standing water.
Common Mistakes to Avoid
Even with the best intentions, mistakes can happen. Watch out for these common pitfalls:
- Using Regular Potting Soil: Standard potting soil retains too much moisture, which can lead to root rot.
- Overwatering: Aloe plants are drought-tolerant and can go weeks without water. Stick to infrequent watering and check the soil before adding water.
- Planting Too Deeply: Burying the base of the plant can encourage rotting. Keep the base just above the soil line.
Give Your Aloe the Fresh Start It Deserves
Replanting may seem intimidating at first, but trust us, your aloe will thrive with the right care. With fresh soil, ample space, and the right amount of water and light, your aloe will become stronger, healthier, and more beautiful than ever.
Whether your aloe is overgrown, producing pups, or just in need of a refresh, this guide has provided you with all the steps you need to ensure success.
Happy planting, and here’s to thriving, vibrant aloe plants everywhere!


