


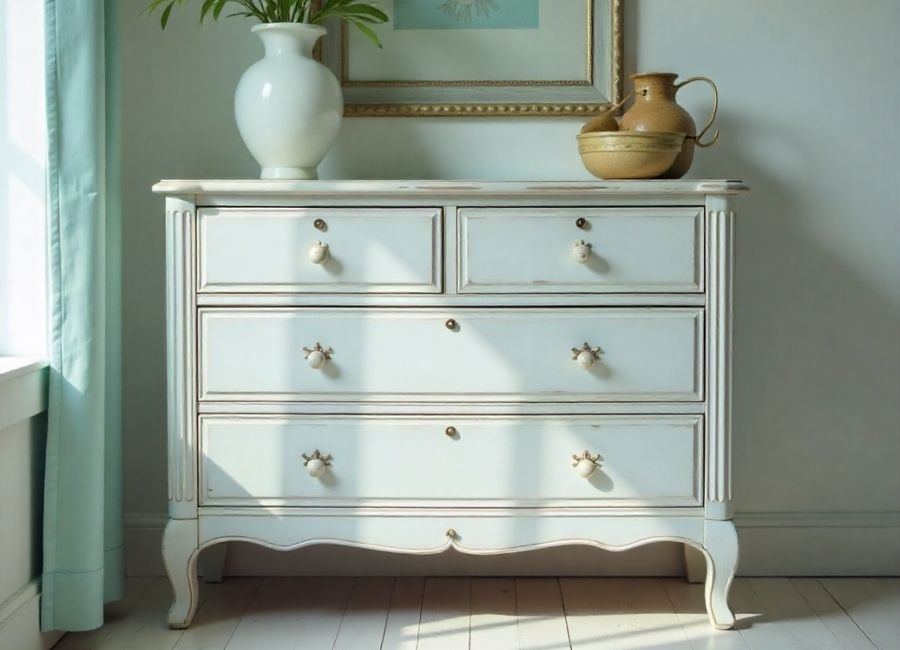
-Whitewashing furniture creates a stunning vintage look that brightens any room. This simple technique adds character while maintaining the wood’s natural texture. You can achieve professional results with basic supplies and minimal experience.
Whitewashing differs from painting because it allows the wood grain to show through. (How to: Whitewash Wood with Chalk Paint®, n.d.) The technique creates a weathered, beachy appearance that works with farmhouse, coastal, and shabby chic decor styles. Best of all, you can complete most projects in a single afternoon.
This guide covers everything you need to know about whitewashing furniture. You’ll learn which pieces work best, what supplies to gather, and how to achieve consistent results every time.
What Is Whitewashing?

Whitewashing is a decorative painting technique that creates a translucent white or off-white finish. Unlike solid paint, whitewash allows the wood grain and natural color to show through the coating.
The technique originated as a practical way to protect and enhance the appearance of wooden structures. (Whitewash etymology online, origin and meaning, n.d.) Modern whitewashing focuses on aesthetics, creating an aged, rustic appearance that adds charm to any piece. (Varathane Whitewash Wood Enhancer, n.d.)
Key benefits of whitewashing include:
- Brightens dark furniture without hiding wood grain
- Creates an aged, vintage appearance
- Works on various wood types and stains
- Easy to repair if damaged
- Cost-effective furniture makeover option
Choosing the Right Furniture for Whitewashing
Not every piece responds well to whitewashing. Select furniture with visible wood grain for the best results. Pieces with interesting details, such as carved elements, paneling, or turned legs, showcase the technique beautifully.
Ideal candidates include:
- Dining tables and chairs
- Dressers and nightstands
- Coffee tables and side tables
- Cabinets and hutches
- Wooden bed frames
Avoid furniture with laminate or veneer surfaces. These materials won’t absorb the whitewash properly, leading to uneven coverage and poor adhesion. (How To Whitewash Laminate Furniture? Give It A Fresh New Look – Tools Advisers, n.d.)
Essential Supplies for Whitewashing
Gather these supplies before starting your project:
Paint and Materials:
- White or off-white latex paint
- Water for thinning
- Clear protective topcoat (optional)
Tools:
- Natural bristle brush or foam brush
- Clean rags or paper towels
- 220-grit sandpaper
- Drop cloths or plastic sheeting.
- Mixing container
Preparation Items:
- TSP cleaner or degreaser
- Wood filler (if needed)
- Painter’s tape
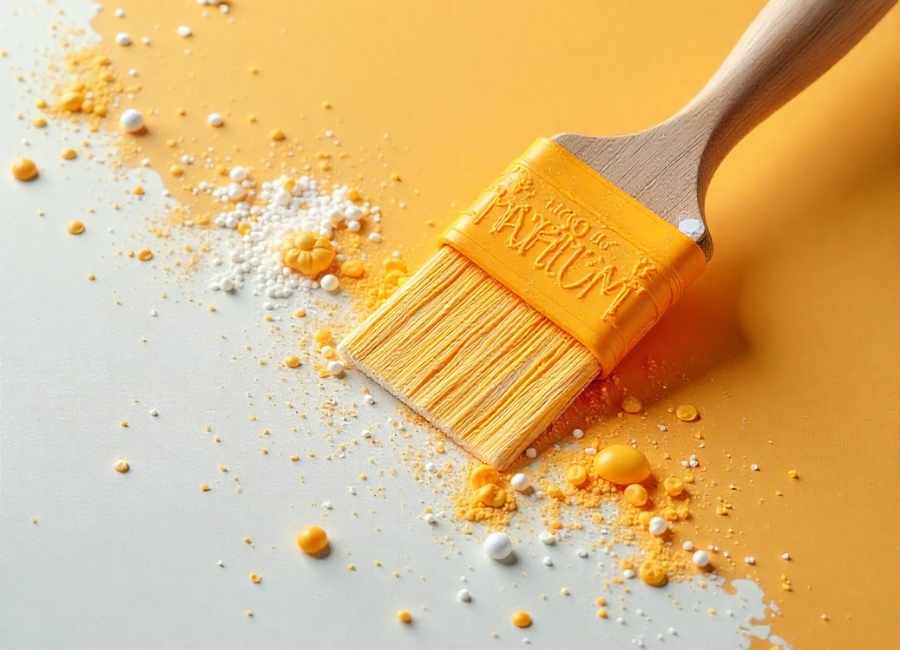
Quality brushes make a significant difference in your final results. Natural bristle brushes are more effective than synthetic ones for this technique.
Step 1: Prepare Your Furniture
Proper preparation ensures your whitewash adheres evenly and lasts for years. Start by removing all hardware, such as handles, knobs, and hinges. Store small parts in labeled bags to avoid losing them.
Clean the entire surface with TSP cleaner or a strong degreaser. This step removes built-up wax, polish, and grime that could interfere with paint adhesion. Allow the piece to dry completely before proceeding.
Surface Preparation Steps:
- Fill any holes or deep scratches with wood filler.
- Allow the filler to dry according to the manufacturer’s instructions.
- Lightly sand the entire surface with 220-grit sandpaper.
- Remove all sanding dust with a tack cloth.
Light sanding creates tiny scratches that help the whitewash grip the surface. (How To Whitewash Timber, n.d.) Focus on glossy areas that might resist paint absorption.
Step 2: Mix and Apply the Whitewash
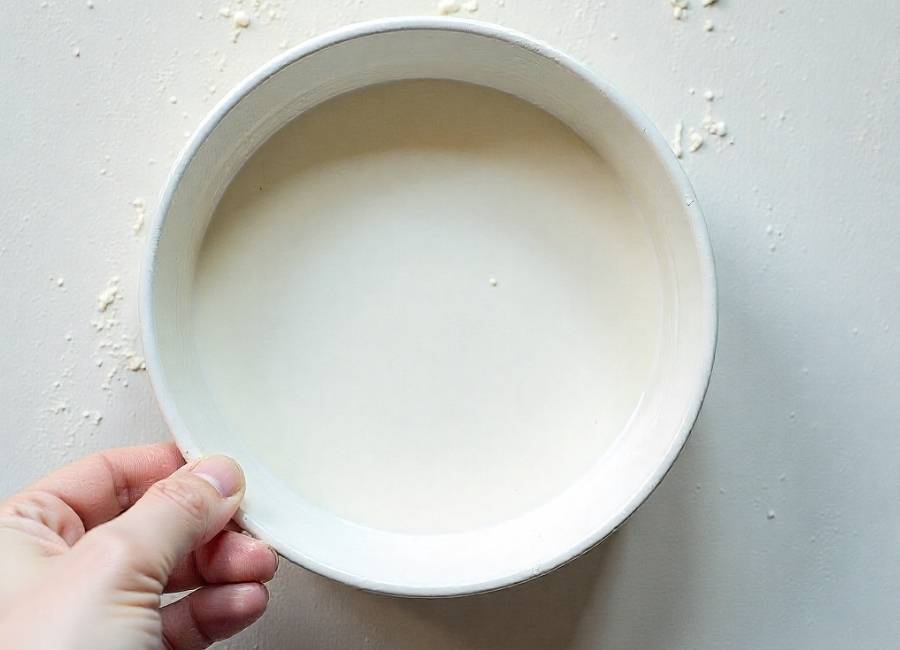
Create your whitewash mixture by combining equal parts white latex paint and water. Start with small amounts until you achieve the desired consistency. The mixture should flow easily but not be too thin.
Test your mixture on an inconspicuous area first. Adjust the ratio if needed – more water creates a more transparent effect, while less water provides better coverage.
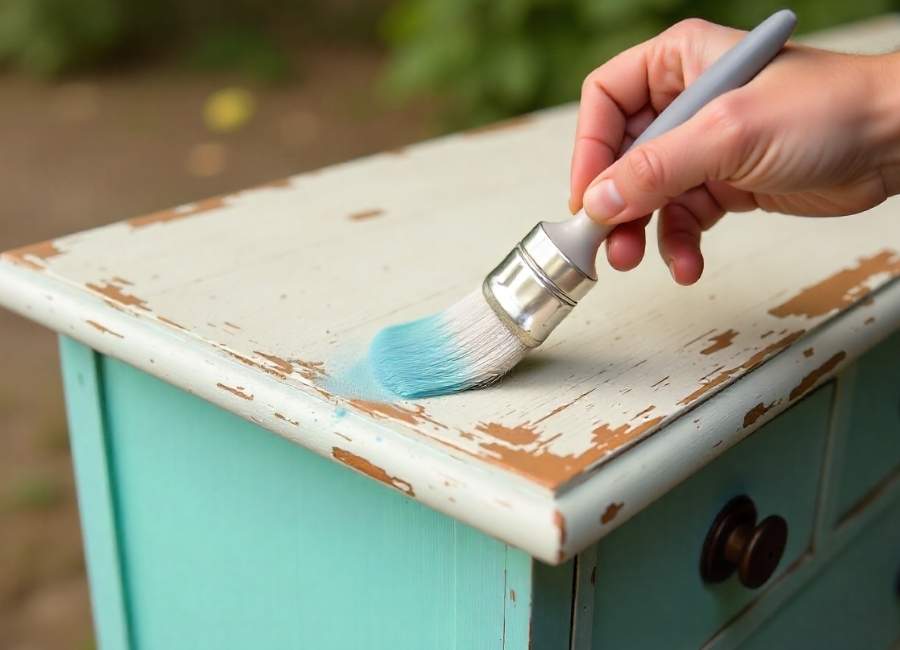
Application Process:
- Dip your brush in the whitewash mixture.
- Apply in long, smooth strokes following the wood grain.
- Work in small sections to maintain a wet edge.
- Remove excess mixture with a clean rag before it dries.
Work quickly but deliberately. The key is maintaining consistent coverage while allowing the wood grain to show through. Don’t worry about perfect evenness – slight variations add to the authentic aged appearance.
Step 3: Perfect Your Finish
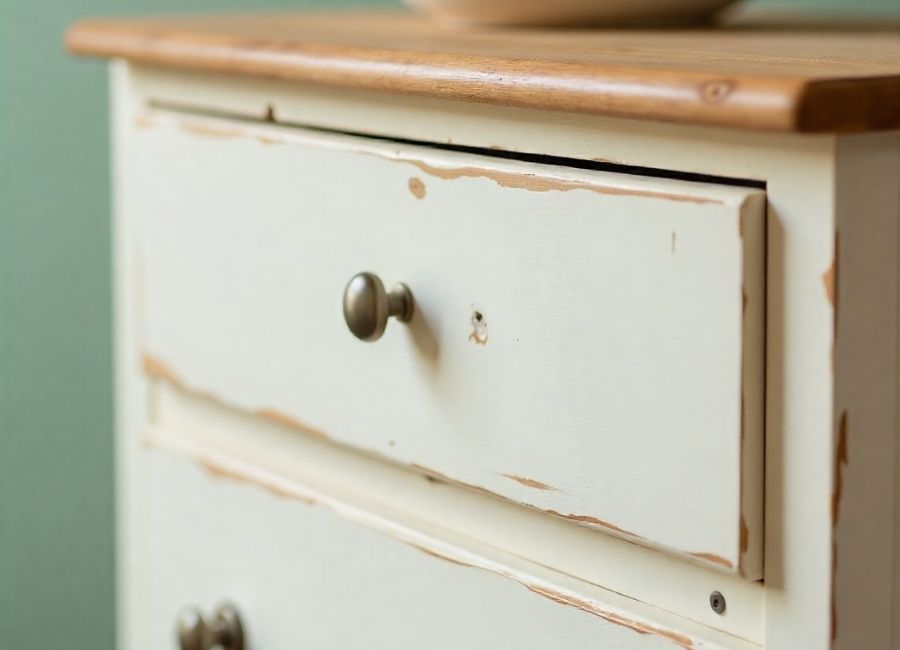
Once you’ve applied whitewash to the entire piece, step back and evaluate the coverage. You can add more coats for increased opacity or distress certain areas for a more weathered look.
Finishing Options:
- Sand high-wear areas lightly for a distressed effect
- Apply additional coats for more coverage.
- Add a clear protective topcoat for durability.
Allow each coat to dry completely before applying the next. Most projects need only one or two coats to achieve the desired look.
For pieces that will see heavy use, apply a clear protective finish once the whitewash is completely dry. This step prevents chipping and makes cleaning easier. (Varathane Whitewash Wood Enhancer, n.d.)
Troubleshooting Common Issues
Uneven Coverage: This typically occurs when working too slowly or failing to maintain a wet edge. Work in smaller sections and move quickly to avoid lap marks.
Too Transparent: Add more paint to your mixture or apply additional coats. Remember that multiple thin coats look better than one thick application.
Paint Not Adhering: Insufficient cleaning or sanding typically causes this problem. Strip the paint, clean thoroughly, and sand before trying again.
Brush Marks: Use a high-quality brush and maintain light pressure. You can also use a foam brush for smoother application on flat surfaces.
Maintaining Whitewashed Furniture
Whitewashed furniture requires minimal maintenance when properly sealed and protected. (How To Seal White Washed Wood: A Complete Guide For Long-Lasting Beauty, 2025) Dust regularly with a soft cloth and avoid using harsh chemical cleaners, as they can damage the finish.
Care Tips:
- Clean with mild soap and water
- Avoid abrasive cleaners
- Touch up chips promptly to prevent further damage.
- Reapply protective coating every few years for high-use pieces.
Minor chips and scratches actually enhance the aged appearance, so don’t worry about maintaining perfect condition.
Transform Your Space with Whitewashed Furniture
Whitewashing offers an affordable way to brighten and update tired furniture pieces. The technique works on various wood types, creating a timeless look that complements many decorating styles.
Start with a small piece to practice your technique before tackling larger projects. Once you master the basic method, you can experiment with different paint colors and distressing techniques to create unique finishes.
Your whitewashed furniture will bring new life to any room while maintaining the natural beauty of wood grain. The technique transforms ordinary pieces into conversation starters that reflect your personal style.flavorful burgers like a pro at home.


