


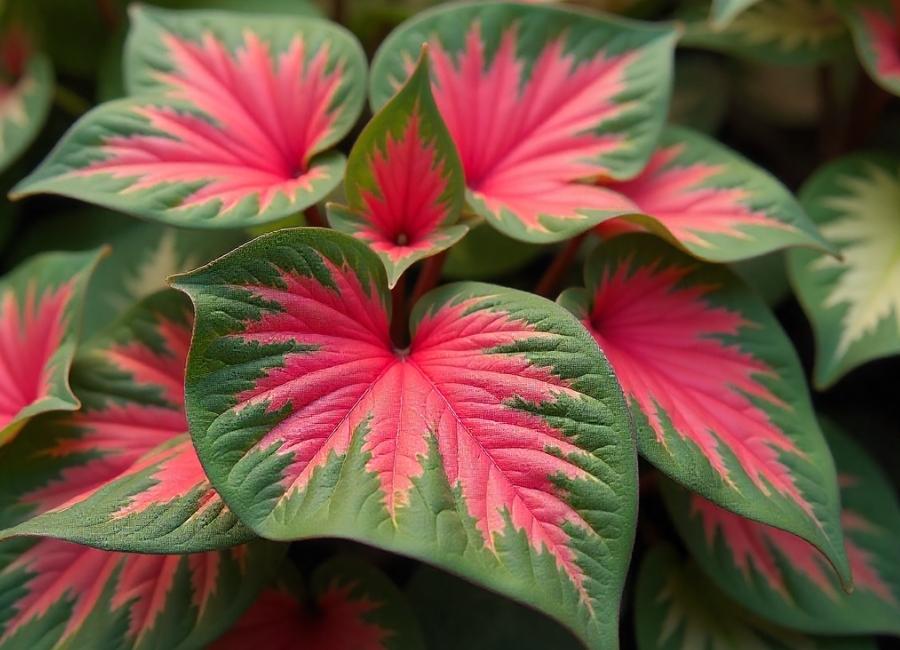
Caladiums are a Florida gardener’s dream. Their vibrant foliage is perfect for brightening gardens, borders, or shady spots, making them a must-have for plant lovers in zones like 9B. But while Florida’s warm climate supports growing caladiums beautifully, there comes a time every year when their bulbs need proper care and storage to ensure their health for the next growing season. Knowing how to store your caladium bulbs correctly can save you time, money, and effort, letting you enjoy their stunning display year after year.
This blog will guide you through everything you need to know about storing caladium bulbs in Florida’s Zone 9B, from the proper timing of bulb collection to creating an ideal storage environment.
Why It Is Important to Store Caladium Bulbs Properly
Caladiums are tropical perennials, which means they thrive in warm climates but are susceptible to dormancy in cooler months. Zone 9B generally has mild winters, but the fluctuating temperatures can still damage caladium bulbs left in the ground. Storing bulbs ensures they remain healthy and ready for planting in the spring.
Key benefits of proper bulb storage:
- Protects bulbs from cold damage.
- Prevents diseases that can develop in wet soils.
- Extends the lifespan of your plants by maintaining their health.
Whether you’re a new gardener or an experienced green thumb, understanding caladium bulb storage is essential to keeping your garden looking its best.
When to Dig Up Caladium Bulbs in Florida
Timing is key when it comes to digging up your caladium bulbs. Start by keeping an eye on the weather and plant behavior:
- Signs to watch for: Caladium leaves will start to yellow and die back in late fall, which is a clear signal that the plant is entering dormancy.
- Temperature guidelines: When nighttime temperatures dip consistently below 60°F (15°C), it’s time to act.
For Zone 9B, this timing typically falls between late October and early November. If left too long, cold snaps or excess moisture in the soil can lead to bulb rot. Act promptly once you notice the signs of dormancy.
How to Dig Up Caladium Bulbs Safely
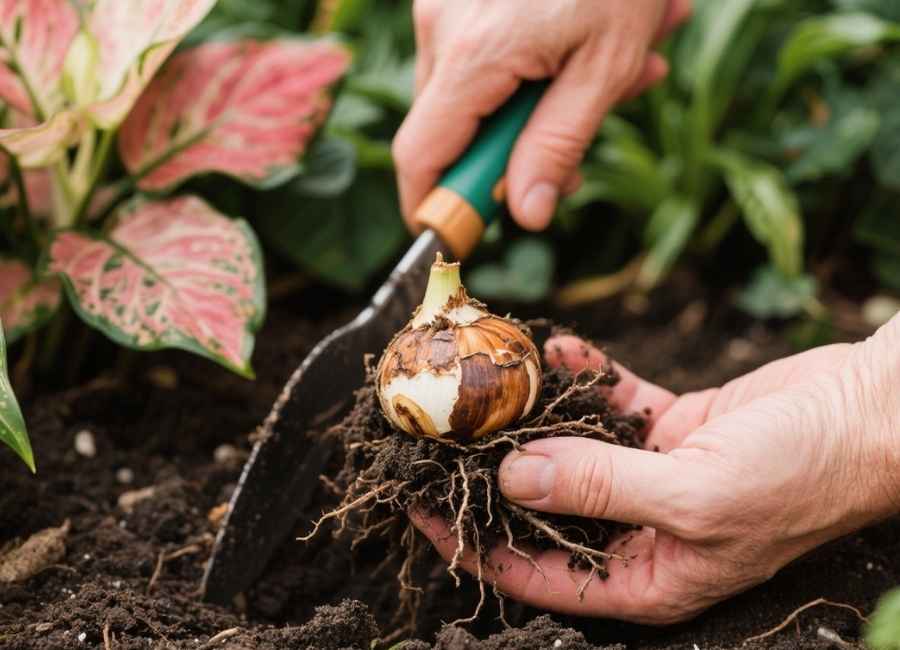
When you’re ready to dig up your bulbs, doing it gently and correctly is essential to protect them from damage.
Step 1: Choose the Right Tools
Use a garden fork or spade to lift the bulbs carefully from the soil. Avoid using sharp tools that could puncture or damage the bulbs.
Step 2: Loosen the Soil
Loosen the soil around the plant, giving the bulbs extra room so they don’t suffer any accidental breaks during the process.
Step 3: Handle With Care
Once the soil is loosened, gently lift the bulbs from the ground by their base, brush off excess soil, and avoid yanking, as this can break roots or skins that protect the bulb.
Tip: Always work on a dry day to minimize excess moisture that can encourage rotting during storage.
Preparing Your Caladium Bulbs for Storage
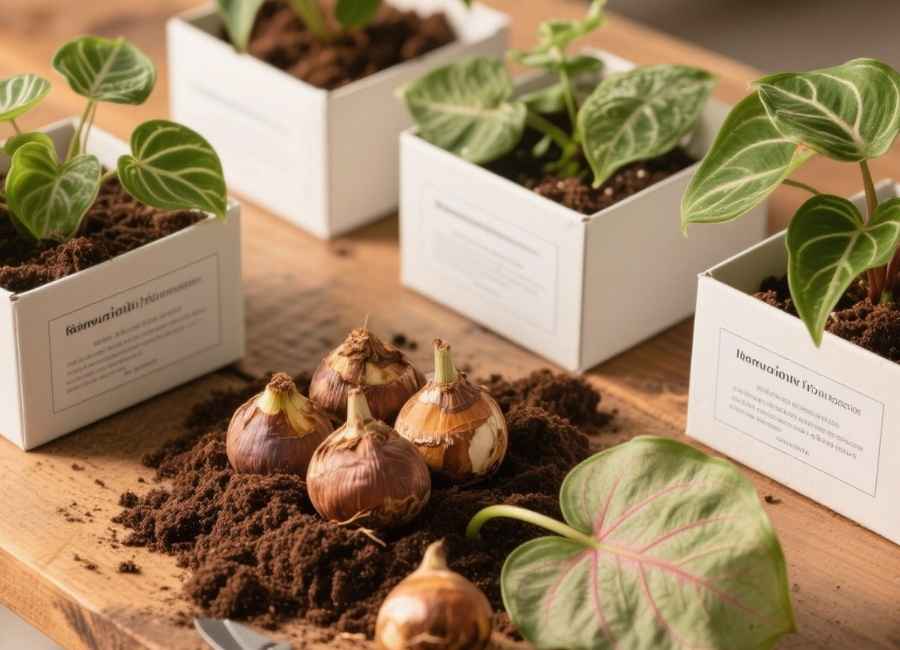
Proper preparation of your bulbs is just as crucial as storing them. A few simple steps can ensure your caladiums remain healthy through winter.
Step 1: Clean the Bulbs
- Remove leftover soil by gently brushing or rinsing off dirt.
- Cut off dead or dying foliage, leaving a small portion of the stem intact.
Step 2: Cure the Bulbs
Bulbs need to dry out before being placed in storage. A curing period minimizes excess moisture, which reduces the risk of rot and fungal growth.
- How to cure:
- Place bulbs in a cool area out of direct sunlight with good air circulation.
- Leave them for 7 to 10 days.
- Optimal curing conditions:
- Temperature: Around 70°F (21°C)
- Humidity level: Low to medium
Step 3: Inspect for Damage
Once cured, inspect each bulb for signs of damage or disease. Discard any bulbs that appear mushy, moldy, or have severe blemishes.
How to Store Caladium Bulbs in Zone 9B Florida
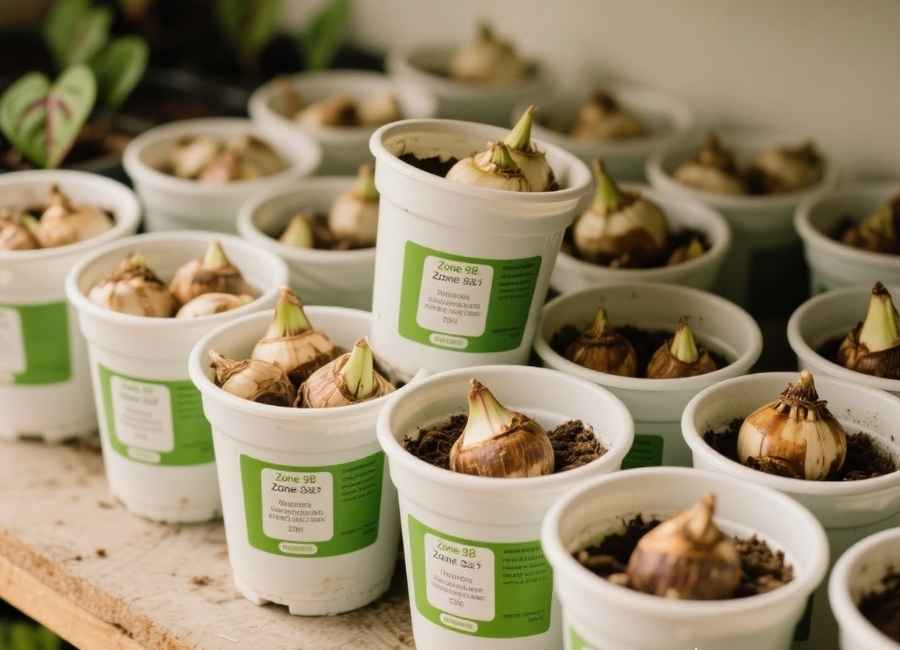
Storing caladium bulbs properly involves creating the right environment to keep them dormant and healthy throughout the winter.
Step 1: Choose a Storage Container
The container you use can make or break your storage process. Ideal options include:
- Cardboard boxes
- Paper bags
- Mesh bags
Avoid plastic materials, as these trap moisture and can lead to rot.
Step 2: Add Protective Packing Material
Surround your bulbs with dry packing material to maintain consistent moisture levels during storage. Use:
- Peat moss
- Sawdust
- Newspaper shreds
Layer the bulbs and packing material to ensure they’re separated and supported.
Step 3: Find the Right Storage Environment
Even in Florida, Zone 9B, where winters are mild, it’s essential to give your caladium bulbs the right conditions for dormancy:
- Temperature: Keep bulbs in a space between 60–70°F (15–21°C).
- Light: Store them in a dark or dimly lit area to prevent premature sprouting.
- Humidity: Low humidity is best to prevent mold.
Common storage locations include closets, garages, or basements in Florida homes with controlled conditions.
Tip: Check on your bulbs monthly to ensure none are rotting or sprouting early.
Reviving Caladium Bulbs for Next Season
When temperatures warm up to around 70°F in the spring (mid-March to early April in Zone 9B), it’s time to bring your caladium bulbs out of storage and prepare them for replanting.
Steps to Replanting:
- Inspect bulbs again for any signs of damage or decay.
- Rehydrate bulbs by soaking them in water for 12–24 hours before planting.
- Plant bulbs 2 inches deep in well-drained soil and water lightly.
With proper care, your caladium garden will thrive once again, filling your space with color and charm.
Keep Your Caladiums Thriving Year After Year
Storing caladium bulbs doesn’t have to be complicated, even in Florida’s unique Zone 9B climate. By understanding the timing, preparation, and storage process, you can ensure your bulbs remain healthy and ready to produce another stunning display.
Proper storage isn’t just about preserving your plants; it’s about being a proactive, informed gardener who looks forward to the beauty of a well-maintained garden.
Whether you’re a veteran plant enthusiast or just starting your gardening adventure, these simple steps will help your caladiums thrive for years to come.


