


Aloe plants have become a favorite among indoor gardeners everywhere. Loved for their easy maintenance, soothing gel, and striking appearance, aloe is both a practical and beautiful houseplant. But did you know that with just a little effort, you can propagate an entirely new aloe plant from an existing one? Whether you’re looking to grow your collection at home or gift new plants to friends and family, aloe propagation is a simple and rewarding process.
This guide will walk you through everything you need to know about propagating aloe plants, from the types of propagation methods to step-by-step instructions, and even tips for nurturing your baby aloe plants. By the end, you’ll feel confident in spreading the aloe love.
What Is Plant Propagation?
Propagation is the process of creating new plants from an existing parent plant. With aloes, propagation involves growing new plants from vegetative parts, primarily through “pups” or offsets, leaves, or even seeds. Propagating allows gardeners to expand their greenery without buying new plants.
Aloe plants are especially suited for propagation because they naturally produce pups (baby plants) that are easily transplanted, making them one of the easiest plants to propagate.
Benefits of Propagating Aloe
Propagating aloe comes with a host of benefits aside from filling your space with gorgeous greenery. Here’s why you should try propagation:
- Cost-efficient gardening: Skip the nursery run! Propagation lets you grow new aloe plants for free.
- Sustainable gifting: Share the beauty of aloe plants with family and friends as unique gifts.
- Aesthetic diversity: Use propagated aloes to decorate different areas in your home or garden without adding to your budget.
- Health benefits: Aloe gel has soothing properties for burns and skin irritations, so having more plants means more aloe at your fingertips.
Three Popular Methods of Propagating Aloe
When propagating aloe, you can choose from three primary methods. Each has its pros and cons, so the right choice depends on your preferences and the resources available.
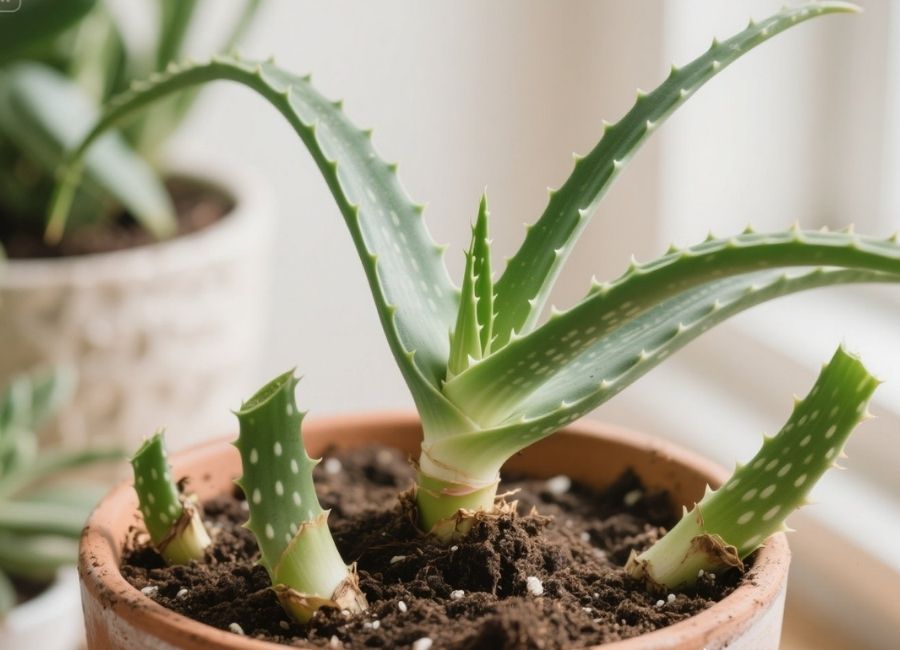
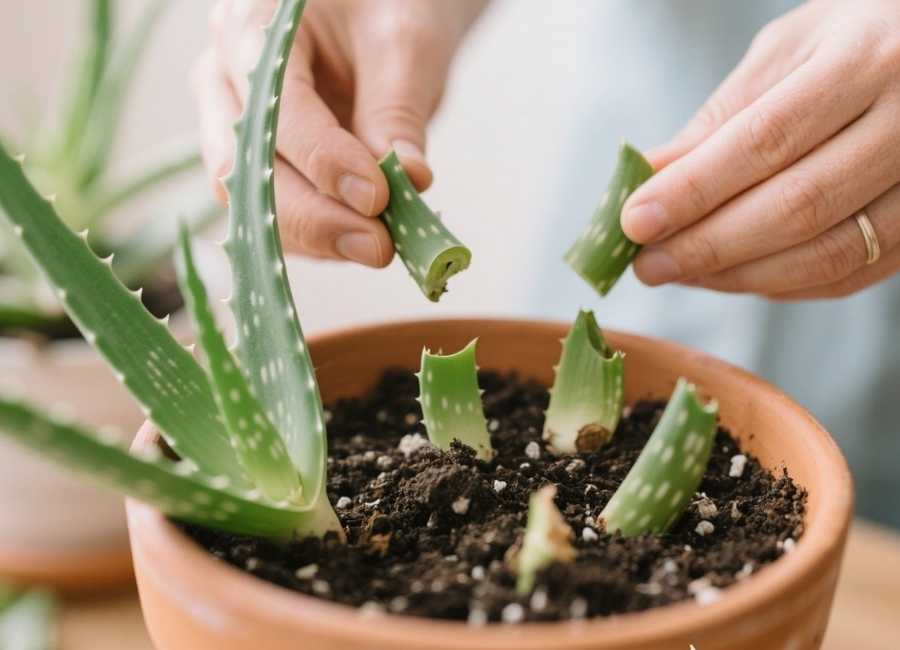
1. With Pups (Offsets)
The easiest and most reliable method for propagating aloe is through pups or offsets. These small baby plants sprout naturally at the base of a healthy aloe plant.
How to Propagate Using Pups
- Identify the pups: Look for small, fully formed plants growing at the base of your aloe. Pups usually have their own root systems ready to go.
- Prepare your tools: Use a clean, sharp knife or pruning shears to carefully separate the pup from the parent plant.
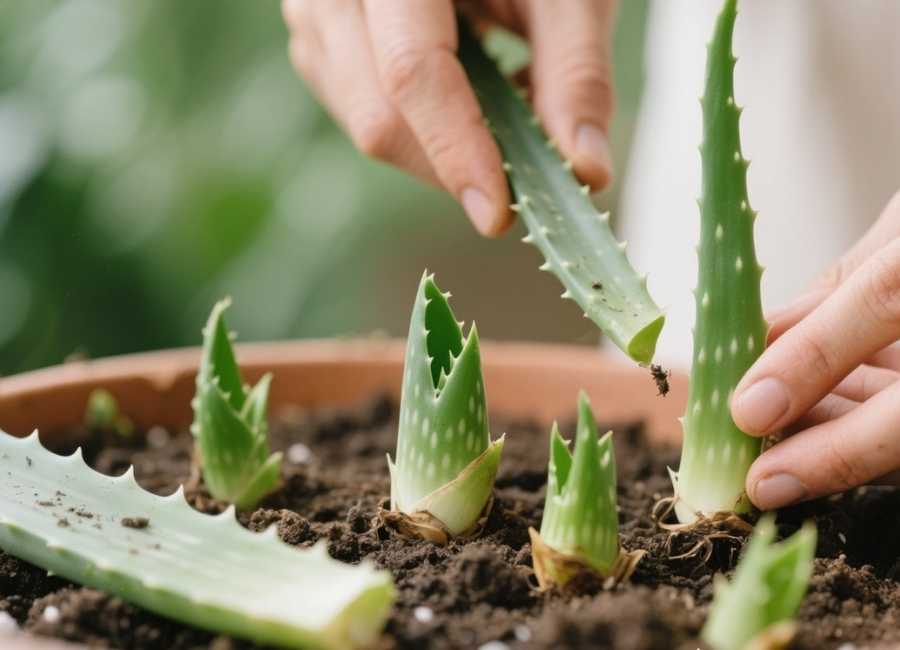
- Dry the pup: Allow the pup to sit out for 1-2 days in a cool, dry area. This helps the wound from the cut heal and prevents rot after planting.
- Plant the pup: Choose a pot with drainage holes and fill it with well-draining succulent soil. Firmly plant the pup into the soil.
- Water sparingly: After planting, wait about a week before giving the new plant its first drink. Overwatering can lead to root rot, so keep the soil on the drier side.
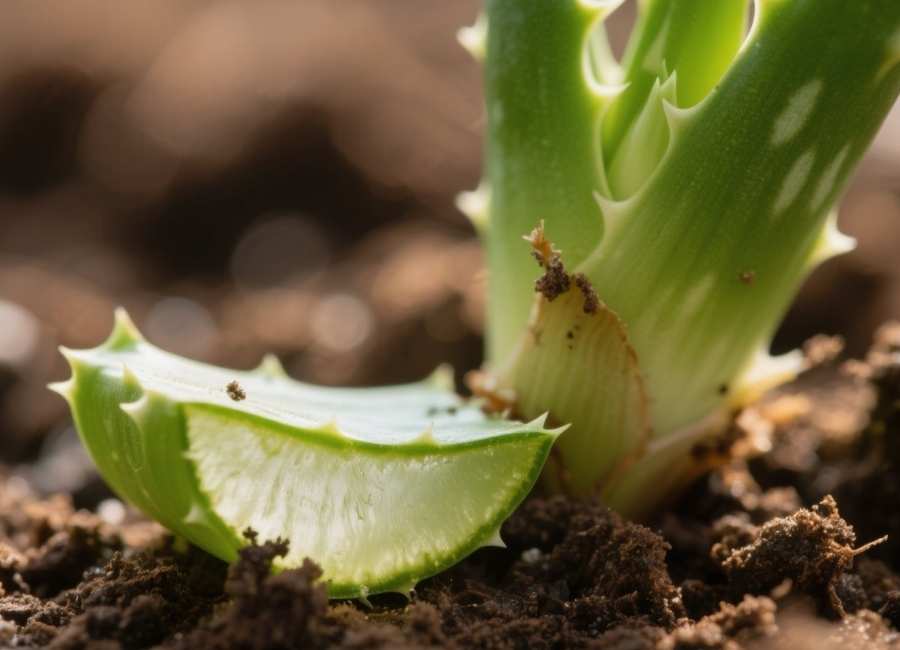
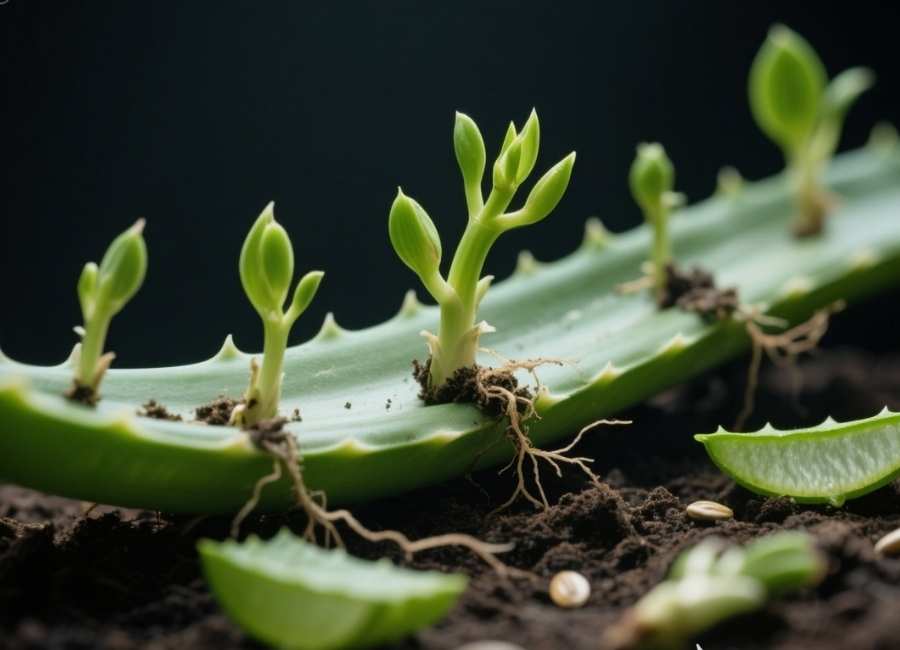
2. By Leaf Cutting
Although less common than using pups, propagating aloe via leaf cuttings can be an interesting experiment.
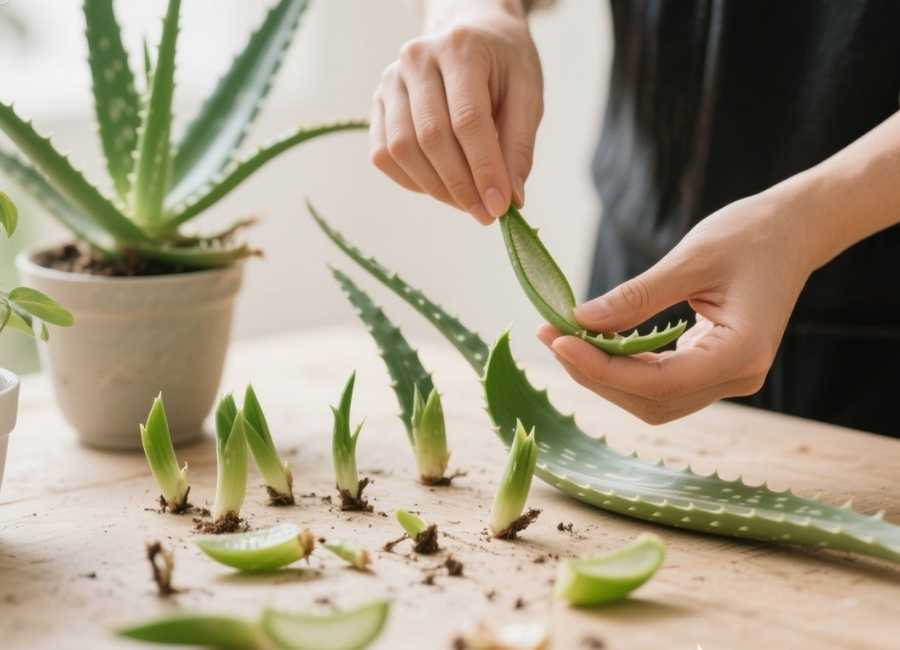
Steps for Leaf Propagation
- Select a healthy leaf: Choose a thick, mature leaf from your aloe plant.
- Cut and dry the leaf: Use a sharp knife to cut the leaf close to the base. Allow the cut end to dry and scab over for 2-3 days.
- Plant the leaf: Bury the dried end of the leaf into succulent soil, ensuring it’s stable and upright.
- Wait for roots: Place the pot in a bright, indirect sunlight spot. Roots may take a few weeks to develop.
- Water moderately: Mist the soil occasionally but avoid soaking it. Leaf propagation has a lower success rate, so patience is key.
3. Using Aloe Seeds
If you want to grow aloe from scratch, seeds can be an adventurous route. This method takes longer but can be rewarding.
Steps for Seed Propagation
- Source quality seeds: Purchase fresh aloe seeds or harvest them from a flowering aloe plant.
- Prepare the soil: Use a cactus seed-starting mix for optimal germination. Place it in shallow trays or pots with drainage.
- Sow the seeds: Spread the seeds over the soil and lightly press them into it. Cover them with a very thin layer of soil.
- Water and wait: Mist the soil gently to keep it moist. Seeds typically germinate in 2-4 weeks if kept in warm temperatures (70–80°F).
- Transplant seedlings: Once the seedlings are large enough to handle, transplant them into individual pots with well-draining soil.
How to Keep Your Propagated Aloe Plants Happy
Propagated aloe plants need a little extra TLC to thrive. Here are some care tips to ensure their success:
Soil and Watering
- Use well-draining soil like a cactus or succulent mix to prevent waterlogging.
- Water once the soil has dried out completely. Overwatering is the number one killer of aloe plants.
Light
- Place your new aloe plants in bright, indirect sunlight. Direct sunlight can scorch their delicate leaves.
Temperature
- Aloe thrives in temperatures between 55°F and 80°F. Protect it from cold drafts and frost.
Fertilizer
- Feed your aloe with a diluted succulent fertilizer once during the growing season (spring or summer).
Repotting
- Repot your aloe plants every 1-2 years to allow room for growth and continued root health.
Common Issues and Troubleshooting in Propagation
Even with the best care, you may encounter some challenges. Here’s how to handle common problems:
- Rotting leaf cuttings or pups: Ensure proper drying before planting and avoid overwatering.
- Yellowing leaves: This could indicate too much sunlight or water.
- Slow growth: Aloe is naturally a slow grower, but not enough light or poor soil quality can slow it down further.
Grow Your Aloe Collection
Propagating aloe plants is a fun, easy, and rewarding way to grow your greenery collection. Whether you go with pups, leaf cuttings, or seeds, the process teaches you patience and the joy of watching new life emerge. Above all, propagation is a sustainable way to garden while sharing the beauty of aloe with others.
Now that you’re ready to get started, grab your parent plant and some pots, and start propagating. Need more tips? Subscribe to our newsletter for exclusive gardening advice that will elevate your green thumb skills!


