


Have you ever found a perfect piece of wooden furniture or a decorative item that just needed a splash of color? If so, you’ve probably wondered about the best type of paint for the job. A common question that comes up for DIY enthusiasts and artists alike is: Can you use acrylic paint on wood?
The short answer is a resounding yes. Acrylic paint is a fantastic and versatile option for most wood projects. It’s water-based, which makes it easy to work with and clean up, and it dries quickly into a durable, water-resistant finish. Unlike oil paints, it doesn’t emit strong fumes, making it a safer choice for indoor projects.
This guide will walk you through everything you need to know about using acrylic paint on wood. We’ll cover the necessary preparations, the step-by-step painting process, and how to seal your project for a beautiful, long-lasting finish. By the end, you’ll have the confidence to transform any wooden object into a work of art.
Preparing the Wood for Painting
Proper preparation is the most critical step to ensure your paint job looks professional and lasts for years. Skipping this stage can lead to a patchy finish, peeling paint, and a lot of frustration. Think of it as creating the perfect canvas for your masterpiece.
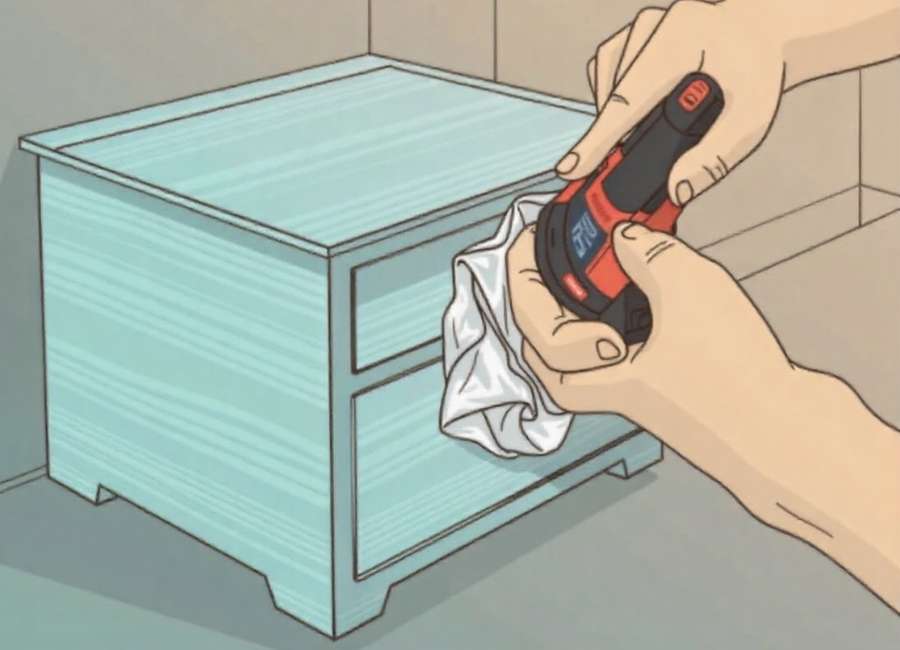
Step 1: Clean the Surface
Start by thoroughly cleaning the wood to remove any dirt, dust, grease, or grime. For most projects, a cloth dampened with warm, soapy water will do the trick. If you’re dealing with a particularly grimy piece, a specialized wood cleaner might be necessary. Make sure to wipe it down with a clean, damp cloth afterward to remove any soap residue and let the wood dry completely before moving on.
Step 2: Sand the Wood
Sanding is essential for creating a smooth surface that the paint can adhere to. It helps to remove any old finishes, like varnish or stain, and opens up the wood’s pores.
- For unfinished or raw wood: Use a medium-grit sandpaper (around 120-150 grit) to even out the surface. Always sand in the direction of the wood grain to avoid creating scratches.
- For previously painted or varnished wood: You may need to start with a coarser grit sandpaper (80-100 grit) to strip the old finish before moving to a finer grit to smooth it out.
After sanding, wipe away all the dust with a tack cloth or a slightly damp cloth. Any leftover dust will mix with the paint and create a gritty, uneven texture.
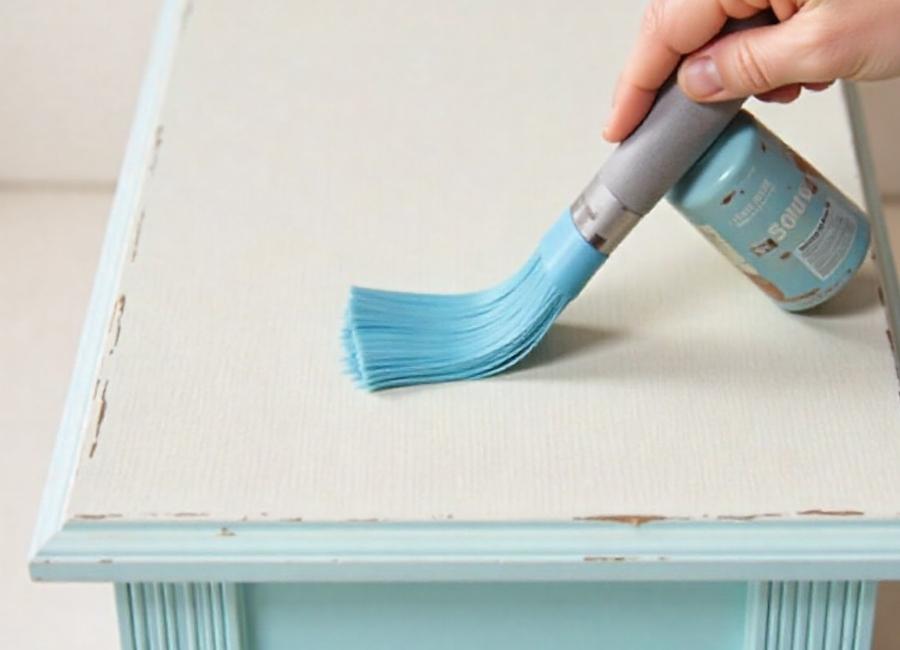
Step 3: Apply a Primer
While you can technically paint directly onto raw wood, applying a primer first will give you much better results. A primer serves several important functions:
- Blocks Stains: It prevents tannins and knots in the wood from bleeding through and discoloring your paint.
- Improves Adhesion: It creates a uniform surface that helps the acrylic paint stick better, reducing the risk of chipping or peeling.
- Ensures Even Color: It provides a neutral base, so your paint color will look more vibrant and consistent, often requiring fewer coats.
Apply a thin, even coat of a quality acrylic or latex-based primer using a brush or roller. Let it dry completely according to the manufacturer’s instructions, which usually takes a few hours. If the surface feels rough after the primer has dried, you can lightly sand it with fine-grit sandpaper (220 grit) for an extra-smooth finish.
How to Paint Wood With Acrylics
With your wood surface prepped and ready, it’s time for the fun part—painting! Choosing the right tools and applying the paint correctly will make all the difference.
Step 1: Choose Your Applicator
The tool you use will depend on the size of your project and the finish you want to achieve.
- Brushes: Soft-bristled brushes are ideal for acrylics. They come in various shapes and sizes for different tasks. Flat brushes work well for large, flat areas, while smaller, pointed brushes are great for detailed work.
- Foam Brushes: These are an inexpensive option that provides a smooth, streak-free finish, making them excellent for small projects or flat surfaces.
- Rollers: For large surfaces like tabletops or doors, a small paint roller will help you cover the area quickly and evenly.
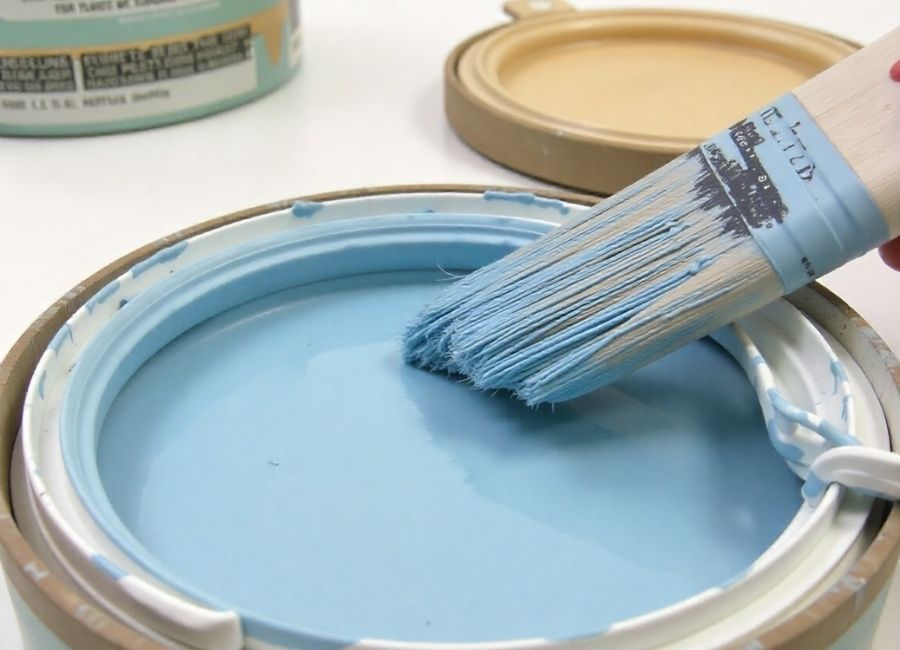
Step 2: Apply the First Coat
Stir your acrylic paint thoroughly before you begin. Dip your brush or roller into the paint and apply a thin, even coat. It’s always better to use multiple thin coats rather than one thick coat, as this helps prevent drips, pooling, and an uneven texture. Work in the direction of the wood grain for a smooth, professional look.
Don’t worry if the first coat looks a bit streaky or translucent—this is completely normal. The goal is to build up the color gradually.
Step 3: Let it Dry and Apply More Coats
Allow the first coat to dry completely. Drying time can vary depending on the paint brand, humidity, and temperature, but it typically takes at least an hour. Once dry, you can apply a second coat. Repeat this process, allowing each coat to dry fully, until you achieve the desired coverage and color depth. Most projects will require two to three coats of paint.
Sealing Your Painted Wood Project
Once you’re happy with your paint job and it’s completely dry, the final step is to apply a sealant. Sealing your project is crucial, especially for items that will be handled frequently or exposed to moisture. A good sealant protects the paint from scratches, chipping, water damage, and UV rays that can cause the color to fade.
Choosing the Right Sealant
There are several types of sealants available, each offering a different finish and level of protection.
- Acrylic Varnish: This is one of the most popular choices for sealing acrylic paint. It’s water-based, low-odor, and won’t yellow over time. It comes in various finishes, from matte to high-gloss.
- Polyurethane: For items that need maximum durability, like tabletops or outdoor furniture, a polyurethane sealer is a great option. It provides a tough, protective layer. Be sure to choose a water-based polyurethane, as oil-based versions can yellow and alter the color of your paint.
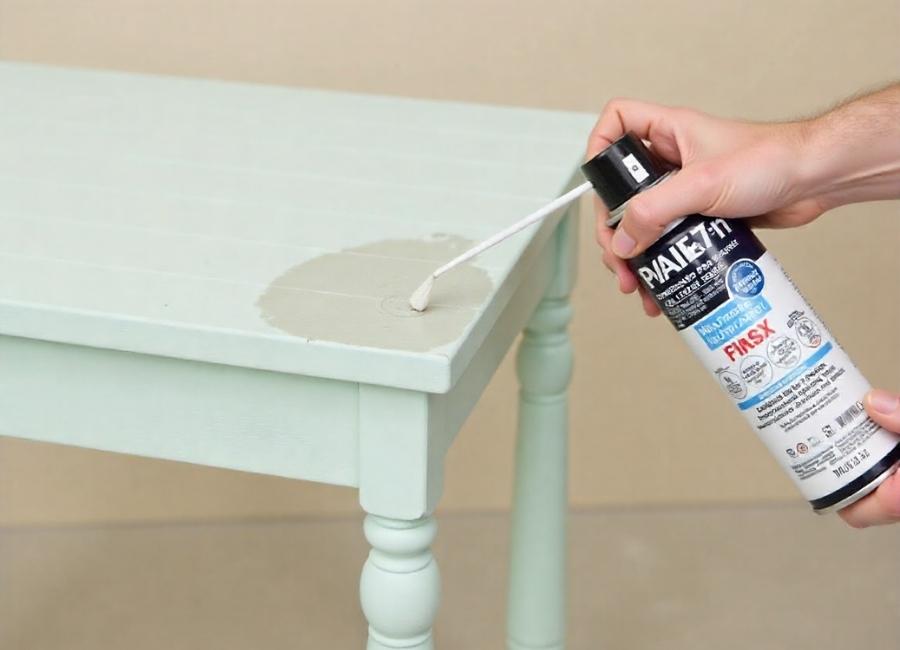
- Spray Sealant: An aerosol sealant is easy to apply and provides a thin, even coat. It’s an excellent choice for projects with intricate details or uneven surfaces where a brush might leave streaks.
How to Apply the Sealant
Apply the sealant in a well-ventilated area. Just like with the paint, it’s best to apply two to three thin coats rather than one thick one. Use a clean brush or follow the instructions on the spray can, allowing each coat to dry completely before applying the next. Once the final coat is dry, your beautifully painted wooden piece is complete and ready to be enjoyed.
Your Next DIY Project Awaits
Painting wood with acrylics is an accessible and rewarding way to breathe new life into old items or customize new ones. By following the essential steps of cleaning, sanding, priming, and sealing, you can achieve a durable, professional-looking finish that will last for years. Now that you know the process, it’s time to find that next wooden treasure and make it uniquely yours. These are easy step-by-step tips for DIYers and art lovers.


