


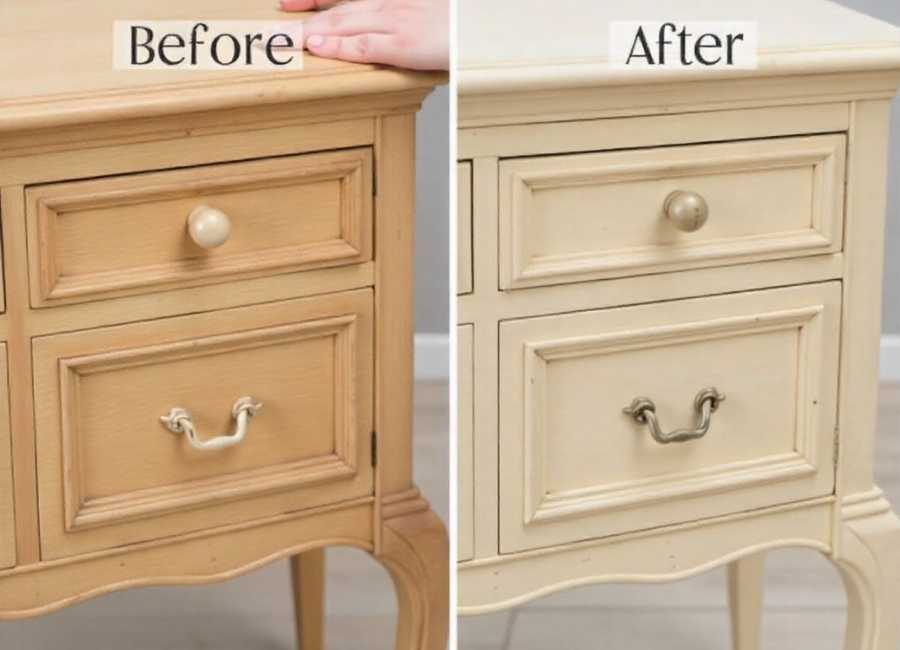
Wood furniture can lose its original charm over time, developing stains, discoloration, or simply looking outdated. Whether you’ve inherited a piece with stubborn water rings or picked up a thrift store find with an uneven finish, bleaching offers an effective solution to restore and refresh wooden surfaces.
Bleaching wood furniture removes stains, evens out color variations, and creates a clean slate for refinishing. (Dresdner & Michael, 2014) This process works particularly well on hardwoods like oak, maple, and cherry, though it can be applied to most wood types with proper preparation. (How to Bleach Wooden Furniture, 2008)
The transformation can be dramatic—turning a dark, weather (Bleaching Wood Furniture: A Little Chest, n.d.)ed piece into something bright and contemporary. However, success depends on choosing the right bleaching method and following proper safety protocols throughout the process.
Understanding Wood Bleaching Types
Different bleaching agents work better for specific situations. Knowing which type to use will determine your project’s success.
Chlorine Bleach
Common household bleach removes surface stains and mildew but won’t change the wood’s natural color. (Wood Bleach: Handy Facts You Should Know, n.d.) This option works best for removing:
- Water stains
- Food spills
- Surface mold
- Light discoloration
Mix one part bleach with ten parts water for most applications. Always test on a hidden area first.
Oxalic Acid (Wood Bleach)
Also called wood bleach, oxalic acid removes deeper stains and some natural wood coloring. It’s particularly effective for:
- Iron stains (black marks from metal contact)
- Tannin stains
- Age-related discoloration
- Ink marks
Purchase oxalic acid crystals from hardware stores and mix according to package directions.
Two-Part Wood Bleach
The strongest option, two-part bleach (sodium hydroxide and hydrogen peroxide), lightens wood’s natural color significantly (USING WOOD BLEACH, 2023). Use this for:
- Major color changes
- Removing natural wood tones
- Preparing dark wood for light stains
- Severe discoloration
This method requires careful handling and produces the most dramatic results.
Essential Safety Equipment
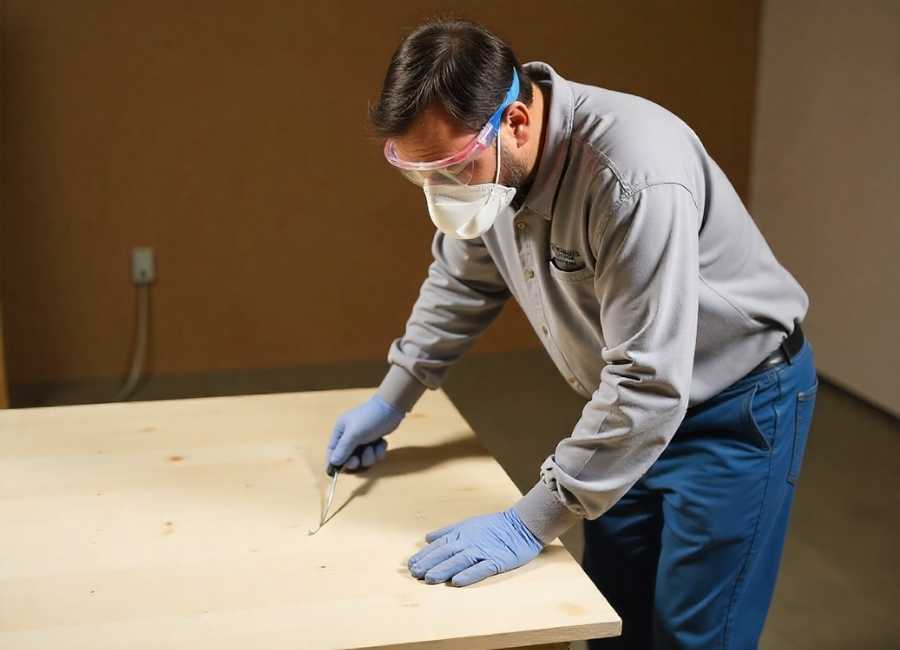
Wood bleaching involves caustic chemicals that can cause serious injury. (Clorox Hazards, n.d.) Never skip safety preparations.
Required protective gear:
- Chemical-resistant gloves (nitrile or neoprene)
- Safety goggles
- Respirator mask
- Long-sleeve shirt and pants
- Closed-toe shoes
Workspace requirements:
- Well-ventilated area (preferably outdoors)
- Drop cloths to protect surfaces.
- Plastic containers for mixing
- Natural bristle brushes (synthetic brushes may dissolve)
Keep a garden hose or a large container of water nearby for emergency rinsing. Remove pets and children from the work area entirely.
Preparing Your Furniture Piece
Proper preparation ensures even bleaching and prevents damage to surrounding areas.
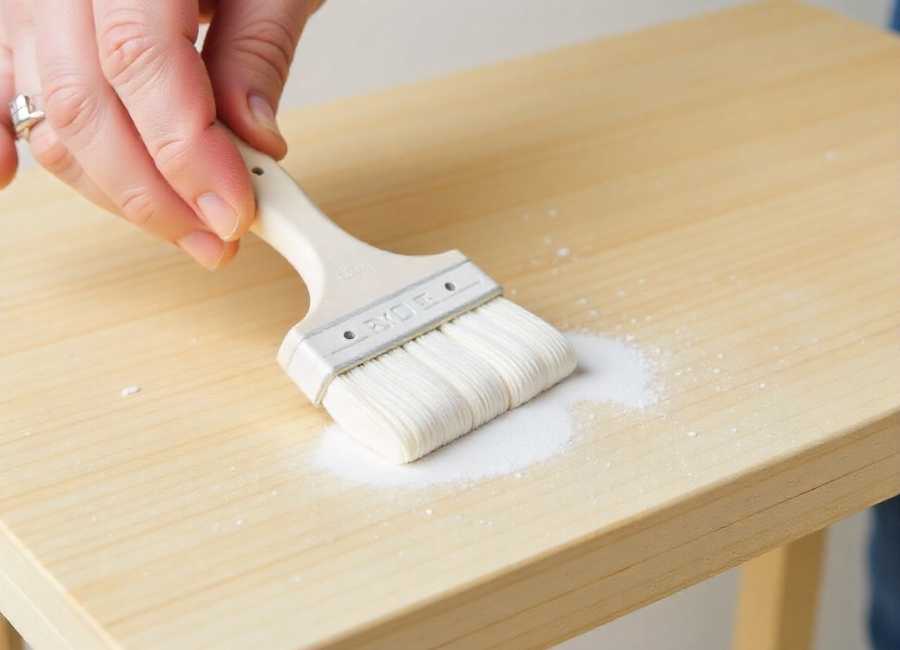
Cleaning and Sanding
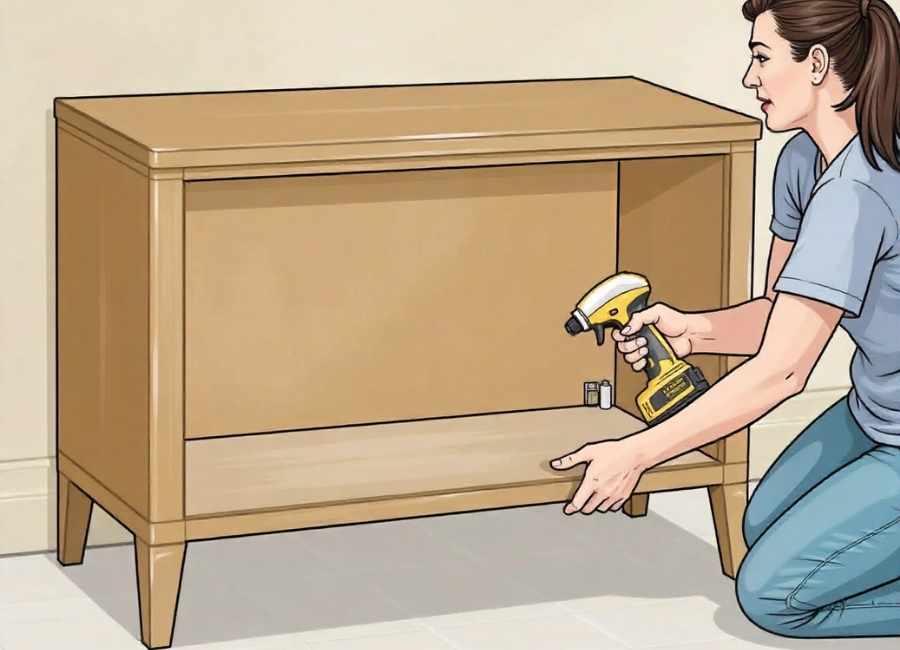
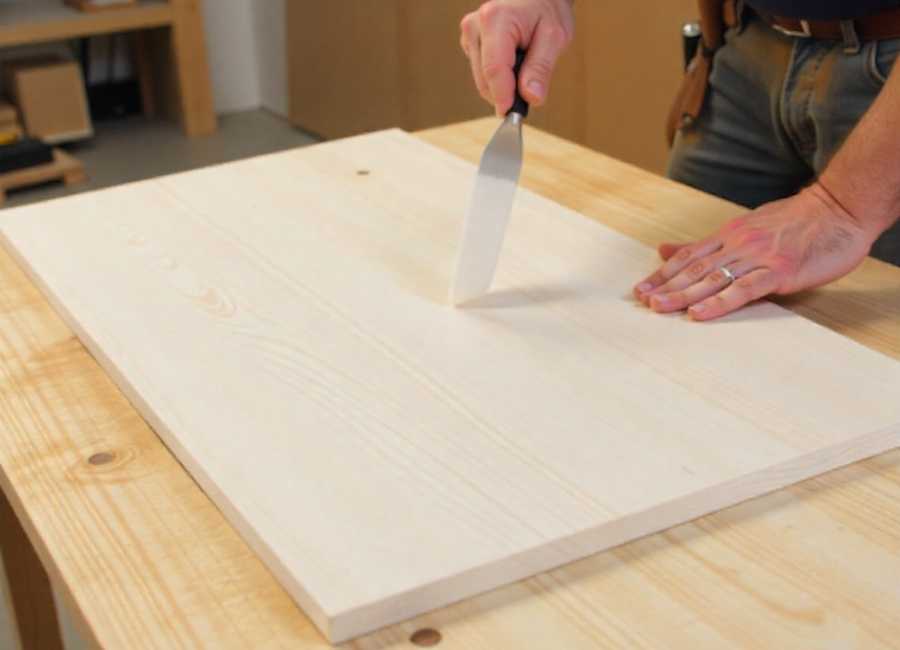
Remove all hardware, including handles, hinges, and decorative elements. Clean the surface thoroughly with a degreasing cleaner to remove wax, polish, or grime that could interfere with bleach penetration.
Sand the entire piece with 150-grit sandpaper, working with the wood grain. This opens the wood pores and removes the existing finish. Follow with 220-grit sandpaper for a smooth surface. (Sanding wood needs the right sandpaper and tools, 2023)
Vacuum all dust and wipe down with a tack cloth. Any remaining debris will create uneven bleaching.
Protecting Adjacent Areas
Mask off any areas you don’t want bleached using painter’s tape and plastic sheeting. Pay special attention to:
- Metal hardware you cannot remove
- Fabric or upholstered sections
- Decorative inlays
- Joints where bleach might pool
Cover the floor and nearby furniture with drop cloths, as bleach splatter can cause permanent damage.
Step-by-Step Bleaching Process
Mixing Your Bleach Solution
For chlorine bleach, mix 1 cup of bleach with 10 cups of water in a plastic container. Stir gently to avoid splashing.
For oxalic acid, follow the package directions carefully. Typically, mix 1 part crystals with 10 parts warm water until dissolved.
For a two-part bleach, mix the components in separate containers initially. Apply the first solution, wait for the recommended time, then apply the second solution.
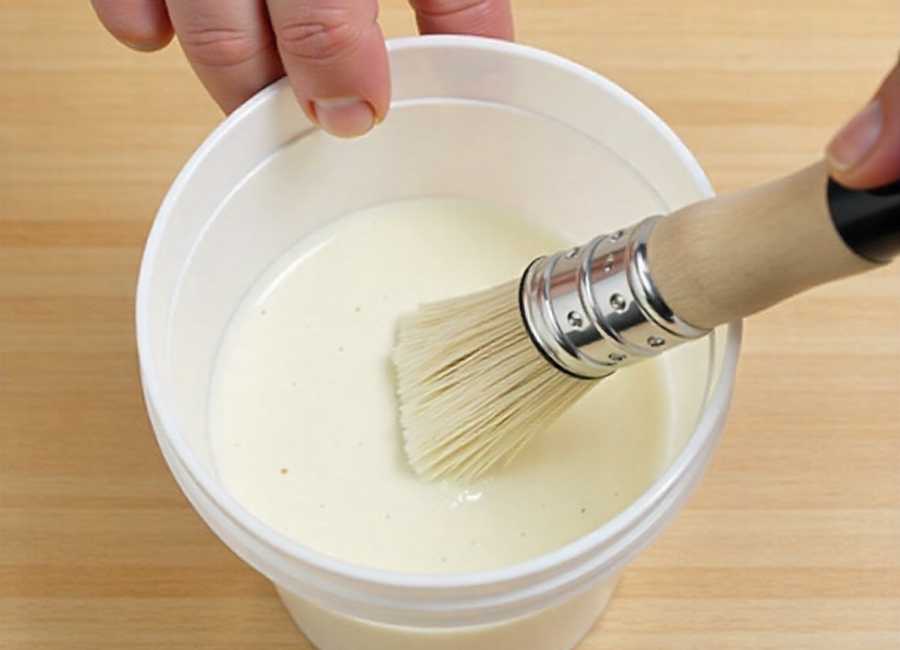
Application Technique
Work in sections to maintain control and ensure even coverage. Dip a natural bristle brush in the solution and apply following the wood grain direction. Avoid overlapping strokes, which can create streaks.
Apply generously, but don’t allow the solution to pool in corners or joints. Work quickly but deliberately—some bleaches begin working immediately upon contact.
Monitoring the Process
Bleaching times vary by wood type and desired lightness. Check progress every 15-30 minutes. Most treatments require 2-4 hours for full effect. (Guide, 2006)
Wood will appear darker when wet, so judge progress carefully. If you need additional lightening, apply another coat rather than leaving the first application longer than recommended.
Neutralizing and Cleaning
Once you achieve the desired lightness, neutralizing stops the bleaching process and prevents continued chemical action.
Neutralization Methods
For chlorine bleach, rinse thoroughly with clean water and allow to dry completely.
For oxalic acid, mix 2 tablespoons of baking soda per cup of water. Apply this solution to neutralize the acid, then rinse with clean water.
For two-part bleach, follow the manufacturer’s neutralization instructions exactly. Some require white vinegar solutions, others need specific neutralizing agents.
Final Cleaning
After neutralization, clean the entire surface with a damp cloth to remove any chemical residue. Allow the piece to dry completely—this may take 24-48 hours, depending on humidity and wood thickness. (How Can You Effectively Use Wood Bleach for Your Projects?, n.d.)
Sand lightly with 320-grit sandpaper to smooth any raised grain caused by the bleaching process.
Troubleshooting Common Issues
Uneven Bleaching
Streaky or blotchy results usually indicate:
- Inadequate surface preparation
- Uneven application
- Contamination from the old finish
Sand the piece again and repeat the bleaching process, paying closer attention to consistent application.
Insufficient Lightening
If the wood isn’t light enough after one treatment:
- Allow complete drying (24 hours minimum)
- Apply a second coat of bleach.
- Consider switching to a stronger bleaching agent.
Never apply additional coats to wet wood, as this can cause damage.
Wood Damage
Over-bleaching can make wood brittle or cause splitting. (Top 5 Wood Bleaching Mistakes – Avoid These Refinishing Errors, n.d.) If this occurs:
- Stop the process immediately.
- Neutralize thoroughly
- Allow extended drying time.
- Consider professional restoration for valuable pieces.
Finishing Your Bleached Furniture
Bleached (Determination of color-changing effects of bleaching chemicals on some heat-treated woods, 2020) wood requires sealing to prevent moisture absorption and color changes. Wait at least 48 hours after bleaching before applying any finish.
Sand lightly with 320-grit paper to prepare the surface. Apply a wood conditioner if working with softwood to prevent blotchy stain absorption.
Choose finishes compatible with bleached wood:
- Clear polyurethane for a natural appearance
- Light stains to add subtle color
- Paint for complete color transformation
- Wax for a traditional, low-sheen finish
Apply finishes in thin, even coats according to the manufacturer’s directions. Allow proper curing time between coats.
Transform Your Furniture Today
Bleaching wood furniture opens up endless possibilities for customization and restoration. Whether you’re lighting a dark antique for a modern space or removing years of accumulated stains, this technique can dramatically transform tired pieces into stunning focal points.
Start with a small, less valuable piece to practice the technique before tackling heirloom furniture. Remember that patience and proper safety measures are key to achieving professional-quality results.
Ready to begin your furniture transformation? Gather your supplies, set up a safe workspace, and take the first step toward giving your wood furniture new life.. Keep your produce fresh longer!


