


Dreaming of fresh, aromaticherbs at your fingertips but short on space? herb pallet garden is your perfect solution! It’s ideal for urban dwellers, eco-conscious individuals, and DIY gardening enthustasts looking for a compact, budget-freindly, and sustainable way to grow herbs. The best part? It’s surprisingly easy to set up-even for beginners.
This guide will walk you through everything you need to know to build your own herb pallet garden, from choosing the right pallet to selecting the perfect plants. By the end, you’ll have a thriving vertical garden that adds charm and functionality to your space.
Why Create a Herb Pallet Garden?
Before we jump into the “how,” here’s why a herb pallet garden is worth considering:
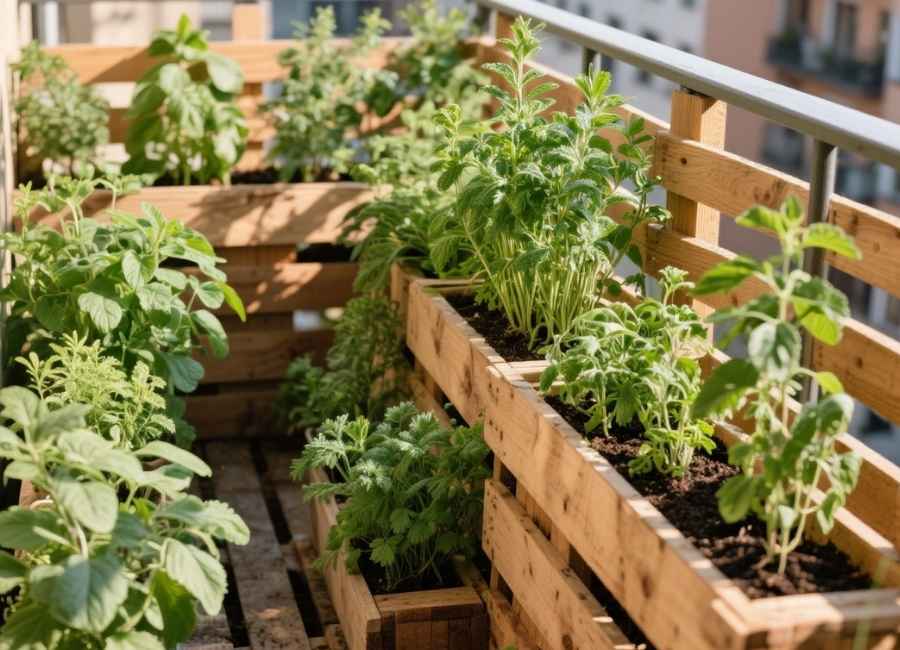
Space-Saving: Great for balconies, small patios, orr even indoor spaces where traditional gardening isn’t an option.
. Ecp-Friendly: Upcycling wood pallets reduces waste and promotes sustainaable gardening.
. Cost-Effective: Skip purchasing expensive garden boxes and inverst in an affordable, upcycled pallet instead.
. Conveenient: Imagine having easy access to fresh basil, mint, or parsley just steps away from your kitchen. Goodbye, wilted supermarket herbs!
Step-by-Step Guide Building a Herb Pallet Garden
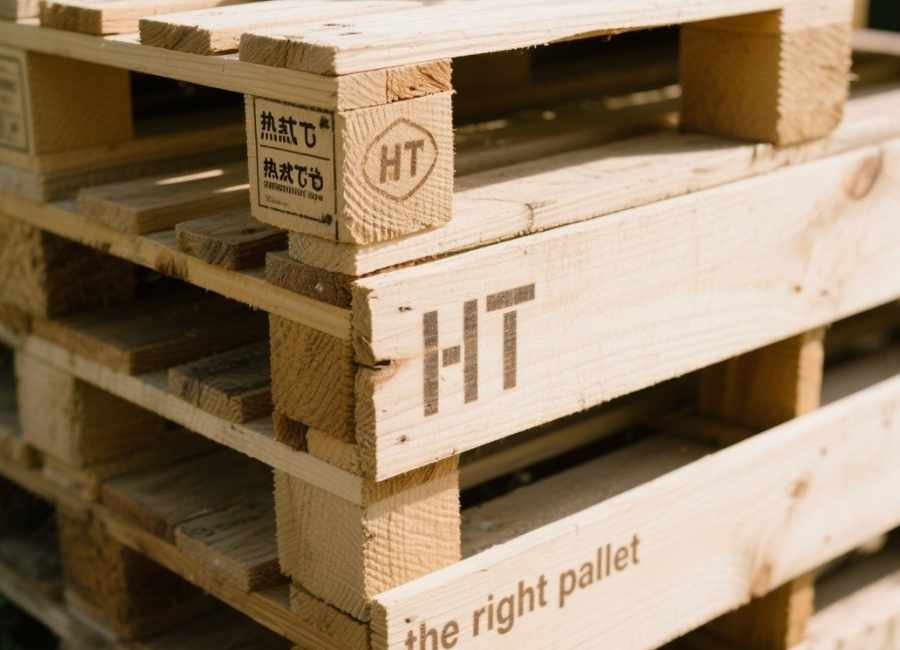
Step 1: Choose the Right Pallet
The first step in creating your herb pallet garden is to find the perfect pallet. Here’s what to look. for:
. Untreated Wood: Chemical-treated pallets can leach harmful substances into the soil. Look for pallets stamped with “HT” for heat-treated wood.
. Clean and Dry: Ensure the pallet is free from mold, oil, or harmful residues.
. Sturdy and Damage-Free: Select a pallet that’s structurally sound with no cracks or loose boards.
Pro tip: You can often find free pallets at hardware stores, garden centers, or even on classified ad websites. Ask for permission before taking one!
Step 2: Prepare Your Pallet
After sourcing your pallet, it’s time to prepare it for planting.
. Clean: Scrub it with water and mild soap to remove dirt. Allow it to dry throughly.
. Sand: Use sandpaper or a power sander to smooth out rough edges and avoid splinters.
. Optional: Apply a non-toxic wood sealant if you’re concerned about durability, especially if the garden will be outdoors.
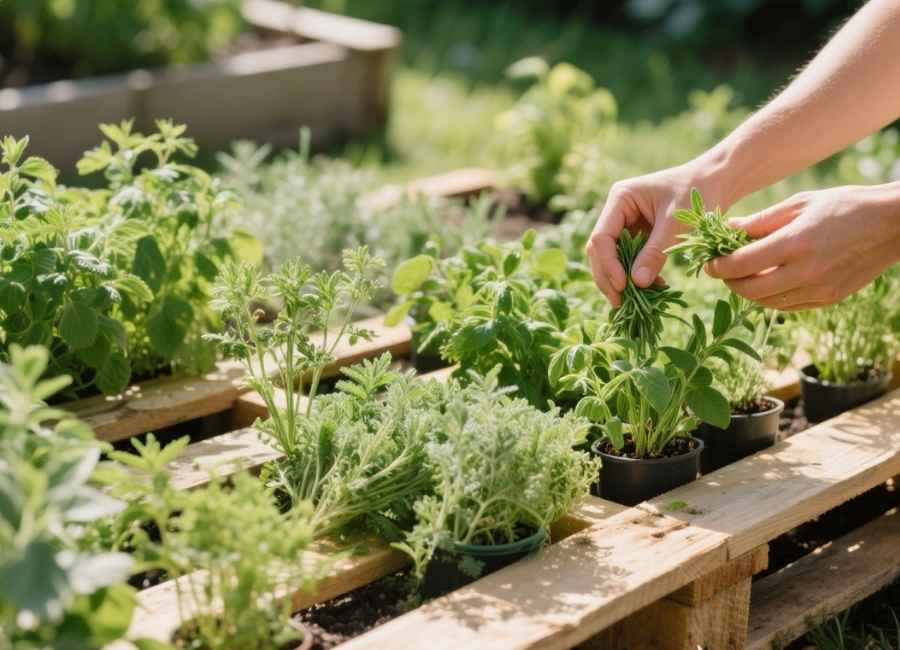
Step 3: Select Your Herbs
A herb pallet garden works best with herbs that thrive in similar conditions. Consider these popular options:
. Sun-Loving Herbs: Basil, thyme, oregano, rosemary, and sage.
. Partial Shade Herbs: Mint, parsley, and chives.
. Indoor-Friendly Herbs (for indoor gardens): Coriander (cilantro), dill, and lemon balm.
Tip: Before purchasing seeds or seedlings, consider how often you’ll use each herb in cooking. Grow what you love!
Step 4: Add Shelves or Liners
Next, you’ll need to create planting pockets or shelves within your pallet.
Option 1: Pocket Liners (Easiest)
. Materials: Landscape fabric, staples, and a staple gun.
Cut the fabric into rectangles and attach it to the back of each row to form planting pockets.
. Make sure the pockets are deep enough (at least 6 inches) to hold soil and roots.
Option 2: Add Planter Boxes
. Create small boxes using repurposed wood or purchase pre made boxes that fit the pallet rows.
. Screw them to the pallet frame for extra stability.
Both options work well; the choice depends on your available resources and DIY skills.
Step 5: Fill with Soil
Fill your pockets or planter boxes with high-quality, well-draining potting soil. For herbs, consider soil that contains:
. Organic compost for nutrients.
. A small amount of sand or perlite for better drainage.
Herbs dislike overly overly soggy roots, so avoid garden soil, which tends to hold too much water.
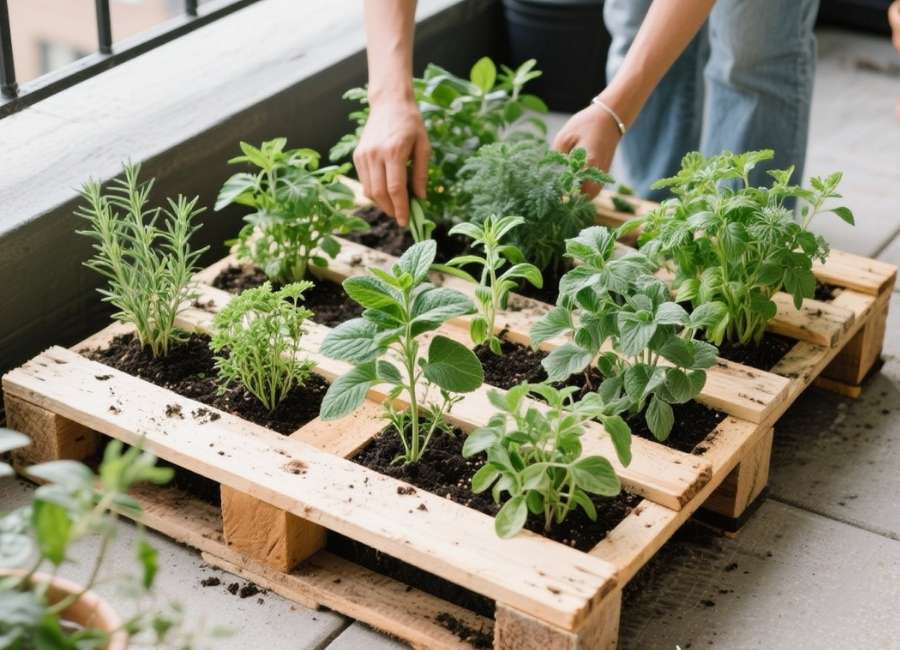
Step 6: Plant and Water
Finally, the fun part! Plant your herbs directly into the soil pockets or boxes. Space them according to their growth requirements (you’ll find these on the seed packet or seedling label).
. Watering Tips: Use wooden markers, painted rocks, or chalk paint to label each herb. It’s decorative and practical!
Caring for Your Herb Herb Pallet Garden
Your herb pallet garden requires just a little TLC to thrive. Here are some essential care tips:
. Sunlight: Most herbs need at least 6-8 hours of sunlight daily. Place your pallet garden accordingly.
. Pruning: Regularly harvest herbs to encourage new growth and keep plants from becoming leggy.
. Pest Control:Keep pests at bay naturally by using neem oil spray or companion planting (e.g., lavender to repel bugs).
. Seasonal Considerations: Move the pallet indoors during cooler months or focus on hardy herbs like rosemary and thyme.
Decorating Your Herb Pallet Garden
Pallet gardens aren’t just functional; they can also be beautiful. Here are some design ideas:
. Paint your pallet in a bold, weatherproof color for a pop of style.
. Add fairy lights for a magical evening vibe, especially if positioned on balcony or patio.
. Incorporate small decorative items like mini chalkboards or hanging planters.
Additional Benefits for Eco-Conscious Gardeners
Herb pallet gardens aren’t just great for limited spaces; they’re also a statement of sustainability. By upcycling materials and growing your own herbs, you’re reducing waste, minimizing your carbon footprint, and cutting down on plastic packaging associated with store-bought herbs.
Why Not Build Your Herb Pallet Garden Today?
With everything outlined here, you’re ready to start growing fresh, fflavorful herbs in a space-efficient and sustainable way! Not only will a herb pallet garden enhance your cooking, but it will also add a touch of greenery to your home or outdoor space.
Need more tips, or have questions about your DIY garden? Share your thoughts in the comments below or explore more of our DIY gardening guides to keep your creativity blooming!


