


Proper bathroom ventilation prevents mold, reduces humidity, and keeps your space fresh. Installing a bathroom fan vent might seem complex, but with the right approach, you can tackle this project and improve your home’s air quality significantly.
Most bathroom fan installations fail because homeowners skip crucial planning steps or choose inappropriate venting routes. This guide walks you through every detail—from selecting the right fan size to connecting ductwork properly—so you can complete this project with confidence.
Whether you’re replacing an old fan or installing one for the first time, understanding proper venting techniques will save you time, money, and potential headaches down the road.
Planning Your Bathroom Fan Venting Project
Before you start cutting holes or running ductwork, take time to plan your installation carefully. The success of your bathroom fan depends largely on decisions made during this initial phase.
Choosing the Right Fan Size
Bathroom fans are rated in cubic feet per minute (CFM), which indicates how much air they can move. Calculate the required CFM by multiplying your bathroom’s square footage by 1.1. For bathrooms under 100 square feet, this formula works well. (How Much Ventilation Do I Need?, n.d.) Larger bathrooms or those with high ceilings need additional considerations.
A 50-square-foot bathroom needs approximately 55 CFM, while a 100-square-foot space requires around 110 CFM. (Bathroom Ventilation, n.d.) Choose a fan that meets or slightly exceeds your calculated requirements without going overboard—oversized fans waste energy and create unnecessary noise.
Selecting the Optimal Venting Route
Your bathroom fan must vent to the exterior of your home, never into an attic, crawl space, or another interior area. (Exhaust Air Termination, n.d.) Examine possible routes from your planned fan location to the outside.
The shortest, straightest path typically works best. Common venting options include:
- Through the roof: Best for fans installed away from exterior walls
- Through an exterior wall: Ideal when the fan sits near an outside wall
- Through the soffit: Good option for fans located under roof overhangs
Avoid routes with multiple turns or long horizontal runs, as these reduce efficiency and create opportunities for condensation buildup.
Essential Tools and Materials
Gathering the right supplies before starting prevents mid-project trips to the hardware store. Here’s what you’ll need:
Tools:
- Reciprocating saw or drywall saw.
- Drill with various bits
- Measuring tape
- Level
- Wire strippers
- Screwdrivers
- Flashlight or headlamp
Materials:
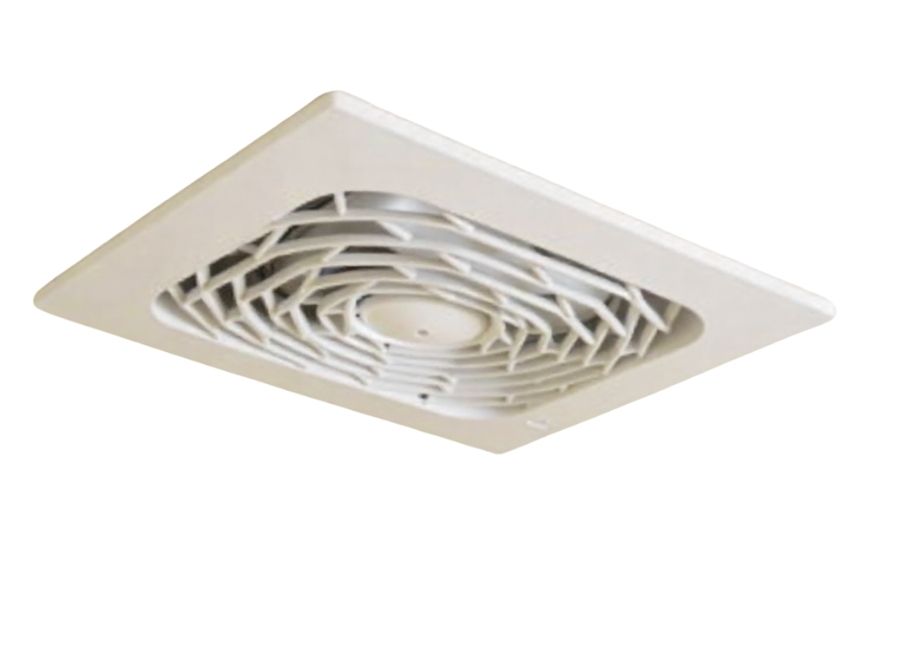
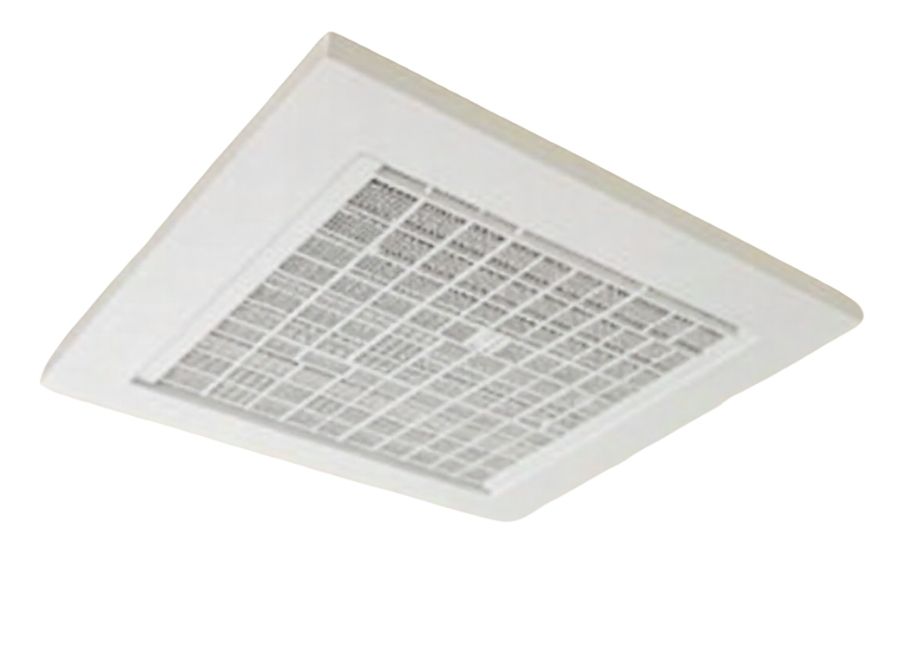
- Bathroom fan unit
- Flexible or rigid ductwork (4-inch or 6-inch diameter)
- Exterior vent cap or roof vent
- Duct clamps or foil tape
- Wire nuts
- Electrical cable (if running new wiring)
- Insulation (for ducts in unconditioned spaces)
Choose rigid metal ductwork when possible, as it provides better airflow than flexible ducts and resists crushing or kinking. (Flexible Ductwork Vs. Rigid Ductwork: What Are the Major Differences? (2023)
Step-by-Step Installation Process
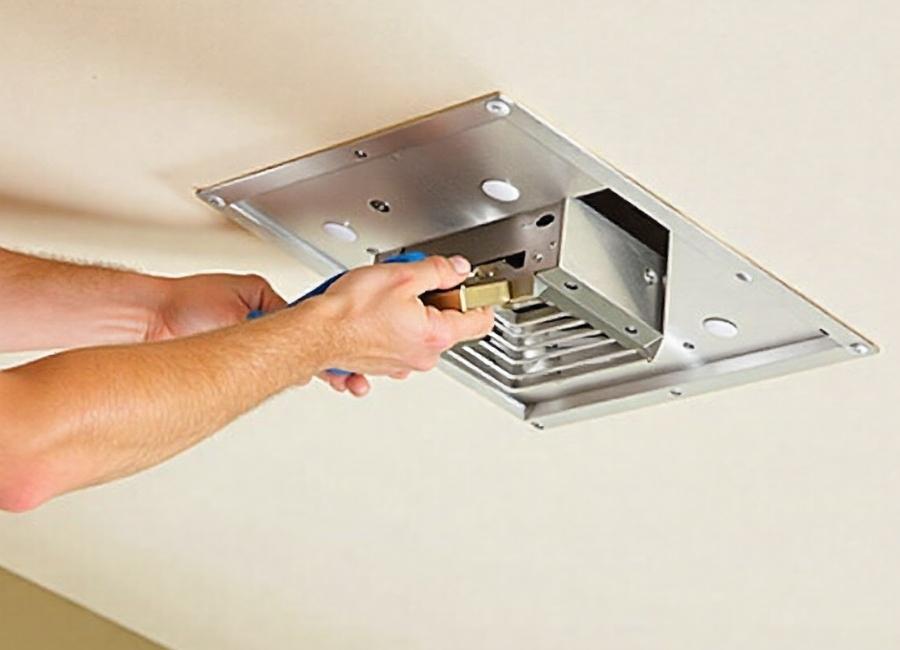
Installing the Fan Housing
Start by locating ceiling joists using a stud finder. Position your fan between joists when possible to simplify installation. If you must cut through a joist, consult a structural engineer first.
Cut the ceiling opening according to your fan’s specifications, typically 1/4 inch larger than the housing dimensions. Insert the fan housing into the opening, ensuring it sits flush with the ceiling surface.
Secure the housing to the ceiling joists using the provided brackets or screws. Most modern fans include adjustable mounting arms that expand to grip nearby framing members. (Fan & Fixture Mounting Box with Adjustable Brackets for New Construction, n.d.)
Running the Ductwork
Connect your chosen ductwork to the fan housing’s outlet port. Use appropriate clamps or foil tape to create airtight connections—gaps allow humid air to escape into your attic or wall cavity.
Run the duct along your planned route to the exterior. Support horizontal runs every few feet to prevent sagging. Insulate any ductwork that passes through unconditioned spaces to prevent condensation. (Minimizing Energy Losses in Ducts, n.d.)
Maintain a slight upward slope when running horizontal ducts to help condensation drain back toward the fan rather than pooling in low spots. (Bath Exhaust Duct Slope, n.d.)
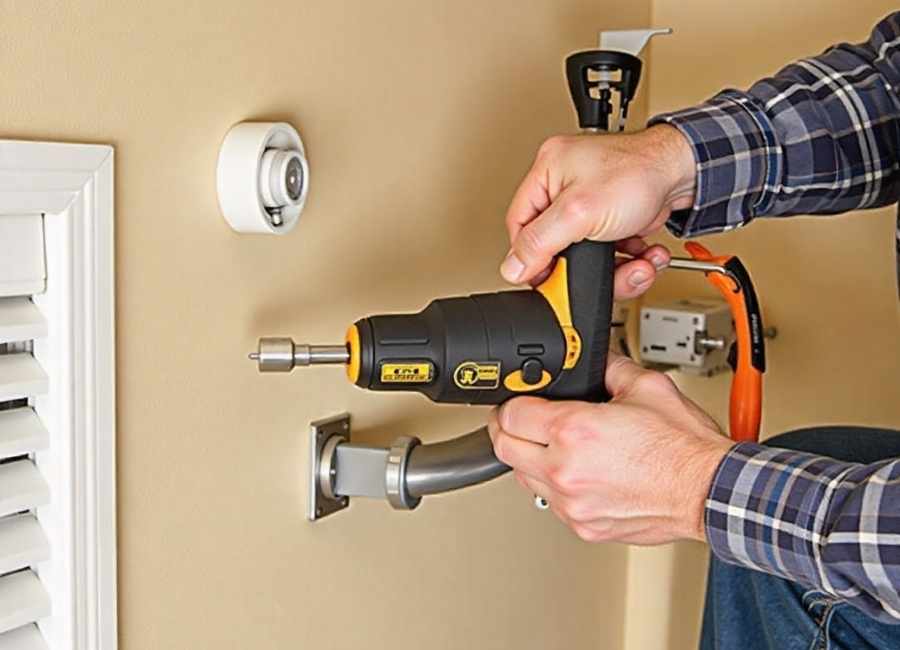
Installing the Exterior Vent
The exterior termination point requires careful attention to prevent water infiltration. For roof installations, choose a spot away from roof valleys or other areas where water concentrates.
Cut the exterior opening slightly smaller than your vent cap’s flange. Install flashing behind the vent cap, then secure the cap with appropriate fasteners for your roof or wall material.
Apply roofing cement or caulk around the entire perimeter to create a weatherproof seal. Check that the vent cap’s damper opens and closes freely.
Electrical Connections and Safety
Warning: Turn off electrical power at the circuit breaker before making any electrical connections. If you’re not comfortable with electrical work, hire a qualified electrician.
Most bathroom fans connect to existing light switches or require new electrical circuits. Follow local electrical codes, which may require GFCI protection or dedicated circuits for bathroom fans.
Connect the fan’s electrical leads to your home’s wiring using appropriate wire nuts. Black connects to black (hot), white to white (neutral), and green or bare copper to the grounding system.
Test your connections before closing up walls or ceilings. Turn the power back on and verify the fan operates quietly and moves air effectively.
Common Venting Mistakes to Avoid
Many bathroom fan installations fail because of preventable errors. Avoid these common mistakes:
Venting into attics or crawl spaces: This creates moisture problems and potential mold growth. Always vent directly to the exterior.
Using undersized ductwork: Smaller ducts restrict airflow and reduce fan efficiency. Match duct diameter to your fan’s outlet size.
Creating too many turns: Each 90-degree bend reduces airflow by approximately 25 feet of straight duct. (Flexible Duct Calculator, n.d.) Plan the straightest possible route.
Forgetting to insulate ducts: Uninsulated ducts in cold spaces create condensation that can damage your home and reduce air quality.
Installing backdraft dampers incorrectly: These prevent outside air from entering when the fan isn’t running. Make sure they open in the correct direction.
Maintenance for Long-Term Performance
Regular maintenance keeps your bathroom fan working effectively for years. Clean the fan cover and blades every few months to remove dust buildup that reduces efficiency.
Check exterior vents periodically for bird nests, leaves, or other obstructions. Ensure the damper moves freely and closes completely when the fan isn’t operating.
Replace worn or damaged ductwork connections if you notice reduced airflow or moisture problems returning to your bathroom.
Taking the Next Step
Proper bathroom fan venting improves your home’s comfort and protects it from moisture damage. With careful planning and attention to detail, this project enhances your bathroom’s functionality while adding value to your property.
Start by measuring your bathroom and calculating the required CFM for your new fan. Then, examine potential venting routes to determine the most efficient path to the exterior. Remember that taking time during the planning phase prevents costly mistakes later.
If you encounter structural obstacles or feel uncertain about electrical connections, don’t hesitate to consult professionals. A properly installed bathroom fan provides years of reliable service and peace of mind.


