


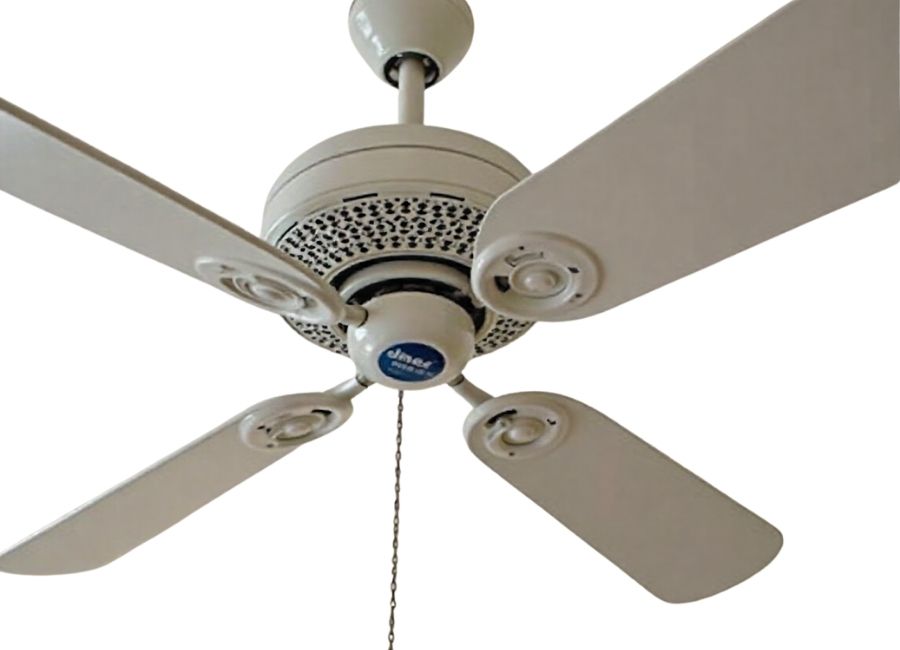
Installing a ceiling fan when you already have electrical wiring in place can transform your room’s comfort and functionality. Whether you’re replacing an old light fixture or upgrading from a basic fan, working with existing wiring makes this project significantly more manageable for most homeowners.
This guide walks you through each step of the installation process, from safety preparations to final testing. You’ll learn what tools you need, how to handle the electrical connections properly, and when it might be wise to call a professional. By the end, you’ll have the confidence to tackle this home improvement project safely and effectively.
Before we begin, it’s important to note that electrical work carries inherent risks. If you’re uncomfortable working with electrical components or if your home’s wiring doesn’t match standard configurations, consulting a licensed electrician is always the safest choice.
Safety First: Essential Precautions
Turn off the power at the circuit breaker before starting any electrical work. Simply flipping the wall switch isn’t enough—you need to cut power at the source. Use a non-contact voltage tester to verify that no electricity is flowing to the wires before touching anything.
Gather your safety equipment: safety glasses, work gloves, and a sturdy ladder or step stool. Make sure your ladder is positioned on level ground and that someone knows you’re doing electrical work.
Check your ceiling’s structural integrity. Ceiling fans are heavier than most light fixtures and create additional stress from rotation. (Ceiling Fans vs Light Fixtures: Which Should You Choose?, n.d.) If your existing electrical box isn’t rated for fan installation, you’ll need to replace it with a fan-rated box that can support at least 50 pounds. (Safe & Code-Compliant Ceiling Fan Wiring, 2025)
Tools and Materials You’ll Need
Essential Tools:
- Screwdriver set (both flathead and Phillips)
- Wire strippers
- Non-contact voltage tester
- Drill with bits
- Wire nuts
- Electrical tape
- Ladder or sturdy step stool
Materials:
- New ceiling fan
- Fan-rated electrical box (if the current box isn’t suitable)
- Mounting hardware (usually included with the fan)
- Wire nuts (if not included)
Most ceiling fans come with detailed instructions and mounting hardware. Read through the manufacturer’s guide completely before starting, as specific models may have unique requirements.
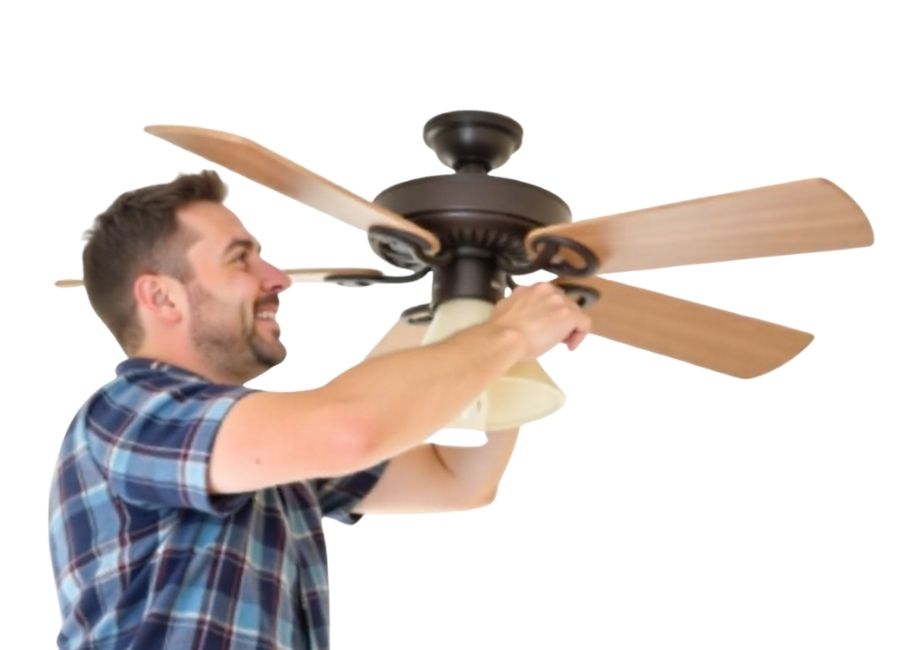
Step 1: Remove the Existing Fixture
After confirming the power is off, carefully remove your current light fixture or fan. Start by removing the light bulbs and any glass shades or decorative elements.
Unscrew the fixture from the mounting bracket and gently lower it. You’ll see the electrical connections—typically a black wire, a white wire, and a green or bare copper ground wire. Untwist the wire nuts connecting these wires and separate the fixture wiring from the house wiring.
Take a photo of the wire connections before disconnecting them. This reference can be invaluable if you encounter any confusion during installation.
Step 2: Inspect and Prepare the Electrical Box
Examine your electrical box to ensure it’s suitable for ceiling fan installation. Look for markings that indicate it’s rated for fans—you might see text like “SUITABLE FOR FANS” or a weight rating of 50+ pounds. (Wiremold 500/700 Series Ceiling Fan Box Fitting, n.d.)
If your box isn’t fan-rated, you’ll need to replace it. This involves removing the old box and installing a new one that’s properly braced between ceiling joists. (Popejoy & A., 2009) If you’re not comfortable with this step, consider hiring an electrician, as improper mounting can lead to dangerous failures.
Clean the area around the electrical box and ensure all wire connections are in good condition. Frayed or damaged wires should be trimmed back to expose fresh copper.
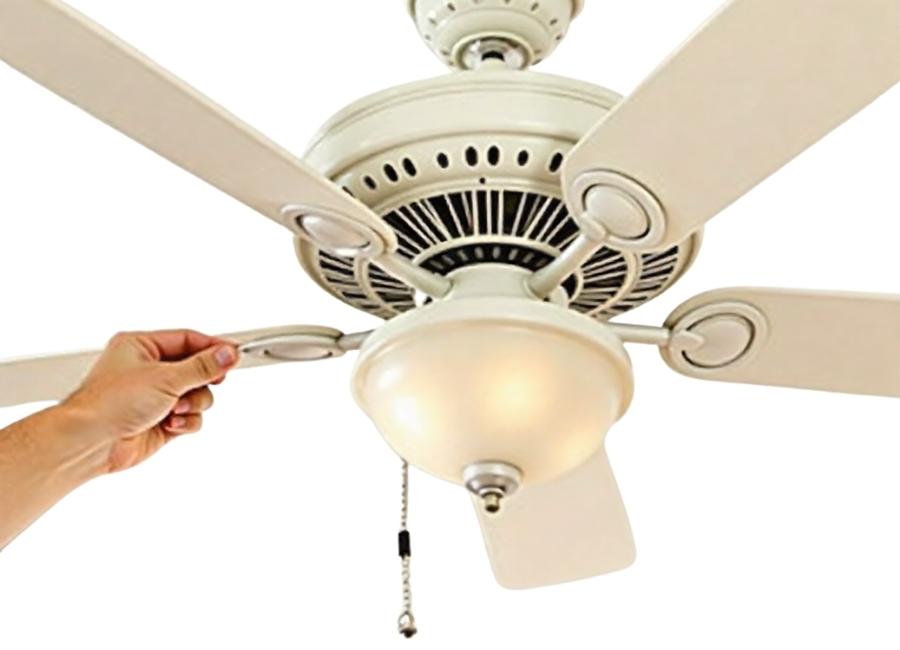
Step 3: Assemble the Ceiling Fan
Follow your fan’s instruction manual for assembly. Most fans require you to attach the fan blades to the motor housing and connect any internal wiring before mounting.
Install the mounting bracket that came with your fan onto the electrical box. This bracket supports the fan’s weight during installation and provides the final mounting point. Ensure all screws are tight and the bracket sits flush against the ceiling.
If your fan has a light kit, you may need to connect those wires at this stage. Again, follow the manufacturer’s specific instructions, as wiring configurations can vary between models.
Step 4: Make the Electrical Connections

This is the most critical step. With the power still off, you’ll connect your fan’s wiring to your home’s electrical system.
Standard wire connections:
- Black (or blue) fan wire to black house wire (hot)
- White fan wire to white house wire (neutral)
- Green or bare fan wire to green or bare house wire (ground)
Some fans have separate controls for the fan motor and lights, which may require additional wire connections. (Langer & Rene, 2025) Your fan may have a blue wire for lights and a black wire for the fan motor—both typically connect to your home’s black (hot) wire using appropriate wire nuts.
Twist the wires together clockwise, then secure with wire nuts. Give each connection a gentle tug to ensure it’s secure. Wrap the wire nuts with electrical tape for additional security.
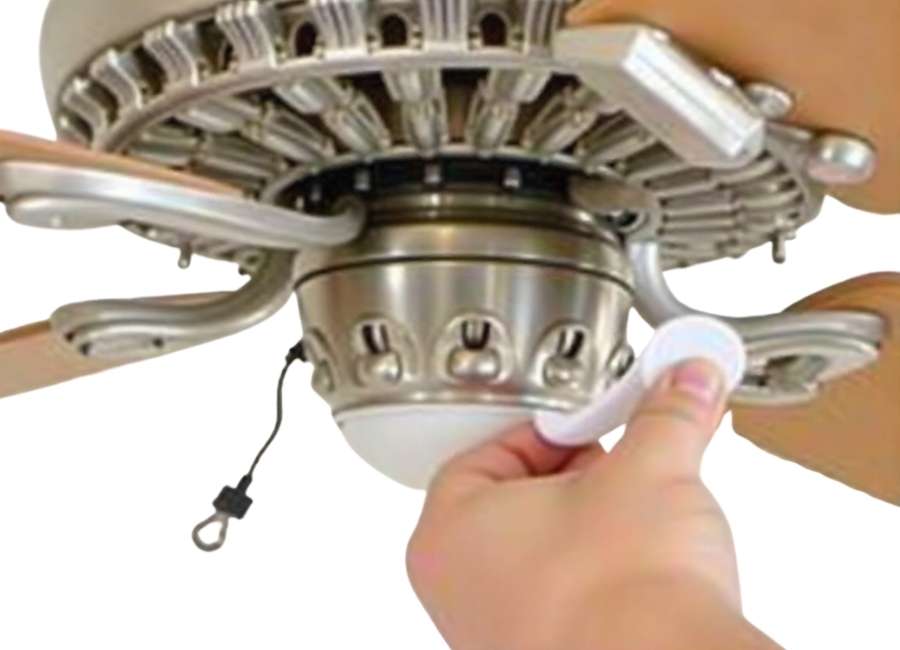
Step 5: Mount the Fan and Test
Carefully lift the fan motor assembly and hang it on the mounting bracket. Most modern fans have a hook or bracket system that lets you hang the fan while making final connections. (J-Hook Mounting Kit (Delray™), n.d.)
Secure the fan to the mounting bracket according to the manufacturer’s instructions. Double-check that all screws are tight and the fan feels solidly attached.
Install the fan blades if you haven’t already, ensuring they’re all tightened properly. Uneven or loose blades can cause dangerous wobbling. (How to Stop a Ceiling Fan Light From Wobbling, n.d.)
Final Testing and Troubleshooting
Before turning the power back on, verify all your connections one more time. Ensure no bare wires are exposed and all connections are secure in their wire nuts.
Turn the power back on at the circuit breaker and test your fan. Start with the lowest speed setting and listen for any unusual noises. The fan should run smoothly without wobbling or making grinding sounds.
Test all functions: different fan speeds, light controls (if applicable), and any remote control features. If something isn’t working properly, turn off the power and recheck your connections.
Common issues and solutions:
- Fan wobbles: Check that all blade screws are tight and blades are properly balanced
- Fan doesn’t turn on: Verify electrical connections and ensure the wall switch is on
- Lights don’t work: Check the light kit wiring and bulb installation.
- Unusual noises: Ensure all screws are tight and no wires are hitting moving parts
When to Call a Professional
While installing a ceiling fan with existing wiring is within many homeowners’ capabilities, certain situations require professional help:
- Your electrical box isn’t fan-rated and needs replacement.
- You have aluminum wiring instead of copper.
- Your home’s wiring doesn’t match standard color codes.
- You’re uncomfortable working with electrical components.
- Local codes require professional installation.
Licensed electricians have the expertise to handle complex wiring situations safely and ensure your installation meets local electrical codes. (DIY Ceiling Fan Installation – What Could Go Wrong?, 2020)
Enjoy Your New Ceiling Fan
Installing a ceiling fan with existing wiring is a rewarding DIY project that can improve your home’s comfort and energy efficiency. (Ceiling Fan Wiring Guide For Beginners, 2025) With proper safety precautions and careful attention to detail, most homeowners can complete this installation successfully. Take time to register your fan’s warranty and keep the instruction manual for future reference. Regular maintenance—like cleaning the blades and checking screws annually—will keep your fan running smoothly for years to come. Remember, if you encounter any problems during installation or if something doesn’t seem right after completion, don’t hesitate to consult a professional electrician. Your safety is worth more than the cost of professional installation.


