


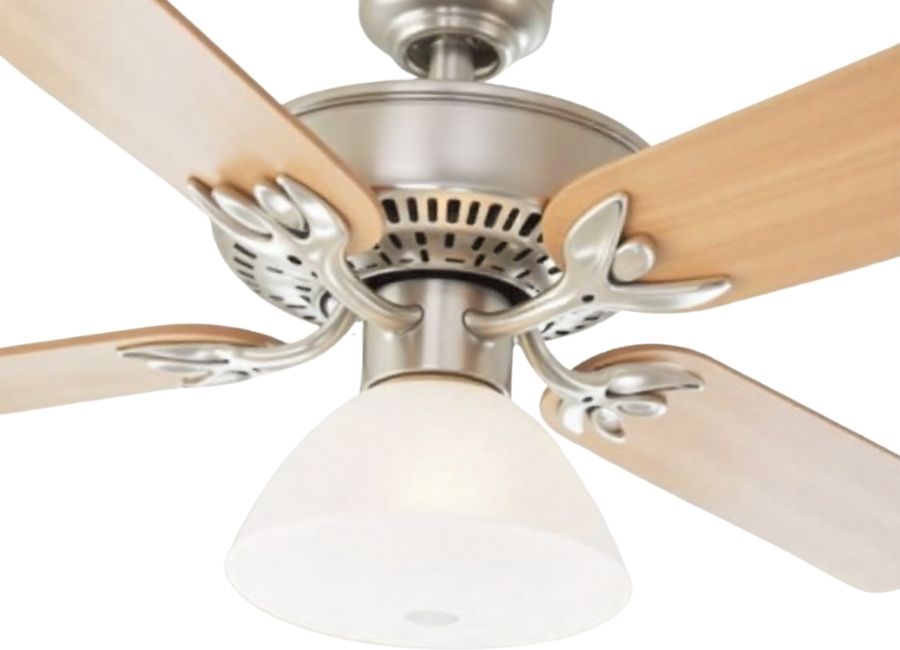
Installing a ceiling fan can transform any room by improving air circulation and adding a stylish lighting element. While the task might seem daunting at first, wiring a ceiling fan is a manageable DIY project when you have the right guidance and tools.
While wiring a new ceiling fan may appear complex, it is often a straightforward DIY project. Successful installation depends on understanding wire connections and your preferred control method for the fan and light.
This guide covers wire color identification and the four most common wiring setups. By the end, you will be prepared to install your ceiling fan safely and efficiently.
Essential Tools and Materials

Gathering the right tools beforehand makes the installation process smoother and safer. Here’s what you’ll need:
Tools:
- Non-contact voltage tester
- Wire strippers
- Screwdrivers (flathead and Phillips)
- Ladder or step stool
- Wire nuts
- Electrical tape
- Drill with bits (if mounting a new bracket)
Materials:
- Ceiling fan kit (with mounting hardware)
- Appropriate electrical box (fan-rated)
- Wire nuts (if not included with fan)
- Cable clamps (if needed)
Safety and Prep Work
Prioritize safety before beginning any wiring. Turn off power to the room at your home’s breaker box. Leave a note on the panel to prevent accidental power restoration during your work.
Understand the Wires in Your Ceiling
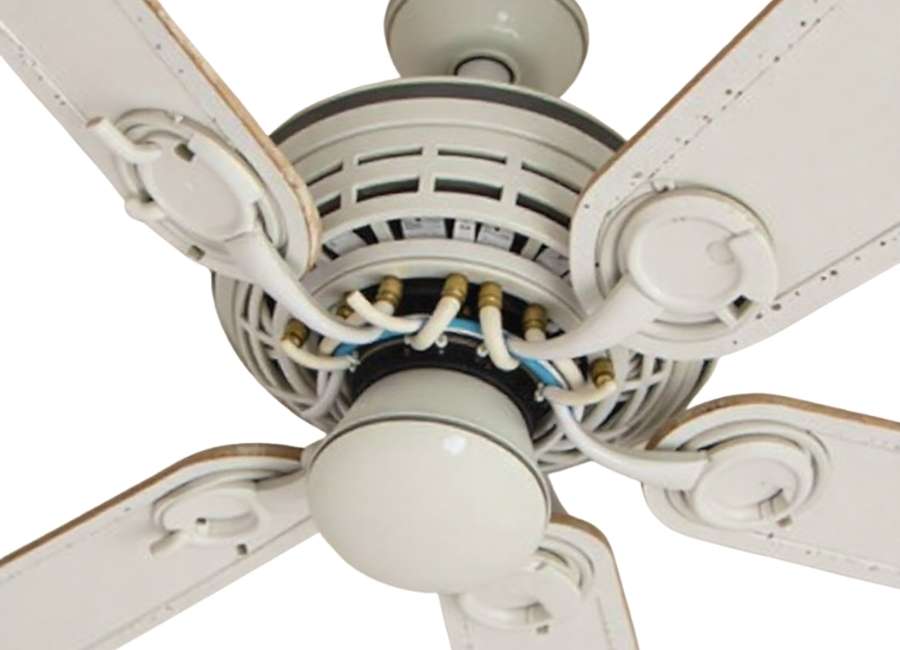
After confirming the power is off, inspect the wires in the ceiling’s electrical box. The color coding is intended to be straightforward.
Red or Blue Wires: If you see these, it usually means the box is wired to one or more wall switches. A red wire often indicates a connection to a switch, while a blue and black wire combination might mean the fixture is wired to two separate switches. (Ceiling Fan Wiring Guide For Beginners, 2025)
Black Wires: These are “hot” wires that carry the electrical current from the power source. (Ceiling Fan Wiring Guide For Beginners, 2025)
White Wires: These are neutral wires that complete the electrical circuit. (Ceiling Fan Wiring Color Code, 2021)
Green or Bare Copper Wires: These are ground wires. They provide a safe path for electricity to travel in case of a fault, protecting the fixture from power surges. (Wire Color Code: What Each Wire Color Means, 2025)
Understand the Wires on Your Fan
Next, examine the wires from your new ceiling fan. The color codes should match those in your ceiling box.
- Black Wire: This powers the fan motor. (Ceiling Fan Wiring Guide For Beginners, n.d.)
- White Wire: This is the fan’s neutral wire. (Ceiling Fan Wiring Guide For Beginners, n.d.)
- Green Wire: This is the fan’s ground wire. (Ceiling Fan Wiring Guide For Beginners, n.d.)
- Blue, Red, or Striped Wire: This wire is the “hot” wire for the fan’s light kit. (Ceiling Fan Wiring Guide For Beginners, 2025)
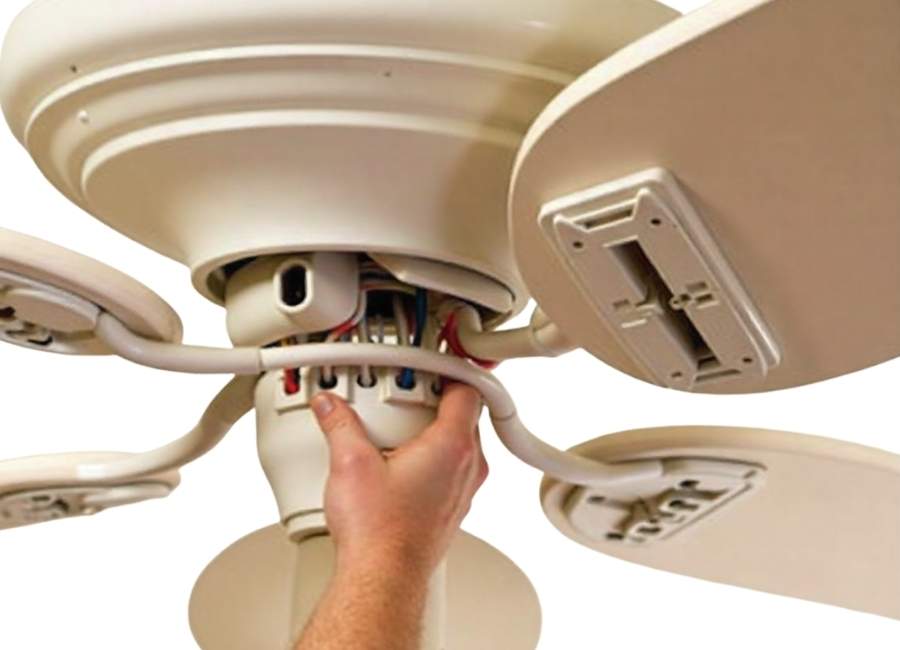
You will use the wire connectors (often called wire nuts) included with your fan to connect the fan’s wiring to your Home’s wiring.
4 Common Ceiling Fan Wiring Scenarios
Here are the four most common ways to wire a ceiling fan, depending on whether you have wall switches and how you want them to operate.
Scenario 1: No Wall Switch (Pull-Chain Control)

If there is no dedicated wall switch, control both the fan and light using their pull chains. This configuration supplies constant power to the fixture.
- Ground Wires: Connect the green wire from the fan to the green or bare copper grounding wire in the ceiling box.
- Neutral Wires: Connect the white wire from the fan to the white wire in the ceiling.
- Hot Wires: Connect both the fan’s black wire and its blue light kit wire to the black hot wire in the ceiling.
Scenario 2: One Switch for the Light (Fan on Pull Chain)

This configuration enables a single wall switch to control the fan’s light, while the fan is operated by its pull chain.
- Ground & Neutral: Connect the green-to-ground and white-to-white wires first.
- Light Wire: Connect the blue wire from the fan’s light kit to the red (or secondary hot) wire in the ceiling. This links the light to the wall switch.
- Fan Wire: Connect the black wire from the fan motor to the black wire in the ceiling. This provides constant power to the fan, controlled by the pull chain.
Scenario 3: One Switch for Fan and Light Together

In this setup, one wall switch controls both the fan and light simultaneously. Pull chains allow you to adjust fan speed or turn off the light independently.
- Ground & Neutral: Connect the green and white wires as usual.
- Hot Wires: Connect both the fan’s black wire and its blue light kit wire to the single black hot wire in your ceiling box.
Scenario 4: Two Switches for Separate Control

This is the most convenient setup, allowing you to control the fan and the light from two separate wall switches. Your ceiling box must have the correct wiring (typically a four-wire cable) to support this.
- Ground & Neutral: Connect the green-to-ground and white-to-white wires.
- Light Wire: Connect the blue wire from the fan’s light kit to the red wire in the ceiling.
- Fan Wire: Connect the black wire from the fan motor to the black wire in the ceiling.
At the switch box, you’ll connect the black wire to one switch and the red wire to the other to complete the separate circuits.
Finishing Your Installation
After securing the wire connections, tuck them into the electrical box. Mount the fan canopy to the ceiling following the manufacturer’s instructions.
Once the fan is fully assembled, restore power at the breaker box and test the installation.
What About Remote Controls?
Most new ceiling fans come with a remote control. (How to Install a Ceiling Fan, n.d.) The remote’s receiver needs to be wired in during the initial installation while the power is off. The receiver is designed to sit inside the fan’s mounting bracket or canopy. You’ll connect the house wires to the receiver’s input wires and the fan’s wires to the receiver’s output wires, matching all the corresponding colors (black-to-black, white-to-white, etc.). Always follow the specific instructions included with your fan.
A Rewarding Weekend Project
Wiring a ceiling fan is a rewarding project that enhances comfort and style. By working carefully, prioritizing safety, and following these steps, you can complete the installation yourself. Always consult your fan’s manual for model-specific instructions.


