


Cooking rice on the stove sounds simple, but it can be tricky—even for experienced cooks. Most of us have opened the pot to find mushy grains or a burnt layer stuck to the bottom. It’s enough to make anyone want to give up and order takeout instead.
The good news is that making perfect, fluffy rice is easier than you might think. You don’t need special equipment or complicated steps. Just use a pot with a tight lid, measure your water and rice, and have a little patience.
This guide will walk you through the simple, foolproof steps to cook perfect rice on the stove. We’ll cover everything from rinsing the grains to letting them rest, ensuring you get fluffy, distinct grains every single time. Say goodbye to mushy rice for good.
Why Cook Rice on the Stove?
Rice cookers are handy, but not everyone has one. Knowing how to cook rice on the stove is a basic skill that lets you control the texture. This method works for most types of rice, like long-grain, brown, or jasmine. It’s a traditional way of cooking used around the world, and with a little practice, you’ll get it just right.
Your Step-by-Step Guide to Perfect Rice
Follow these six simple steps to achieve fluffy, delicious rice. This method is designed for long-grain rice. Just follow these six easy steps to make fluffy, tasty rice. This method works best for long-grain white rice like basmati or jasmine, but you’ll also find tips for other types. The ratio is correct. A common mistake is adding too much water, which leads to a soft, mushy texture.
- For Long-Grain White Rice: The ideal ratio is 1 cup of rice to 1.5 cups of water. (How to cook rice, n.d.)
- For Brown Rice: This variety needs more water and a longer cooking time. Use 1 cup of rice to 2 cups of water. (Mastering Brown Rice: The Ultimate Guide to Cooking Perfectly Fluffy Grains, n.d.)
- For Short-Grain White Rice (like sushi rice): The ratio is typically closer to 1 cup of rice to 1.25 cups of water. (Best Rice to Water Ratio in a Rice Cooker, n.d.)
Use the same measuring cup for both rice and water to keep things accurate. This small step helps you get perfect rice every time.
Step 2: Rinse the Rice Thoroughly
If your rice ends up sticky or clumpy, it’s usually because of extra starch on the grains. Rinsing the rice before cooking removes this starch and helps the grains stay separate and fluffy. (Rice Rinse Guide: When You Need It and When You Don’t, n.d.)
To rinse, put your measured rice in a fine-mesh strainer. Run cool water over it and gently move the grains with your fingers. Keep rinsing until the water runs clear, which takes about a minute. Shake out as much water as you can before moving on.
Step 3: Bring to a Boil
Put the rinsed rice and measured water in a medium saucepan. If you want, add a pinch of salt and a teaspoon of butter or oil for extra flavor and to help keep the grains from sticking.
Set the saucepan over medium-high heat and let the water come to a gentle boil. Give the rice one quick stir to make sure it’s not stuck to the bottom. After that, don’t stir again, since it can make the rice gummy.
Step 4: Simmer on Low Heat
When the water starts boiling, turn the heat down as low as it goes and cover the pot with a tight lid. This keeps the steam in, which cooks the rice. If your lid has a vent, cover it with a bit of foil to trap the steam.
Let the rice simmer gently. The cooking time will depend on the type of rice:
- Long-Grain White Rice: Simmer for 15-18 minutes. (Perfect White Rice Recipe | Rice Cooking Chart, n.d.)
- Brown Rice: Simmer for 40-45 minutes. (Brown rice, n.d.)
Try not to lift the lid while the rice cooks. Opening the pot lets out steam and lowers the temperature, which can disrupt the cooking process. Just trust your timer.
Step 5: Let It Rest (Don’t Skip This!)
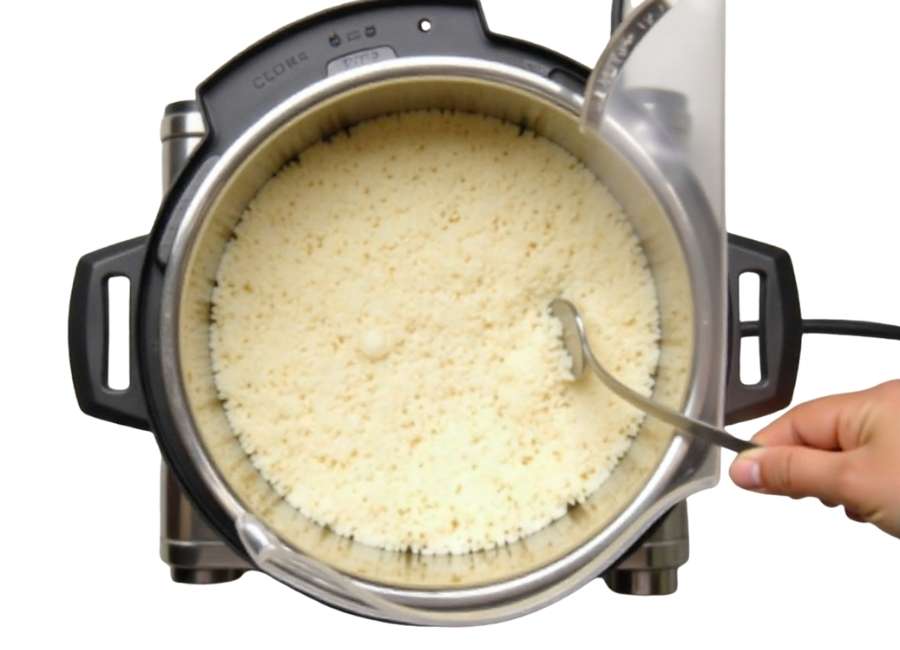
Once the timer goes off, remove the pot from the heat but keep the lid on. Let the rice sit, undisturbed, for at least 10 minutes (or up to 15).
Letting the rice rest is just as important as cooking it. This gives the steam time to spread evenly, so the top and bottom layers cook the same. The grains firm up and soak up any leftover moisture, making the rice tender and fluffy.
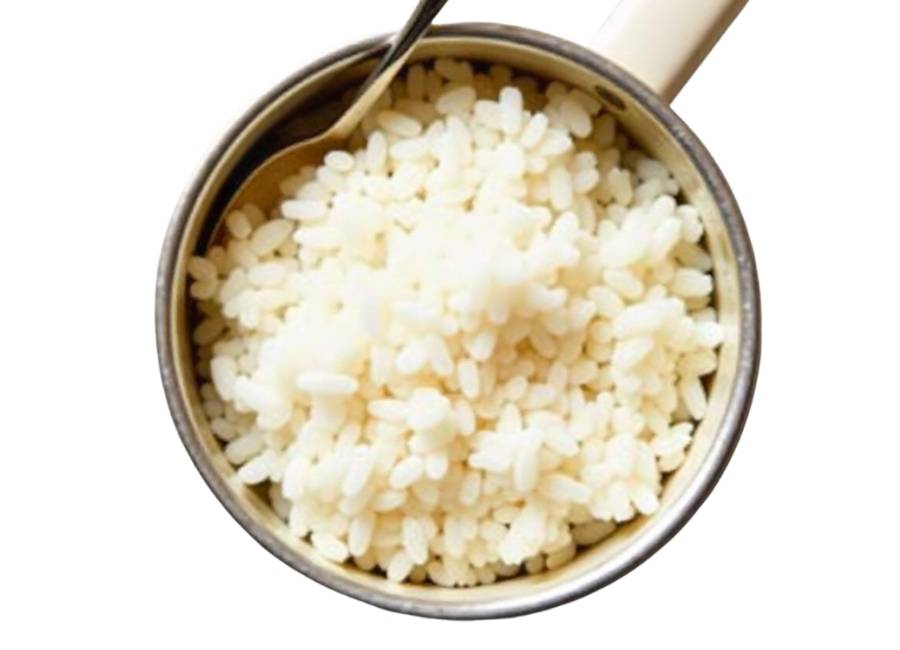
Step 6: Fluff and Serve
Once the rice has rested, take off the lid. You should see nicely cooked grains. Use a fork or rice paddle to gently fluff the rice, starting at the edges and lifting toward the center. This keeps the grains separate without mashing them.
Now your rice is ready to serve alongside curries, stir-fries, or roasted vegetables.
Common Rice Cooking Problems and How to Fix Them
Even with a reliable method, things don’t always go as planned. Here are some common problems and how to fix them:
- Mushy Rice: This usually happens if you use too much water or cook the rice too long. Next time, use a little less water and follow the suggested cooking time.
- Burnt Rice: If the bottom of your pot is burnt, the heat was probably too high while simmering. Turn your stove to its lowest setting, and try using a heavy pot to spread the heat more evenly. Cooked or Hard Rice: This means there wasn’t enough water or the rice didn’t cook long enough. If your rice is still hard, add a few tablespoons of hot water, cover the pot, and let it steam for another 5 to 10 minutes.
Ready to Master Your Rice Game?
Learning to cook rice on the stove is a skill you’ll use again and again. By measuring carefully, rinsing well, and letting the rice rest, you can make a perfect, fluffy pot every time. A little effort goes a long way in your meals.
So next time you’re planning dinner, don’t let a bag of rice intimidate you. Grab your favorite pot and see how easy it is to make great rice at home.


