


People sometimes overlook plywood as a material for staining, but it can become beautiful furniture, flooring, or architectural details if you use the right methods. Whether you’re doing a DIY project or working professionally, learning how to stain plywood gives you many design options.
The short answer is yes, you can stain plywood. To get great results, though, you need to know how plywood is different from solid wood and use the right techniques. This guide will show you each step, from getting ready to adding the final touches.
Understanding Plywood’s Staining Challenges
Plywood presents unique challenges that solid wood doesn’t. The staining of plywood can be tricky compared to solid wood. The layers in plywood have grains going in different directions, which can cause the stain to soak in unevenly and look blotchy or streaky if you’re not careful. (Staff, 2024) The type of plywood you use also affects how well it takes stain. Plywood, with its smooth, knot-free surface, typically stains more evenly than lower grades. Grade B plywood may have minor imperfections that become more visible after staining, while grades C and D often require additional preparation work to achieve acceptable results. (How Is Plywood Graded – All Types of Plywood, n.d.)
The wood species used in plywood construction also affects staining outcomes. Birch plywood tends to stain evenly and beautifully, while pine plywood can be more challenging due to its varying wood densities. (Flexner & Bob, 2019) Oak plywood generally accepts stain well, thanks to its open grain structure. (How to Stain Oak Plywood, n.d.)
Types of Plywood Best for Staining
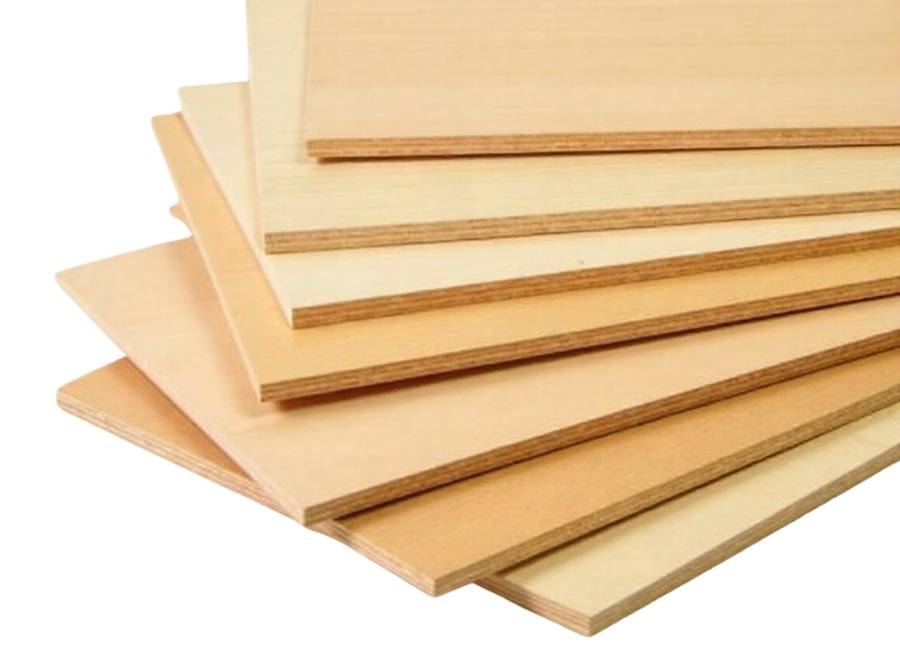
Hardwood Plywood
Hardwood plywood, especially birch and oak, is a great choice for staining. These types have even grain patterns and take stain more evenly than softwood plywood.
Birch plywood stands out as an excellent choice for staining due to its fine, even grain and minimal color variation across the surface. This consistency helps create smooth, professional-looking finishes.
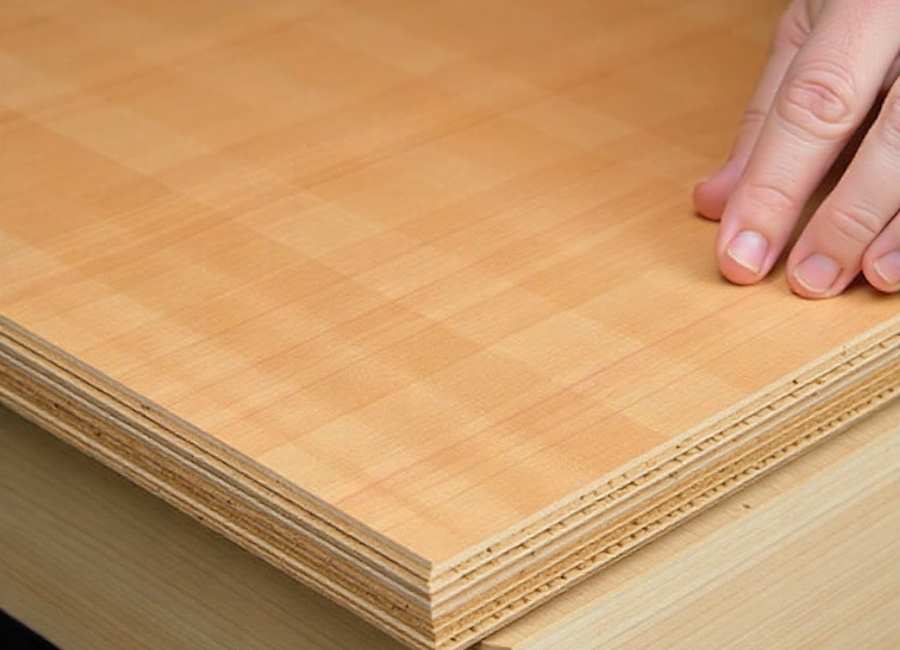
Marine-Grade Plywood
Marine-grade plywood uses waterproof adhesives and high-quality veneers, making it an excellent candidate for stain (Panoply Marine Grade Plywood – High-quality tropical hardwood, n.d). Marine-grade plywood is made with waterproof glue and high-quality layers, so it works well for staining projects that need to last (Marine-Grade Vs. Standard Plywood, n.d.). It costs more, but it’s a good choice for outdoor or damp areas. It has higher-quality face veneers that stain beautifully. These products are engineered with consistent color and grain patterns.
Essential Preparation Steps
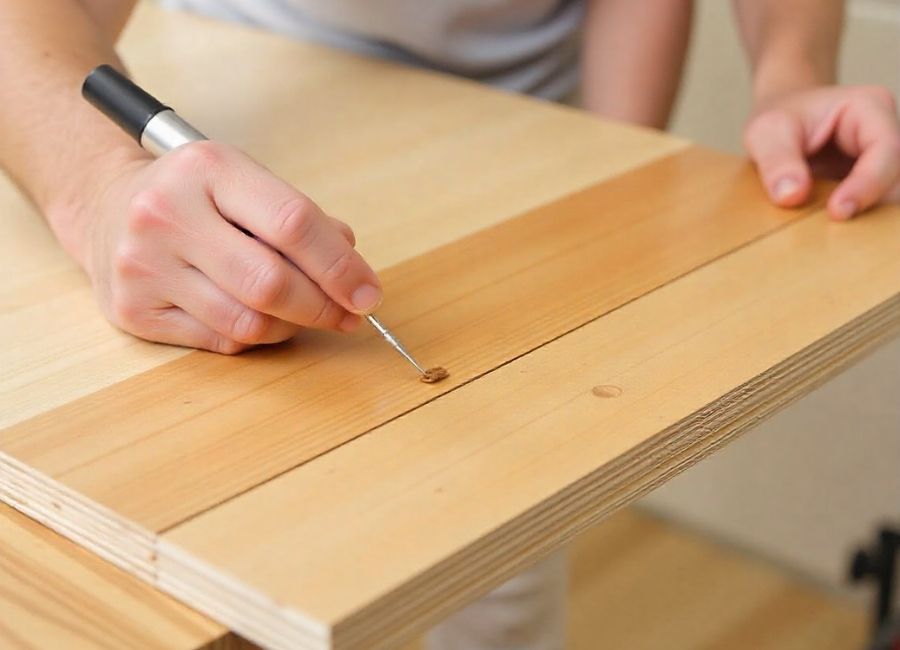
Proper preparation determines thGetting your plywood ready is key to a good staining job. Begin by cleaning the surface well to get rid of dust, dirt, or anything left from the factory that might stop the stain from soaking in. Excessively, start with 120-grit sandpaper and finish with 220-grit for the smoothest possible surface. Sand in the direction of the wood grain on the face veneer to avoid cross-grain scratches that become visible after staining.
Watch out for the edges of the plywood, since they soak up stain differently from the flat surfaces. If you want everything to look the same, you might want to use wood filler or edge banding.
Apply a per-stain wood conditioner to help achieve even coverage. Use a per-stain wood conditioner to ensure the stain applies evenly. This is especially helpful with softwood plywood or mixed woods, since it keeps the stain from looking patchy. You’ll be able to select a high-quality wood stain that fits your project’s requirements. Oil-based stains penetrate deeper and provide richer colours, while water-based stains dry faster and pr (Oil-based Stains vs. Water-based Stains: What’s the Difference?, n.d.). Gel stains offer excellent control and work particularly well on plywood’s challenging surface.
Application Technique
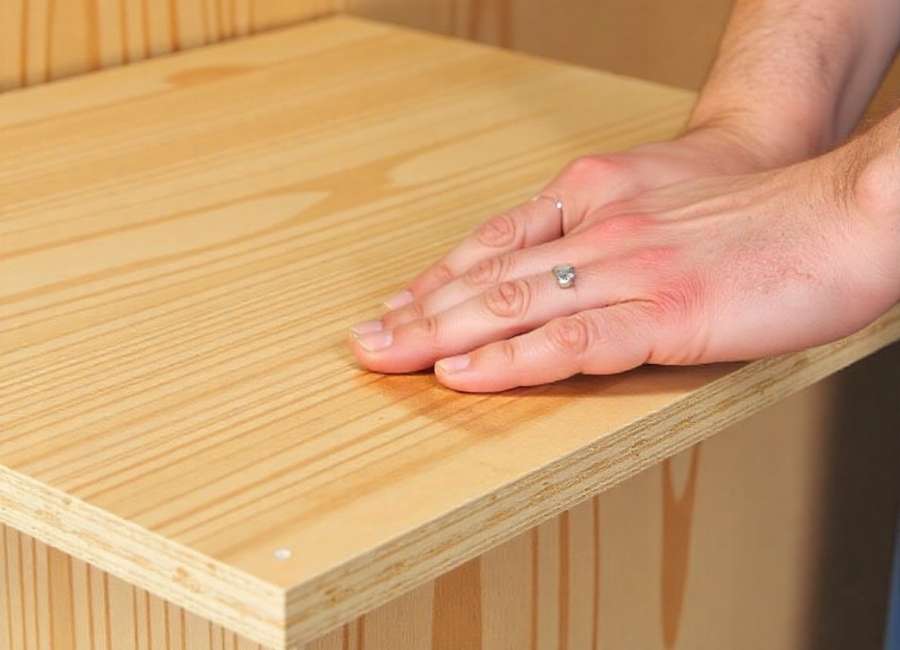
Apply stain using a high-quality brush, foam applicator, or lint-free cloth. Use a good brush, foam applicator, or lint-free cloth to put on the stain. Work in small areas so the stain stays wet and you don’t get marks where sections meet. Always go with the grain when applying and wiping off extra stain or color in a single application. Multiple light coats provide better control and more consistent results than one heavy application.
Timing and Removal
Let the stain soak in for the time the label suggests, usually 5 to 15 minutes, depending on the product and how dark you want it. Wipe off any extra stain with a clean, lint-free cloth, always going with the grain.
Check your work under good lighting conditions to identify any areas requiring touch-ups before the stain fully dries.
Common Mistakes to Avoid
If you skip the per-stain conditioner, the stain might soak in unevenly and look blotchy. This step is extra important with plywood because its grain varies so much.
Over-sanding can damage the thin veneer layer on plywood’s surface, potentially exposing underly (How to Sand Plywood Smooth For Painting With Orbital Sander, 2025)ing layers with different characteristics. Stop at 220-grit unless dealing with significant surface imperfections.
Rushing the drying process between coats. If you rush the drying time between coats, the finish won’t stick as well or look as good. Always let each coat dry for as long as the stain maker says. Your stained plywood with an appropriate top (Polyurethane vs Lacquer – 2024 Comparison, 2024)coat. Polyurethane provides excellent durability for high-wear surfaces, while lacquer offers a smoother finish for decorative applications. Put on the finish coats just like you did the stain—use light, even layers and let each one dry before adding the next for the best results.
Consider the intended use of your project when selecting finish products. O (SPARKO POLYURETHANE TOPCOAT WITH UV RESISTANCE, n.d.) outdoor applications require UV-resistant topcoats, while indoor furniture benefits from harder, more durable finishes.
Troubleshooting Common Issues
If your stained plywood looks blotchy, you might need to sand it down to bare wood and start again, this time using a pre-stain conditioner. Or, you could try a darker stain to cover up small, uneven spots.
Uneven color can happen if the stain goes on unevenly or the wood density changes. Sanding carefully and re-staining those spots usually fixes the problem.
It’s normal for the wood grain to raise up after using a water-based stain. Just sand lightly with fine sandpaper between coats to smooth it out.
Transform Your Projects with Confidence
To stain plywood well, you need to know what makes it different and use the right steps, but the effort is worth it. With good prep, the right materials, and patience, you can make plywood look as good as solid wood.
Keep in mind that practice helps you get better at wood finishing. Try your technique on scrap pieces or hidden spots first. Taking time to prepare well and use good materials will make your project look better and last longer.


