


Pressure-treated lumber is a top pick for outdoor projects like decks, fences, and garden structures because it stands up well to rot, insects, and moisture. Still, many homeowners ask if they can stain it to improve its look without losing those protective qualities.
Yes, you can stain pressure-treated lumber, but timing and technique matter. Staining too soon can lead to a patchy finish, while waiting too long makes the job harder. Using the right approach at the right time gives you lasting results.
This guide will walk you through when and how to stain pressure-treated lumber, how to pick the right products, and the best ways to apply them.
Understanding Pressure-Treated Lumber
Pressure-treated lumber undergoes a manufacturing process where preservative chemicals are forced deep into the wood fibers under high pressure. (How Wood is Pressure Treated, n.d.) (How Wood is Pressure Treated, n.d.) This treatment creates a barrier against decay-causing fungi, termites, and other wood-destroying insects.
The most common preservatives used today include alkaline copper quaternary (ACQ) and copper azole (CA). These copper-based treatments replaced older arsenic-containing preservatives (Wood Treaters Switch to New Chemicals, 2004)nd are considered safer for residential use. (Wood Treaters Switch to New Chemicals, 2004)
Freshly treated lumber retains a significant amount of moisture from the chemicals used in the process. Because of this, it’s best not to stain it right away.
When to Stain Pressure-Treated Lumber
The Drying Period
Newly treated lumber needs time to dry before it can accept stain properly. Most pressure-treated wood requires 3-6 months of weathering before staining, although this timeline varies based on several factors (Staining Decks and Fences, n.d.). (Staining Decks and Fences, n.d.)
- Climate conditions: Hot, dry weather accelerates drying, while cool, humid conditions slow the process
- Wood species: Cedar and redwood dry faster than pine or fir
- Chemical treatment type: Different preservatives affect drying times
- Board thickness: Thicker boards retain moisture longer
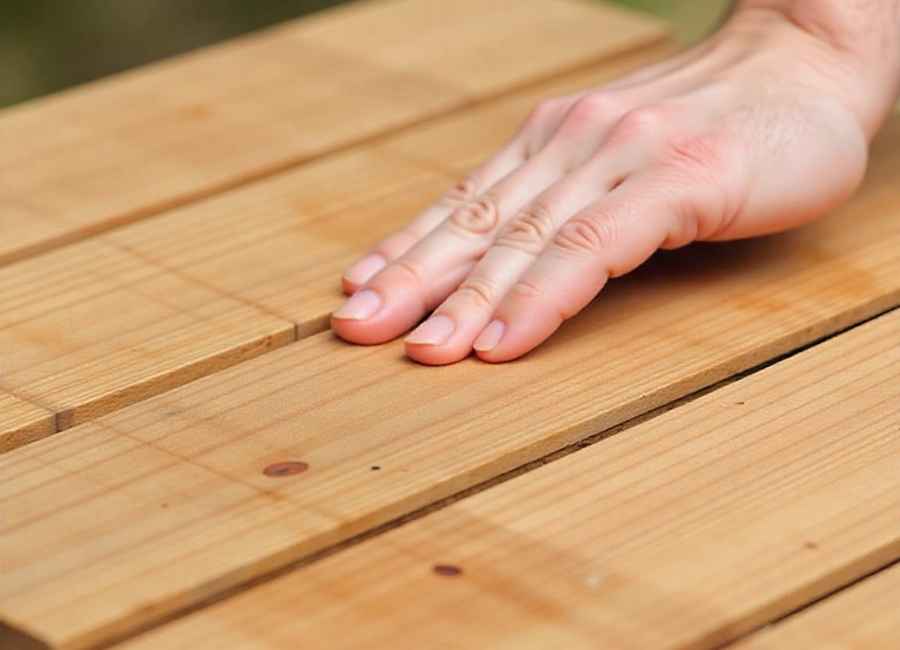
Testing for Readiness
Rather than relying solely on time, test your lumber’s readiness with the water drop test. Sprinkle a few drops of water on the wood surface. If the water beads up and rolls off, the wood isn’t ready. If it soaks in within 10-15 minutes, you can proceed with staining.
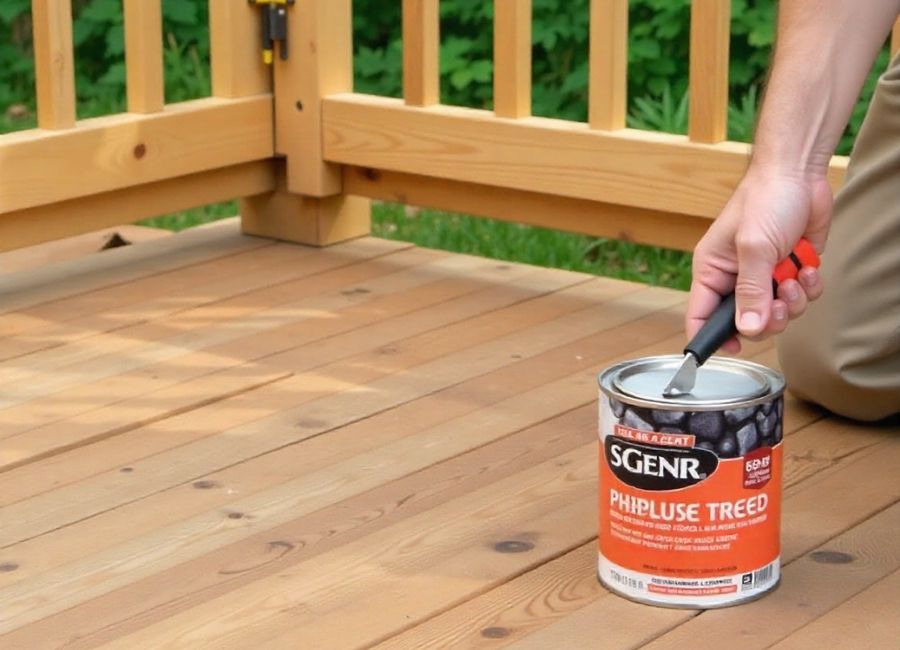
Choosing the Right Stain
Types of Stains
Semi-transparent stains work best for pressure-treated lumber because they:
- Penetrate the wood surface effectively.
- Allow the natural grain to show through.
- Provide good protection while maintaining breathability.
- Come in various colors to complement your outdoor space.
Solid color stains offer more coverage but may not penetrate as well into treated lumber. They’re better suited for older people. Solid color stains cover more area, but they don’t penetrate as well into treated lumber. They’re a better choice for older wood or if you want to completely change the color. They’re particularly effective on dense wood species and provide excellent weather protection. (5 Best Deck Stains for Pressure-Treated Wood of 2025, 2025)
Water-based stains dry faster and have lower odor levels. They’re easier to clean up and more environmentally friendly, though they may not penetrate as deeply as oil-based alternatives. (Oil-based Stains vs. Water-based Stains: What’s the Difference?, n.d.) (Oil-based Stains vs. Water-based Stains: What’s the Difference?, n.d.)
Compatibility Considerations
Always choose stains specifically formulated for pressure-treated lumber. Pick stains made for pressure-treated lumber. These are designed to work with the chemicals in the wood and won’t cause problems.to remove dirt, mildew, and any surface residue. Use a deck cleaner specifically designed for pressure-treated wood, or create a solution with oxygen bleach and water. Avoid chlorine bleach, which can react with the copper preservatives. (Top Rated Wood Deck Cleaners | Treated Wood, n.d.) (Deck Care FAQs, n.d.)
Power washing can speed up the cleaning process, but use a wide-angle tip and keep the pressure under 1,500 PSI to avoid damaging the wood surface. (What PSI Is Safe for Cleaning Wood Surfaces?, n.d.) (What PSI Is Safe for Cleaning Wood Surfaces?, n.d.)
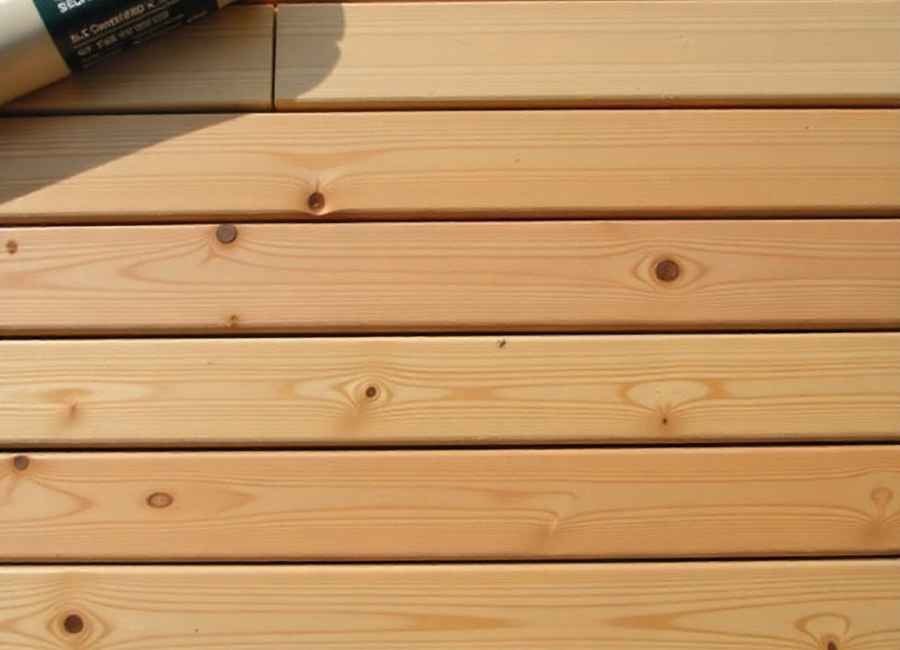
Surface Preparation
Once you’ve cleaned the wood, let it dry for 24 to 48 hours, depending on the weather. Sand any rough spots with 80-120 grit sandpaper, but avoid over-sanding, as this can prevent the stain from soaking in effectively.
Check for protruding nails or screws and countersink them below the surface. Fill any gaps or holes with wood filler appropriate for exterior use.
Application Process
Weather Considerations
Pick a day with mild temperatures between 50 and 85°F and low humidity. Try to avoid staining in direct sunlight, as it can dry the stain too quickly and leave marks. Early morning or late afternoon usually works best.
Don’t stain if rain is expected within 24-48 hours, as moisture can interfere with proper curing.
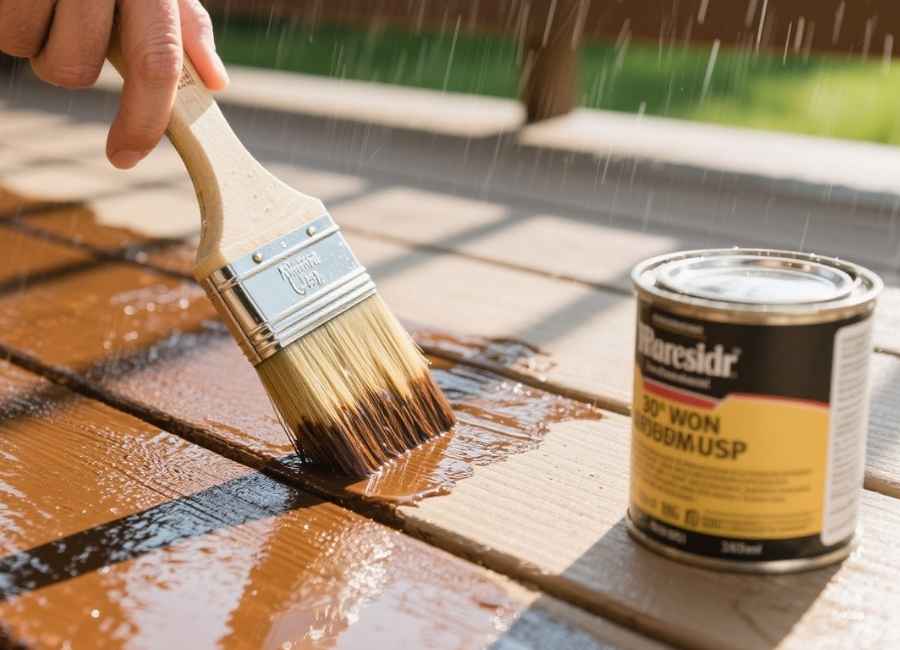
Application Techniques
Brush application provides the best penetration, allowing you to work the stain into the wood grain. Use a natural bristle brush for oil-based stains or a synthetic brush for water-based products.
Spray application covers large areas quickly but requires back-brushing to ensure even distribution and proper penetration.
Pad application works well for smooth surfaces and provides good control over stain coverage.
Step-by-Step Application
- Start with less visible areas to perfect your technique.
- Apply stain in the direction of the wood grain.
- Maintain a wet edge to avoid overlap marks.
- Work in manageable sections (3-4 boards at a time)
- Back-brush or back-roll sprayed areas immediately
- Remove excess stain that doesn’t penetrate within 15 minutes.
Common Mistakes to Avoid
The most common mistake is staining too soon. If the wood is still wet, it won’t absorb the stain well, and the finish won’t last.
Putting on too much stain can leave a thick layer that peels off instead of soaking in. It’s better to use thin, even coats instead of trying to cover everything at once.
Ignoring end-grain treatment is another oversight. End grain absorbs more stain, so apply extra coats to these areas for a uniform appearance.
Mixing different types or brands of stain can cause problems and give you uneven results. Use the same product for the whole project.
Maintenance and Longevity
Properly stained pressure-treated lumber typically requires re-staining every 2-4 years, depending on exposure to weather and foot traffic. (When to Stain Pressure Treated Wood for Best Results, n.d.) (Perfect Timing: When to Stain Pressure Treated Wood for Best Results, n.d.) Regular cleaning and prompt attention to any damage will extend the life of your stain job.
Monitor the surface annually for signs of wear, such as:
- Water absorption rather than beading
- Fading or graying of the stain color
- Rough or splintering surfaces
- Mildew or algae growth
Professional vs. DIY Considerations
While staining pressure-treated lumber is a manageable DIY project for many homeowners, consider professional application for:
- Large deck areas or complex structures
- Multi-story applications requiring scaffolding
- Situations where color matching is critical
- When you lack the time for proper preparation and application
Professional contractors utilize specialized equipment and products that can yield better and longer-lasting results.
Making Your Investment Last
Staining pressure-treated lumber enhances its appearance and helps it last longer. Be patient, let the wood dry thoroughly, and use the right products and methods for optimal results. With regular care, your outdoor projects will stay attractive and protected for years.
Follow these tips and you can tackle your next staining project with confidence, getting results that last through all kinds of weather.


