


Finishing drywall with a smooth surface is a rewarding way to wrap up any renovation or repair. To get that paint-ready look, it’s essential to use the right tools, especially the right Sandpaper. If the grit is too coarse, it can leave scratches. If it’s too fine, it won’t smooth out the joint compound well enough.
So, what grit sandpaper should you use for drywall? It really depends on which stage of sanding you’re at. Most drywall jobs need at least two rounds of sanding, each with a different grit, to get a professional finish.
This guide will show you which sandpaper grits to use at each step, explain the types of drywall sandpaper, and share tips to help you get great results.
Understanding Sandpaper Grit
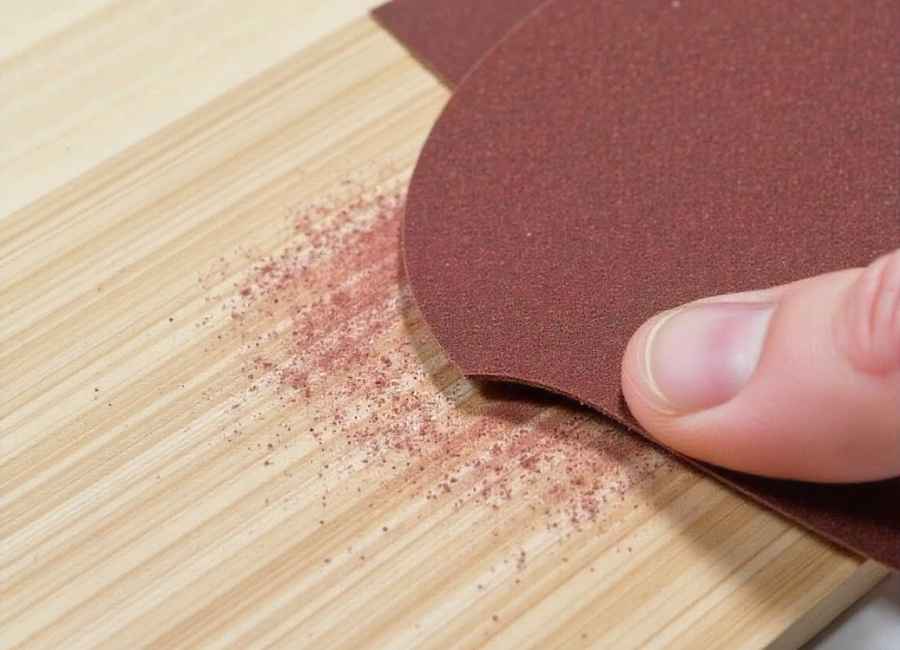
Before we get into the specifics, let’s quickly cover what sandpaper “grit” means. The grit number on Sandpaper refers to the number of abrasive particles per square inch. (Sandpaper – Wikipedia, n.d.)
- Lower grit numbers (like 80-grit) mean the SanLower grit numbers, such as 80-grit, mean Sandpaper has fewer and larger abrasive particles. This makes it rough and able to remove material quickly. (Sandpaper Buying Guide, n.d.) more, smaller particles. This Sandpaper is finer and less aggressive, and it is designed for smoothing and finishing surfaces.
Using the correct progression of grits is essential for a smooth finish. Choosing the proper order of sandpaper grits is key to getting a smooth drywall finish. If sanding happens after your initial layer of drywall mud (joint compound) has completely dried. The goal of this step is to knock down high spots, remove ridges, and create a relatively level surface for your next coat of mud. You aren’t aiming for perfection here, just a solid foundation.
Recommended Grit: 100 to 120-Grit Sandpaper
For the first sanding, 120-grit Sandpaper usually works best. (What Grit Sandpaper Do You Use for Drywall Mud?, n.d.) It’s rough enough to smooth out bumps and extra compound, but not so rough that it harms the drywall paper. If there are prominent ridges, you can start with 100-grit, but use a light touch. (Drywall Sanding Tools and Materials, n.d.)
Why this grit works best:

- Effective Removal: It efficiently sands down dried mud without requiring excessive effort.
- Prevents Gouging: It’s fine enough to avoid creating deep scratches or gouges in the joint compound and surrounding drywall paper, which would need to be filled in later.
After this first pass, once you’ve finished the first sanding, apply a second, thinner coat of joint compound and spread it out wider than before. Achieving a Paint-Ready Finish.
After your second or third coat of joint compound dries, it’s time for the final sanding. This step is key to getting a seamless, professional look. Aim for a smooth surface that won’t show once it’s painted.
Recommended Grit: 150 to 180-Grit Sandpaper
For the last sanding, switch to a finer sandpaper. Most people use 150-grit for this step. (Understand Sandpaper Grit Differences for Wall Prep, 2025) It’s fine enough to remove minor flaws and tool marks, leaving the wall smooth.
If you are aiming for a Level 5 finish (the highest quality finish), or if you’ve already, if you want the highest quality finish, or if your wall is already very smooth, you can use 180-grit or even 220-grit for an extra polished look. (Flex Air Sandpaper (10 Pack), 2025) For most homes, though, 150-grit is enough. (What Grit Sandpaper Do You Use for Drywall Mud?, n.d.) and ridges without being aggressive.
- Creates a Paintable Surface: It prepares the wall for primer and paint, ensuring there are no visible blemishes after painting.
- Blends Edges: It helps to perfectly feather the edges of the joint compound into the surrounding drywall, making seams disappear.
Choosing the Right Sanding Tool
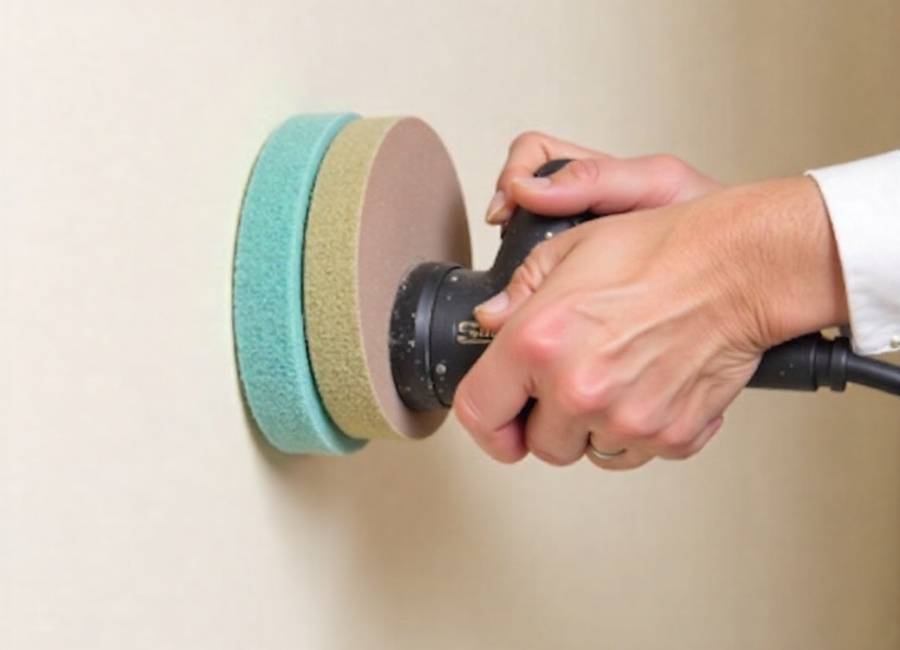
The sanding tool you choose matters as much as the Sandpaper. Here are some standard options:
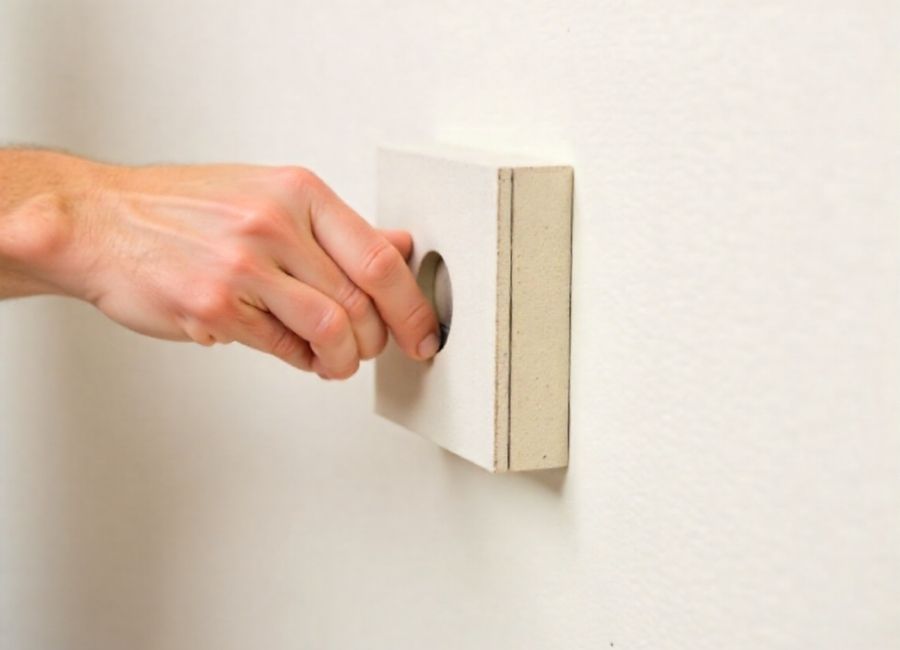
- Sanding Block: A simple hand-held block is great for minor repairs and getting into tight corners. It gives you excellent control over the pressure you apply.
- Pole Sander: For significant areas like walls and ceilings, a pole sander is a must. It helps you sand evenly and saves you from moving a ladder all the time. The head swivels to keep flat contact with the wall.
- Sanding Sponge: Flexible sanding sponges are perfect for sanding curved surfaces, corners, and detailed areas. They typically come in medium and fine grits and are easy to hold.
Use a pole sander on large areas and a sanding block or sponge for the edges and corners to get the best results.
Key Sanding Takeaways
Achieving a professional drywall finish comes down to a system. Getting a professional drywall finish is all about following the proper steps. If you use the right Sandpaper at each stage, you can avoid mistakes and make sure your walls are smooth and ready to paint—the Sandpaper, joint compound, and tools you need for your next drywall project. Our team is always here to offer advice and help you find exactly what you’re looking for.


