


Machine quilting doesn’t require expensive specialty equipment or professional training. Your standard home sewing machine can create beautiful quilted projects with the proper techniques and a bit of practice. Whether you’re finishing your first quilt top or looking to expand your quilting skills, learning to machine quilt opens up endless creative possibilities.
This comprehensive guide will walk you through everything you need to know about machine quilting on a regular sewing machine. From essential supplies to step-by-step techniques, you’ll discover how to transform your quilt tops into stunning finished pieces using equipment you likely already own.
Machine quilting offers several advantages over hand quilting, including speed, consistency, and the ability to create intricate designs. With proper preparation and technique, you can achieve professional-looking results from the comfort of your sewing room.
Essential Supplies for Machine Quilting
Before beginning the quilting process, gather the necessary supplies to ensure smooth stitching and achieve professional results.
Basic Equipment Requirements
Your regular sewing machine needs only minor adjustments to handle quilting projects. Most standard machines work well for quilting, though some features make the process easier. A throat space of at least 6 inches provides better maneuverability, while adjustable presser foot pressure helps accommodate thick quilt layers.
Free-motion quilting requires dropping or covering the feed dogs, a feature available on most modern machines. If your machine lacks this capability, you can purchase a darning plate or free-motion quilting foot that achieves the same result.
Quilting Feet and Needles
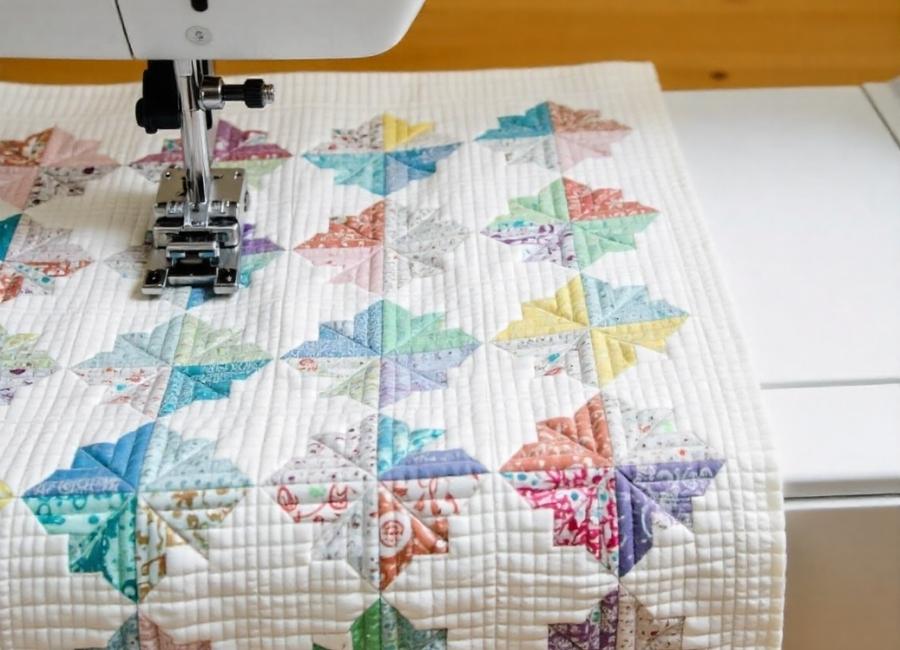
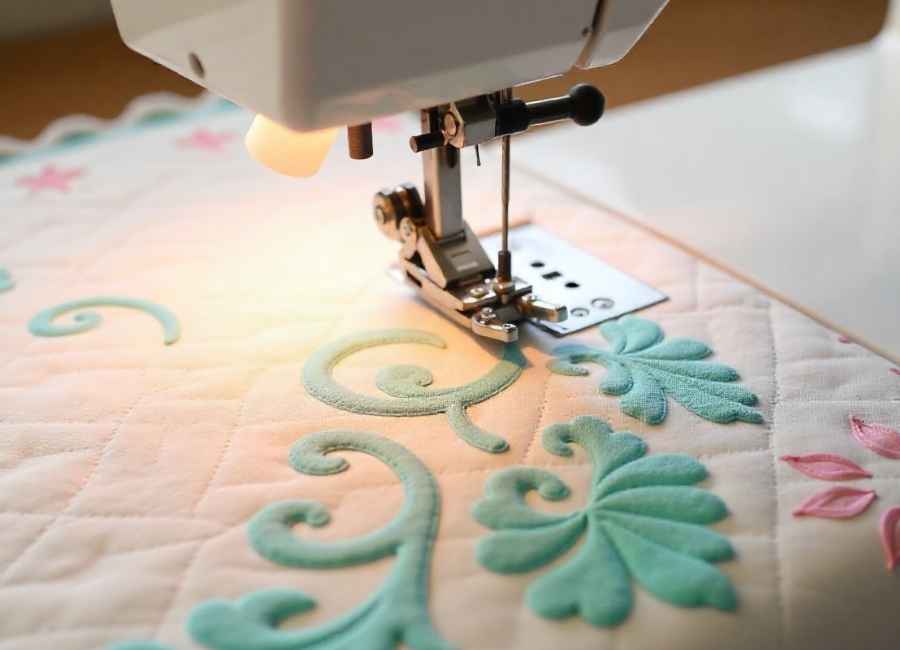
The walking foot, also known as an even-feed foot, is essential for achieving straight-line quilting. This specialized foot moves the top layer of fabric at the same rate as the feed dogs move the bottom layer, preventing puckering and shifting. Most sewing machine manufacturers offer walking feet designed explicitly for their models.
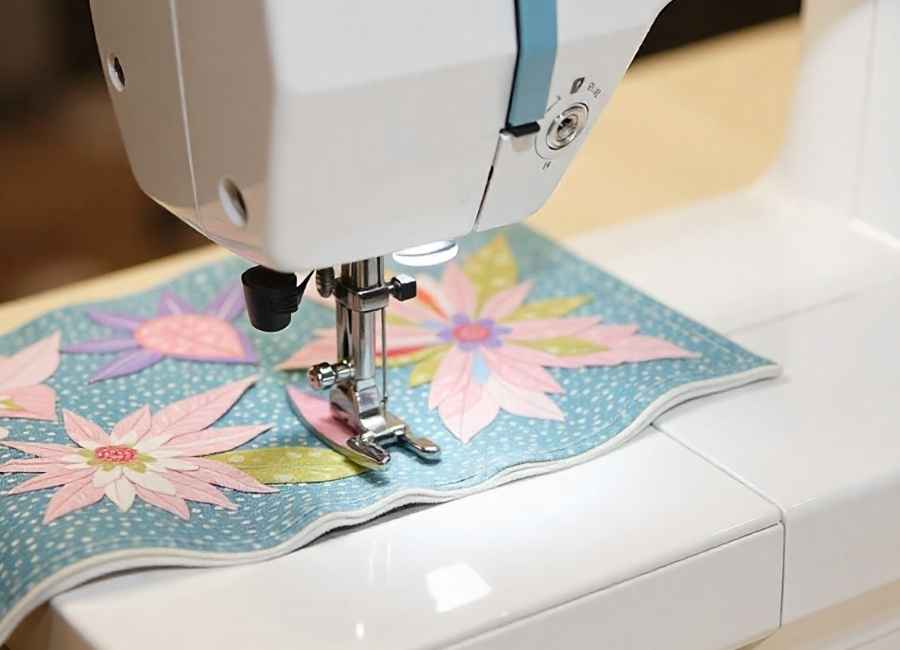
For free-motion quilting, use a darning foot or open-toe embroidery foot. These feet allow fabric to move freely in any direction while maintaining proper thread tension. Choose needles designed explicitly for quilting—typically size 90/14 for cotton thread or 100/16 for heavier threads.
Thread and Batting Selection
Cotton quilting thread is well-suited for most projects, providing strength and a classic appearance. Polyester thread offers extra durability, while rayon adds beautiful sheen. Match thread weight to your needle size, using 40-weight thread with 90/14 needles or 30-weight thread with 100/16 needles.
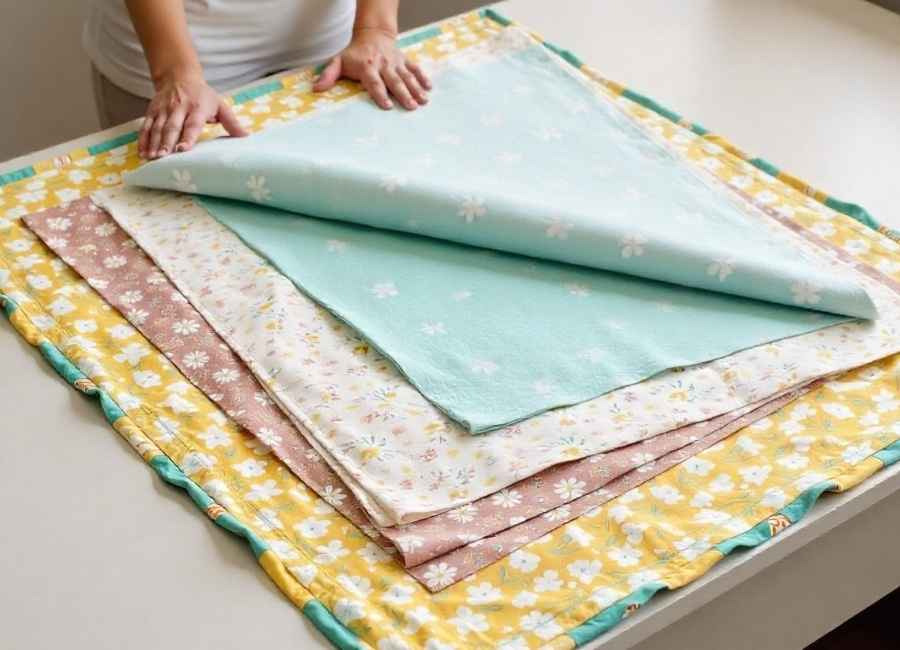
Batting choice affects both quilting ease and finished appearance. Cotton batting creates a flat, traditional look and quilts easily. Polyester batting provides more loft and warmth but requires closer quilting lines. Wool batting offers excellent drape and temperature regulation.
Preparing Your Quilt Sandwich
Proper preparation prevents quilting problems and ensures smooth stitching throughout your project.
Creating the Quilt Sandwich
Layer your quilt backing face down, with the batting in the middle, and the quilt top face up. The backing and batting should extend 2-4 inches beyond the quilt top on all sides to accommodate shifting during quilting.
Smooth each layer carefully, working from the center outward to eliminate wrinkles and bubbles. Take time during this step—proper layering prevents frustrating problems later in the quilting process.
Basting Methods
Basting holds the three layers together during the quilting process. Pin basting involves placing curved safety pins at intervals of 4 to 6 inches across the quilt surface. Start pinning from the center and work outward, avoiding areas where you plan to quilt heavily.
Spray basting offers a faster application method using a temporary adhesive spray. Spray the batting, smooth the backing in place, then spray again before adding the quilt top. Work in a well-ventilated area and follow manufacturer instructions for best results.
Thread basting involves hand-stitching large running stitches across the quilt surface. While time-consuming, this method provides the most secure hold and works exceptionally well for large quilts.
Straight-Line Quilting Techniques
Straight-line quilting creates classic, timeless designs that are perfect for both beginners and experienced quilters.
Setting Up for Success
Install your walking foot and set stitch length to 8-12 stitches per inch. Longer stitches may gap when the quilt is washed, while shorter stitches can perforate and weaken the fabric—test stitch length on a practice sandwich made from project scraps.
Start quilting from the center of the quilt and work outward. This approach prevents fabric distortion and ensures the quilt lies flat when finished. Plan your quilting order to minimize the number of starts and stops.
Popular Straight-Line Patterns
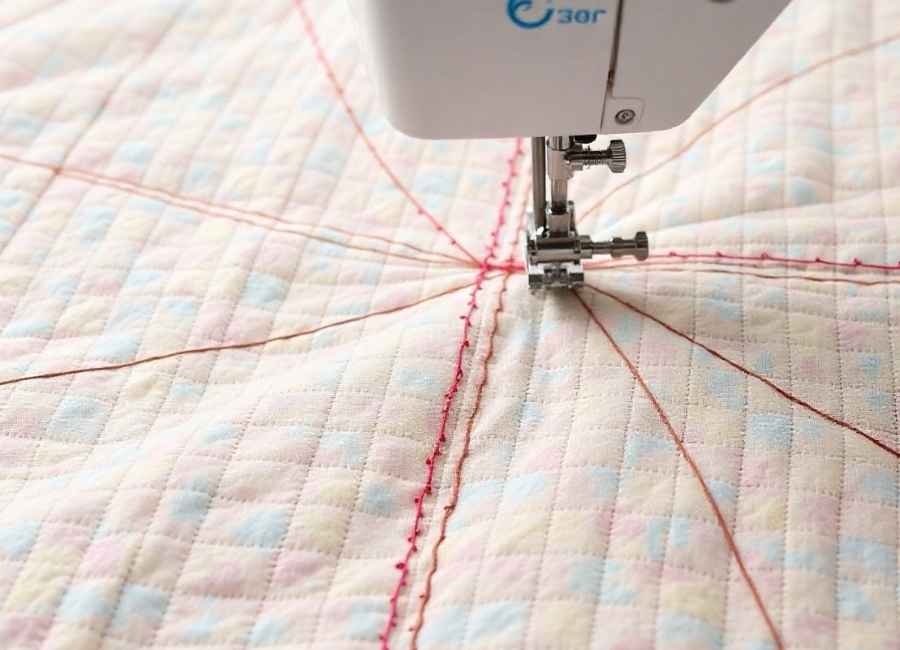
Echo quilting creates parallel lines radiating outward from design elements. Mark the first line 1/4 inch from your starting point, then use the width of your presser foot as a guide for subsequent lines. This technique works beautifully around appliqué shapes or printed motifs.
Grid quilting involves creating squares or diamonds across the quilt surface. Use masking tape or a quilting ruler to mark straight lines, maintaining consistent spacing throughout. Remove tape promptly to avoid residue.
Channel quilting creates parallel lines across the entire quilt surface. This technique works exceptionally well on solid fabrics where the quilting becomes a primary design element. Vary line spacing to create visual interest.
Free-Motion Quilting Basics
Free-motion quilting offers complete creative freedom, but it requires practice to master smooth, consistent stitching.
Machine Setup and Positioning
Lower or cover the feed dogs and attach a darning foot. Set the stitch length to zero—you’ll control the stitch length through the fabric movement speed. Reduce thread tension slightly to prevent puckering, and use a slightly longer stitch length than usual.
Position yourself comfortably at the machine with good lighting. Consider using quilting gloves for a better grip on the fabric, and ensure your work surface can support the quilt’s weight adequately.
Developing Smooth Motion
Practice moving fabric smoothly and consistently. Your hand movements control both stitch length and design shape. Move fabric steadily while maintaining consistent sewing speed—faster fabric movement creates longer stitches, while slower movement creates shorter stitches.
Start with simple meandering or stippling patterns. These forgiving designs hide irregular stitches while you develop muscle memory. Focus on creating smooth, continuous curves that avoid crossing your stitching lines.
Building Quilting Skills
Progress from simple stippling to more complex designs as your confidence grows. Practice feathers, flowers, and geometric patterns on sample pieces before attempting them on finished quilts. Many quilters keep a practice sandwich nearby for trying new techniques.
Consider marking complex designs with washable markers or templates for easy removal. However, many quilters prefer improvising designs as they stitch, allowing creativity to flow naturally.
Troubleshooting Common Issues
Even experienced quilters encounter challenges during the process of machine quilting. Understanding common problems and their solutions keeps your project moving smoothly.
Thread and Tension Problems
Thread breakage often results from the incorrect choice of needle, old thread, or excessive tension. Replace needles after 8-10 hours of quilting, and use high-quality thread designed specifically for machine quilting. Adjust the upper thread tension gradually, testing on scraps before proceeding with your project.
Puckering usually indicates uneven fabric feeding or excessive thread tension. Ensure your walking foot is installed correctly and reduce thread tension slightly. Check that you’re not pulling or pushing the fabric against the machine’s natural feeding rhythm.
Fabric Management
Large quilts become unwieldy during machine quilting. Roll completed sections and secure with clips or pins to keep bulk away from the machine arm. Support the quilt weight with tables or chairs positioned around your sewing machine.
Plan your quilting sequence to minimize the need for repositioning heavy sections. Complete center areas first, then work toward edges. This approach reduces handling and prevents distortion in finished sections.
Ready to Start Your Quilting Journey
Machine quilting on a regular sewing machine opens up endless creative possibilities. With proper preparation, the right supplies, and patient practice, you can create beautiful quilted projects using equipment you already own.
Start with simple straight-line designs to build confidence, then gradually explore free-motion techniques as your skills develop. Remember that quilting improves with practice—each project teaches valuable lessons that enhance your next creation.
Your regular sewing machine is capable of producing stunning quilted pieces. Take time to practice new techniques, experiment with different threads and battings, and most importantly, enjoy the meditative rhythm of machine quilting. Soon you’ll be creating heirloom-quality quilts that showcase your growing skills and personal style.d seeds.


