


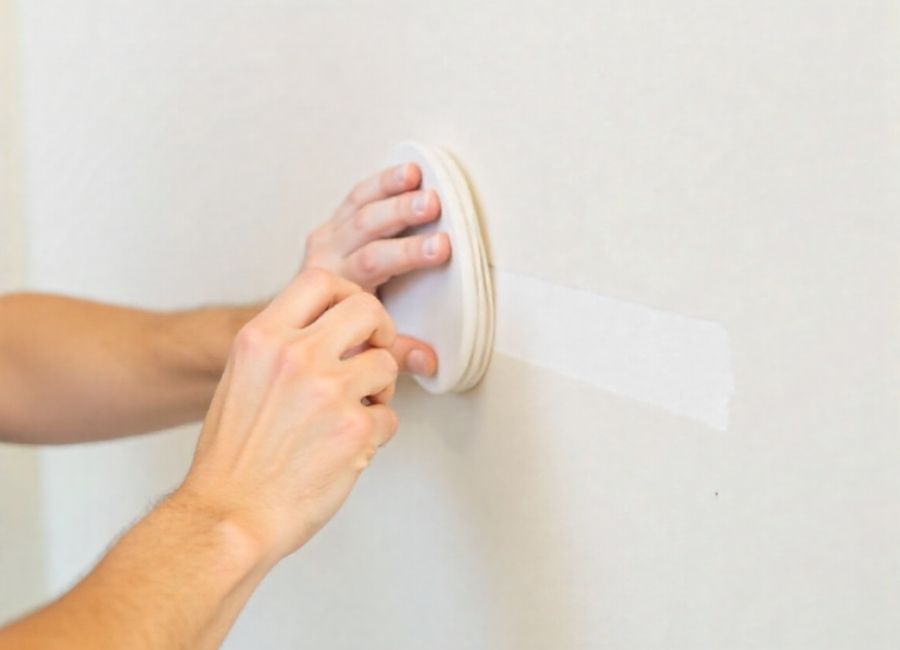
Finishing drywall is an art form. A perfectly smooth, seamless wall can make a room feel brand new, but achieving that flawless finish requires attention to detail, especially when it comes to sanding. Using the right grit sandpaper is a crucial step that many DIY enthusiasts overlook, leading to scratched surfaces or uneven patches.
This guide will walk you through everything you need to know about selecting the right sandpaper for your drywall project. We’ll explain what sandpaper grit means, recommend the best grits for each stage of the drywalling process, and share some pro tips to help you get that professional-looking finish. By the end, you’ll be able to confidently choose the right tools for the job and avoid common sanding mistakes.
Understanding Sandpaper Grit
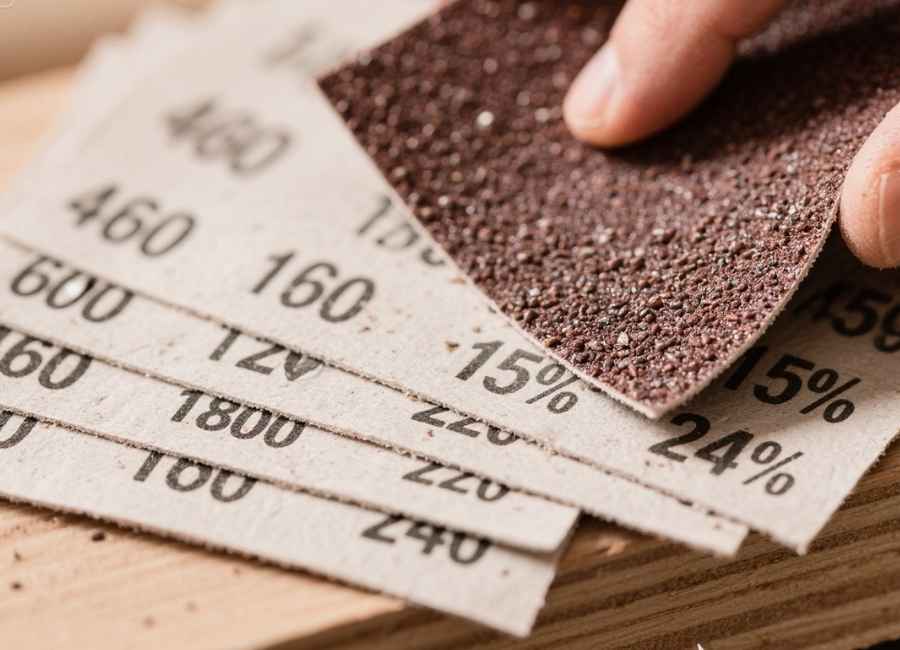
Before selecting the right sandpaper, it’s helpful to understand what the numbers on the sandpaper mean. Sandpaper grit refers to the size of the abrasive particles attached to the paper. The number indicates the number of particles that can fit into one square inch.
- Lower Grit Numbers (e.g., 40, 60, 80): These have larger, more aggressive abrasive particles. They remove material very quickly but leave behind deeper scratches. This is considered coarse-grit sandpaper.
- Medium Grit Numbers (e.g., 100, 120, 150): These have smaller particles and are less aggressive. They are great for smoothing surfaces and removing minor imperfections.
- Higher Grit Numbers (e.g., 180, 220, 240): These have wonderful particles and are used for final finishing touches. They create an exceptionally smooth surface without leaving noticeable scratches.
Using the wrong grit can ruin your hard work. A grit that’s too coarse will scratch the drywall paper and surrounding paint, while a grit that’s too fine won’t effectively smooth the joint compound, forcing you to work much harder for a subpar result.
The Right Sandpaper for Each Coat of Mud
Sanding drywall isn’t a one-and-done process. It’s typically done in stages, corresponding with the layers of joint compound (or “mud”) you apply. Each coat requires a different level of sanding and, therefore, a different grit of sandpaper.
First Coat: Shaping and Leveling
The first coat of mud is usually the thickest. Its purpose is to tape the joints and fill the significant gaps and screw indentations. After this coat dries, your goal is to knock down any high spots, ridges, or blobs of compound. You’re not aiming for a perfect finish at this stage; you’re just shaping the joint and preparing it for the next coat.
- Recommended Grit: 100-grit or 120-grit sandpaper.
Why this grit? A medium-grit paper, like 100 or 120, is aggressive enough to quickly remove excess compound without damaging the drywall paper underneath. It will leave some minor scratches, but these will be filled in and smoothed over by the subsequent coats of mud. Avoid using anything coarser than 100-grit, as it can easily gouge the surface and create more work for you later.
Pro Tip: For this initial stage, a hand sander or a sanding pole is often sufficient. Focus on applying light, even pressure to flatten the joint.
Second Coat: Smoothing and Blending
The second coat of mud is applied more thinly to begin feathering the edges of the joint into the wall. Once it’s dry, the goal of sanding is to smooth the surface further and blend the compound seamlessly with the surrounding drywall.
- Recommended Grit: 120-grit or 150-grit sandpaper.
Why this grit? Moving to a slightly finer grit, such as 150, helps refine the surface without being too aggressive. It will smooth out any imperfections left from the first sanding session and create a more uniform base for the final coat. 120-grit is still a good option if you have noticeable high spots, but 150-grit offers a better balance of smoothing power and a fine finish.
Pro Tip: At this stage, pay close attention to the edges of your joints. You want to “feather” them out so there is no perceptible line between the compound and the drywall. A light touch is key.
Final (Skim) Coat: The Finishing Touch
The final coat of mud is a skinny layer (a skim coat) applied to fill in any remaining scratches, pinholes, or minor imperfections. The sanding you do after this coat is what determines the final quality of your wall. The goal is to create a perfectly smooth, flawless surface that’s ready for primer and paint.
- Recommended Grit: 150-grit or 220-grit sandpaper.
Why this grit? A fine-grit paper is essential for this last step. A 150-grit paper will provide a very smooth finish suitable for most painting applications. If you are a perfectionist or are using a high-gloss paint (which reveals every tiny flaw), stepping up to 220-grit will give you an even glossier surface. Anything finer is usually unnecessary for drywall and may polish the compound rather than smooth it.
Pro Tip: Use a bright work light held at a low angle to the wall. This will cast shadows across any tiny ridges or dips, making them much easier to spot and sand away.
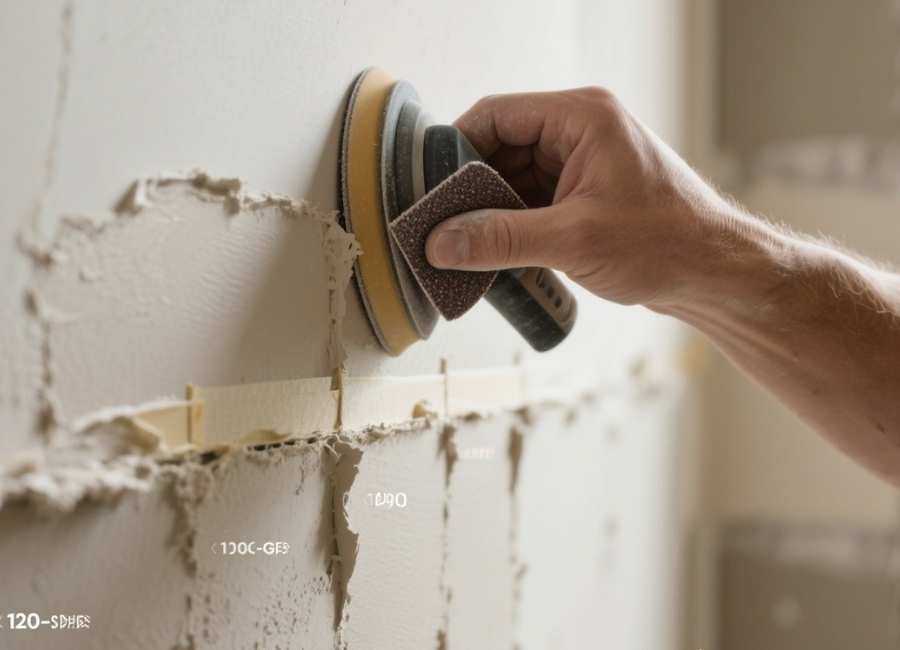
Choosing Your Sanding Tools
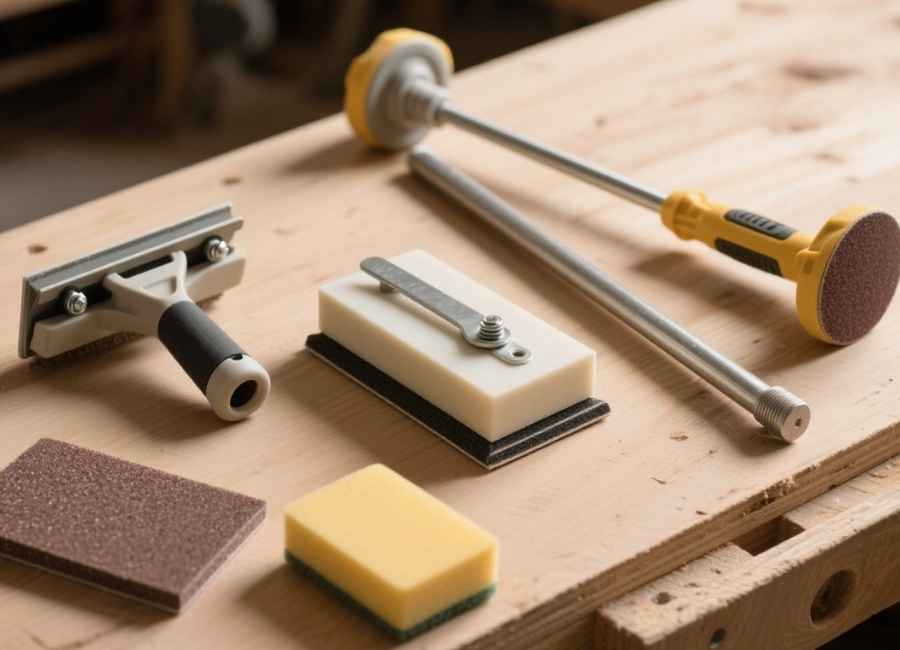
The sandpaper itself is only half the equation. The tool you use to apply it also makes a big difference.
Hand Sander
A simple hand sander is a rectangular block with a handle and clamps to hold the sandpaper.
- Best for: Small jobs, detailed work, and accessing tight spaces. It gives you excellent control over pressure.
Pole Sander
This tool attaches a sanding head to a long pole, enabling you to reach ceilings and high walls without the need for a ladder.
- Best for: Sanding large, flat areas quickly. It’s the go-to tool for most of the sanding process. However, it can be harder to control the pressure, so practice a light touch.
Sanding Sponge
These are flexible foam blocks coated with abrasive material. They come in various grits and are often angled for corner work.
- Best for: Smoothing curved surfaces, getting into tight corners, and wet sanding. They are comfortable to hold and very versatile.
Wet Sanding
For the final coat, some professionals prefer wet sanding. This involves using a damp sponge (not a dripping one) to soften and smooth the joint compound gently.
- Benefits: This method is virtually dust-free, making cleanup much easier.
- Drawbacks: It’s slower than dry sanding and requires a delicate touch to avoid washing away too much compound. It’s best reserved for the final finish on small areas. Use a specialized drywall sponge and 150-grit or finer sandpaper.
Achieve a Professional Finish
Choosing the right grit sandpaper for drywall is a straightforward process once you understand the stages. By starting with a medium grit for the initial coats and moving to a finer grit for the final finish, you’ll create a smooth, professional-looking wall that’s ready for paint.
Remember to take your time, use light pressure, and let the sandpaper do the work. With a bit of patience, you can achieve a finish that rivals the pros.
If you’re ready to tackle your next home improvement project, having the right tools is the first step to success. Explore our full range of drywall and sanding supplies to get everything you need for a flawless finish. thriving indoors and outdoors.


