


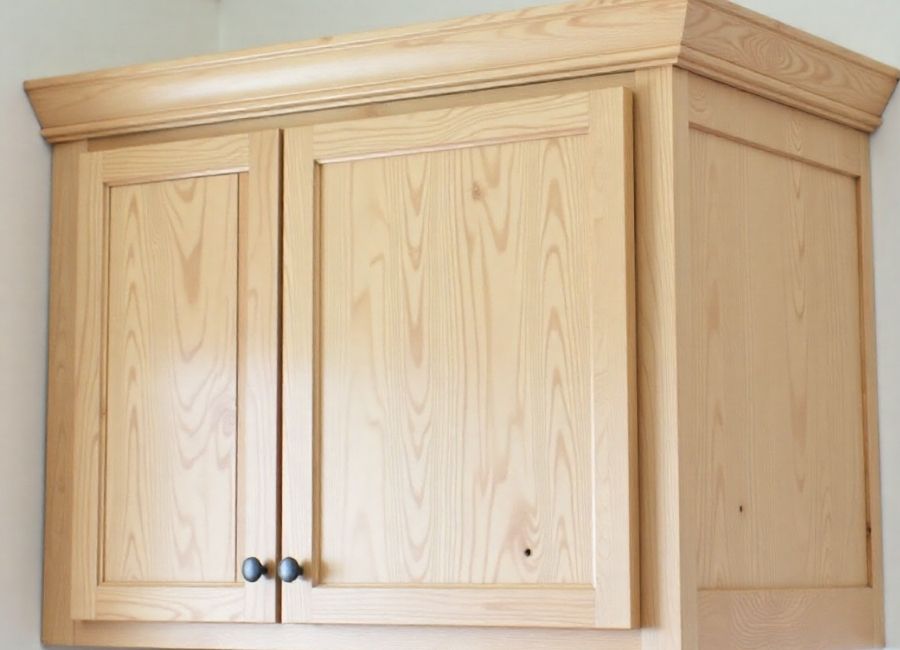
Building cabinet doors is often the most challenging part of cabinet-making, and many DIYers struggle with it. The complexity of choosing the right size, style, and hinges can be overwhelming. However, with the right guidance and tools, you can confidently tackle cabinet door construction. In this post, we will break down the process into three levels of difficulty: beginner, intermediate, and expert, showing you how to create beautiful and functional cabinet doors with ease.
Beginner Level: Slab Doors
The simplest type of cabinet door is the slab door, which is commonly found in modern furniture designs like IKEA pieces or mid-century modern interiors. These doors are incredibly practical and work great in settings like shop cabinets or garage storage areas. Typically made from composite wood products like MDF or plywood, slab doors can also be crafted from solid wood. Still, it’s generally not recommended because solid wood can warp with changes in humidity or temperature, especially for larger doors.
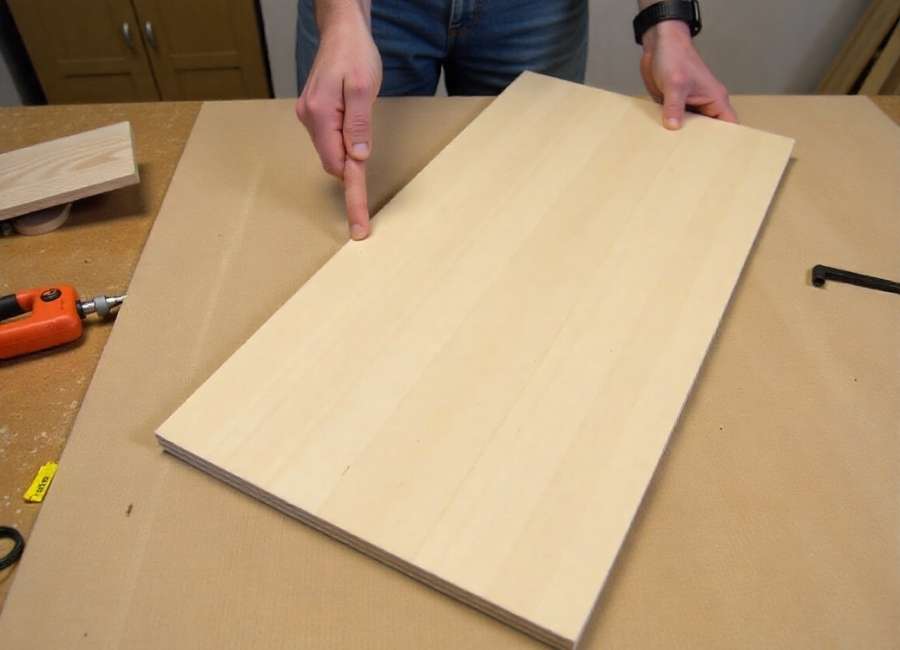
To cut the slab door, you don’t need advanced tools. A basic jigsaw and a straight edge will work, but a track saw provides more precise cuts. If you don’t have a track saw, use a circular saw with a straight edge, but ensure you measure the distance from the saw’s edge to its blade for accurate placement. Secure the straight edge with two-sided tape for stability, as this prevents clamps from interfering.
Here are a few tips to improve your cuts:
- Trim Factory Edges: Factory edges of sheet goods are often rough, so always trim them before making your cuts to ensure clean edges.
- Use the Right Saw Blade: Even if you are using a basic saw, choose a blade labeled for fine finish cuts. Blades designed for MDF or plywood, such as those with more teeth, will deliver smoother results.
- Create a Saw Jig: If you do not have a track saw, you can turn your circular saw into a makeshift track saw with a simple jig. This will help you check that your door is square, either with a square or by measuring both diagonals. If the measurements match, the door is square. Small imperfections are usually fine and won’t affect function. If using MDF, your slab door is ready for finishing. For plywood, cover edges with iron-on edge banding, use an iron and a roller, trim excess, and sand for smoothness. Then, use a flush trim cutter, and use a sanding tool for smooth edges.
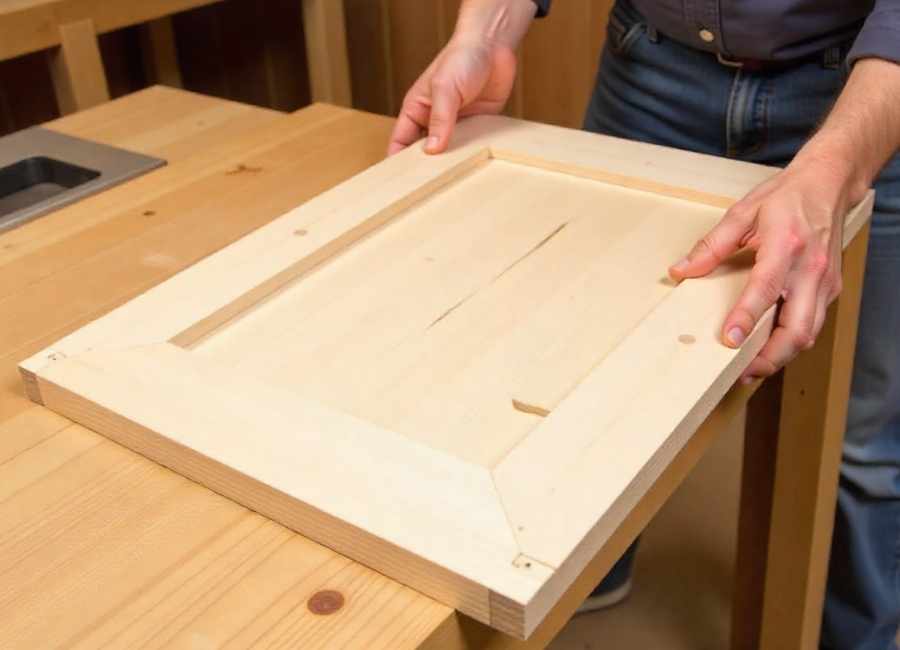
Intermediate Level: Shaker Style (Frame and Panel Door)
Once you’re comfortable with slab doors, you can step up to the Shaker-style door, a popular choice for its clean and simple aesthetic. This style consists of a frame with two rails and two styles, which support a floating panel in the center. The Shaker style gives a little more depth and visual interest compared to the slab door while still maintaining a minimalist look.
For a Shaker-style door, you’ll need to use solid wood, such as pine, poplar, or maple. Pine is the most affordable, while maple and oak are denser and more durable but also pricier. If you’re painting the door, poplar is a great choice. For a natural finish, maple and oak are your best bets.
Here’s how to build this type of door:
- Cut the Frame Parts: Use a mitre saw or a table saw to cut the frame pieces (rails and stiles) to length. For accurate, repeatable cuts, a stop block is recommended to ensure all frame parts match in size. If you only have a circular saw, use a straight edge to help keep your cuts straight.
- Cut the Center Panel: The panel is typically made from MDF or plywood. If you want a sturdier panel, consider using half-inch MDF instead of the quarter-inch variety.
- Joinery for the Frame: Use a ripping blade for your table saw to cut grooves and tongues in the frame, or use a router if preferred. Grooves need to fit the center panel snugly, and tongues should fit the grooves tightly. Always check the fit before gluing the frame together.
- Assemble the Frame and Panel: Apply glue to the joints and clamp everything together. Once the glue has dried, sand the frame to smooth any rough edges.
A key tip: when assembling a frame and panel door, it’s important to ensure that the back of the center panel is flush with the back of the frame. This helps to keep the raised panel doors elevated, adding depth and elegance with chamfered edges. Use solid wood for the frame and panel. Glue up the wood for the panel, let it dry, and plane for smoothness. As set, run the panel through a planer to ensure a smooth, flat surface.
Tools for Raised Panel Doors:
- Router Table: A router table is highly recommended for making the detailed cuts needed for a raised panel. Use it to cut grooves in the frame and to shape the profile around the panel for the raised effect. A hand-held router with a guide can be used if a table isn’t available, but a table will give better control.
- Cutting the Tongues and Grooves: Use a coping sled with your router table to make the tongues on the ends of the frame parts for added precision. This method is different from the simple square cut used in basic doors and creates a more decorative joint. If you do not have a router table, use a tenoning jig with a table saw as an alternative.
- Raising the Center Panel: Use a raised panel router bit with your router table to shape the center panel. These large bits remove a significant amount of material, so make several shallow passes. If you do not have a router table, use a hand-held router with caution, making sure the panel is clamped securely.
- Assembly: For a raised panel door, it’s crucial to allow the panel to float in the frame. Since wood expands and contracts with humidity, avoid gluing the panel entirely. Instead, secure it with a small amount of glue or use space balls to allow for wood movement.
Sizing Your Door
The final challenge in cabinet door construction is getting the size right. There are two main types of door configurations to consider: inset and overlay.
- Inset Doors: These sit inside the cabinet frame, and you’ll need to subtract the desired reveal (usually 1/8 inch) from the cabinet opening’s dimensions.
- Overlay Doors: These sit over the cabinet face and come in two variations:
- Full Overlay: The door covers the entire cabinet. After choosing a door style, calculate frame and panel sizes. For solid wood panels, allow room for expansion by subtracting 1/4 inch from each side.o expand and contract by removing an additional 1/4 inch from each side.
Installing Your Cabinet Door
The most common hinge used for cabinet doors is the euro-style hinge, which provides a clean, modern look. These concealed hinges come in two parts: the cup, which recesses into the door, and the plate, which attaches to the cabinet.
To install your hinges:
- Position the Hinges: Start by drilling the pocket for the hinge cup. Align the door with a positioner jig to place hinges precisely and keep it level. This helps to keep the door level and prevents errors during installation.
- Adjustments: Euro-style hinges offer plenty of adjustment options for precise alignment. You can adjust the door’s position to achieve the perfect reveal and ensure smooth operation.
Conclusion
Building cabinet doors, whether you’re a beginner or an expert, is a rewarding project. By starting with simple slab doors and progressing to more intricate designs like Shaker and raised panel doors, you can develop your skills and create beautiful custom doors for any cabinetry project. Don’t forget the importance of proper tools, accurate measurements, and precise joinery to achieve professional results. Happy building!


