


Hi everyone, it’s Emily! Welcome back to my blog discussion. This week, I’m trying something new to transform raw wood furniture, and the best part is that we won’t be using any paint. That’s right—no painting this time!
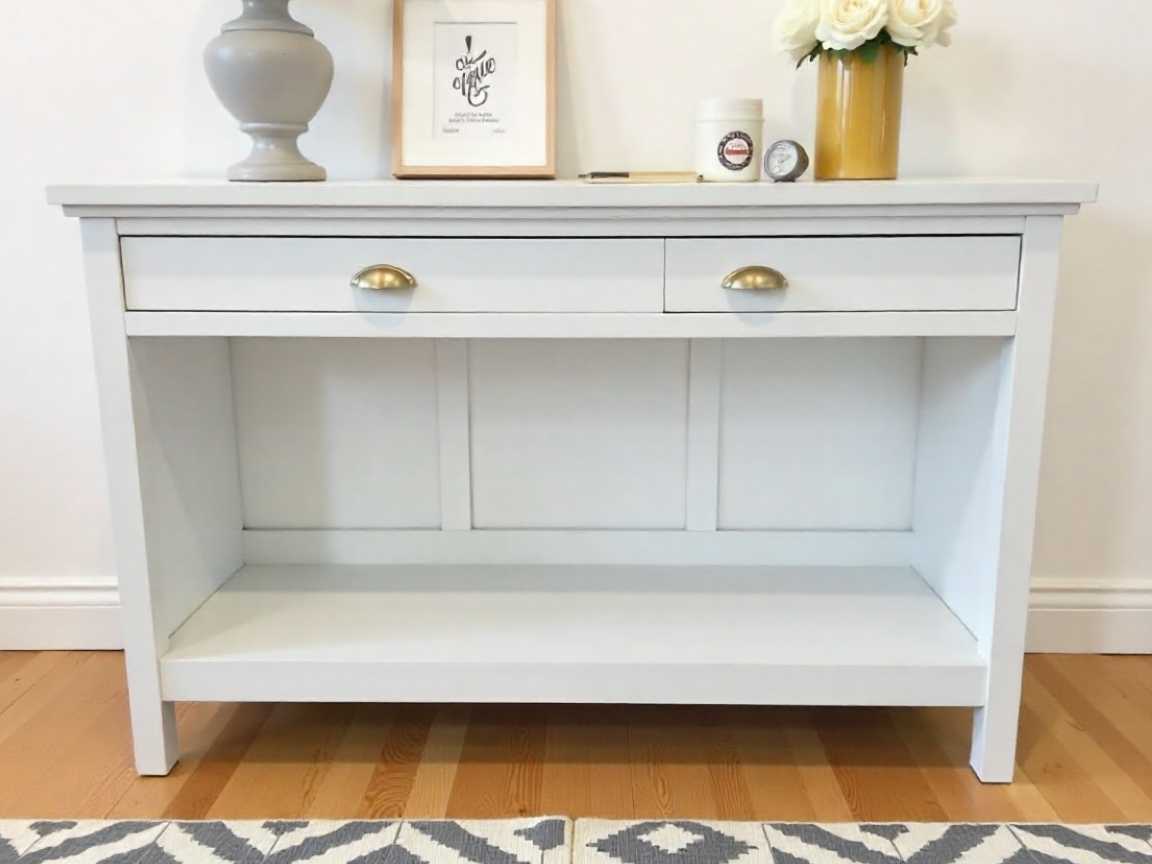
Raw wood is definitely making a comeback, and I’ve always loved it. (Top Furniture Trends to Watch in 2025, 2025) The tricky part is that most raw wood turns a dull orange or yellow when you add a top coat. (5 Common Reasons Why Hardwood Floors Turn Yellow, n.d.) So this week, I tried something a bit different: household bleach. I hope it turns out great! I found a beautiful entry table at a local shop, but it needed a refresh, especially with those old tiles. Let’s jump in!
Step 1: Prep the Wood – Sanding and Stripping
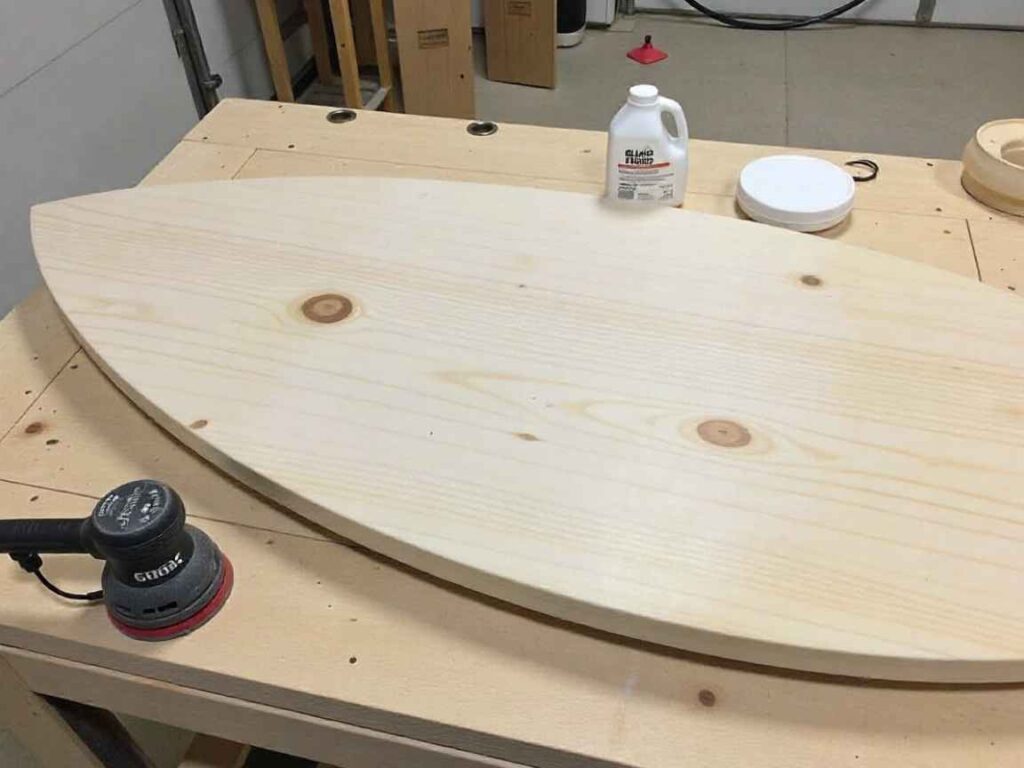
First things first, you’ll need to give the wood a good sanding. This step is essential because we need to remove any varnish or top coat from the surface before applying bleach. Honestly, this was the most challenging part of the project, but using a surf prep tool really made it easier. (DIY Projects Made Easy with the SurfPrep Sander, 2023) It took a bit of elbow grease, but once the surface was smooth, we were ready for the next step.
For those tricky drawer edges, I used a stripper. I was struggling to get into the small corners, so a stripper really helped. I wrapped the drawers in plastic wrap to speed up the process. I left it for about 30 minutes, then used a scraper to remove the finish. It worked great! Keep in mind that after using the stripper, you’ll need to clean off any leftover residue with mineral spirits. (Cleaning Wood Furniture, 1993)
Once all the dust and debris were cleared away, it was time for the fun part: using the bleach!
Step 2: Bleaching the Wood
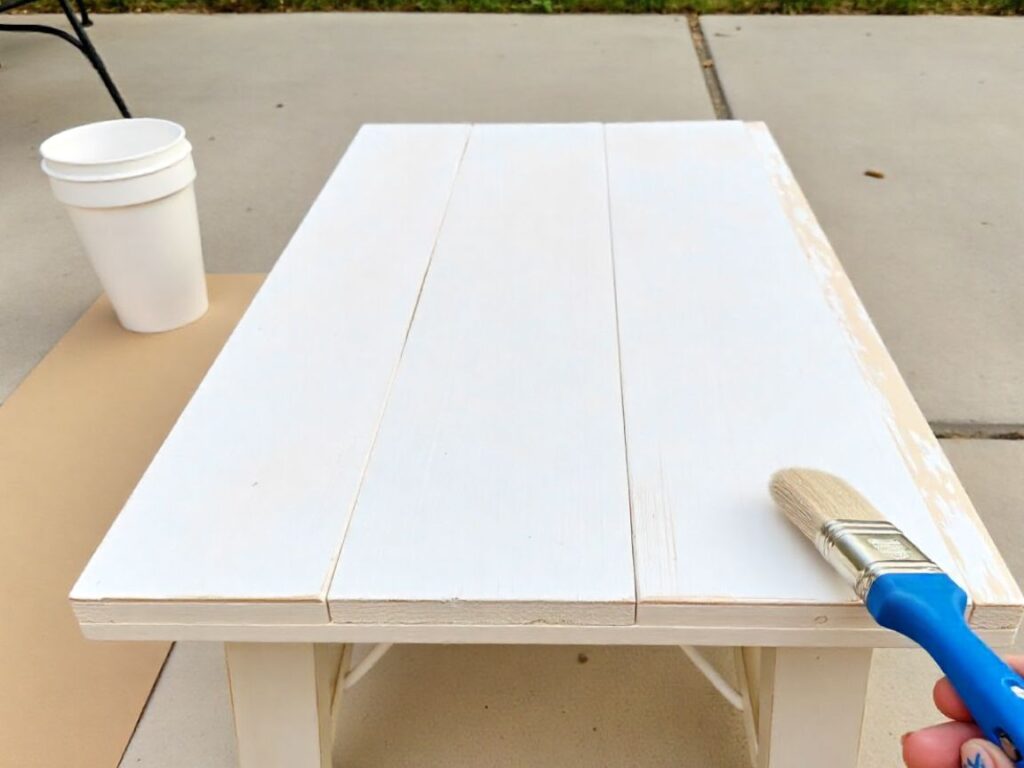
I knew I didn’t want to use my regular chalk paint brushes for this project, so I grabbed a two-inch Worcester brush from Home Depot. If you’re following along at home, be sure to use heavy-duty gloves and definitely wear a mask. This is a project that’s best done outdoors, as the bleach fumes can get pretty strong. (Bryze & Ron, n.d.)
Pour some bleach into a plastic cup (don’t use anything that might react with it!) and begin painting the bleach onto the wood like you would regular paint. The goal here is to ensure even coverage, so go back and forth with the brush to make sure the bleach is spread out evenly.
Once you’ve covered the entire surface, leave it out in the sun to dry. And trust me, don’t do this indoors—your whole house will smell like bleach! (Cleaning with Bleach Can Release Harmful Airborne Particles, 2019) After about an hour in the sun, I could already start to see the woods lightening up. The bleach was working its magic, and the wood had started to turn a gorgeous pale color.
Step 3: Repeat the Process
The trick to getting the perfect bleach effect is repetition. (FURNITURE FLIP || DIY WOOD BLEACH TECHNIQUE || FURNITURE TRANSFORMATION, n.d.) I let the first coat dry completely and then went back for a second coat. And yes, you can do more if you want a lighter look, but I stopped at three coats and was thrilled with the tone of the wood. After each coat, I let it dry in the sun, and the wood gradually transformed into a beautiful, modern light tone that made the grain pop.
Step 4: Removing Bleach Residue
Now that we have our beautiful bleached wood, it’s time to remove the bleach. I used plain water to wipe down the surface. You’ll know when the water is full of bleach because it will get cloudy. I had to change the water a few times to make sure all the bleach was removed.
After cleaning, I used superfine sandpaper to smooth everything out, with the help of my surf prep tool again. This gives the wood a soft, polished finish that really shows off the grain.
Step 5: Updating the Tiles
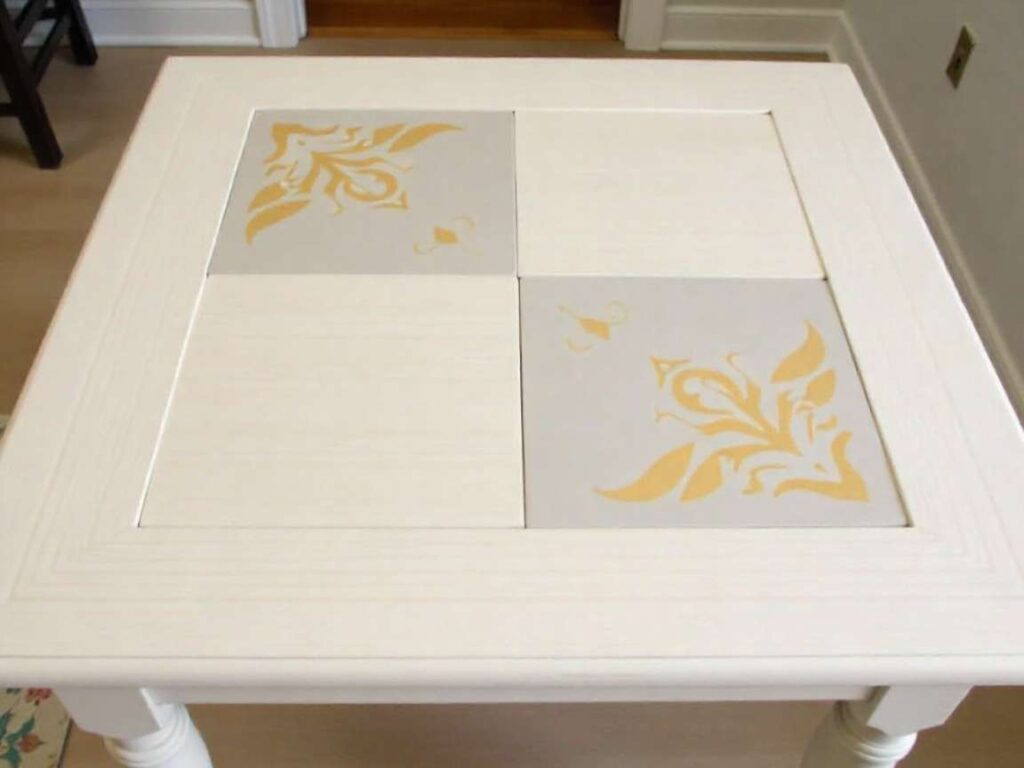
Now, the table still had those outdated tiles, and they weren’t really my style. I decided to replace them with a modern touch. First, I taped around the tiles to avoid messing up the surrounding area. For priming, I used Slick Stick to ensure the paint would adhere properly to the tiles. I then painted the tiles in a warm, neutral shade of Burlap to blend with the bleached wood.
For a little extra flair, I added a touch of gold gilding wax on a stencil design for the tiles. It really added a pop of glam and made the piece feel more personalized!
Step 6: Finishing Touches
Once the tiles were done, I moved on to sealing everything. To protect the wood and tiles, I used two coats of Dixie Belle Flat Clear Coat. (Clear Coat Flat, n.d.) I chose the matte finish because I wanted to keep the natural texture and feel of the piece while still ensuring it was protected.
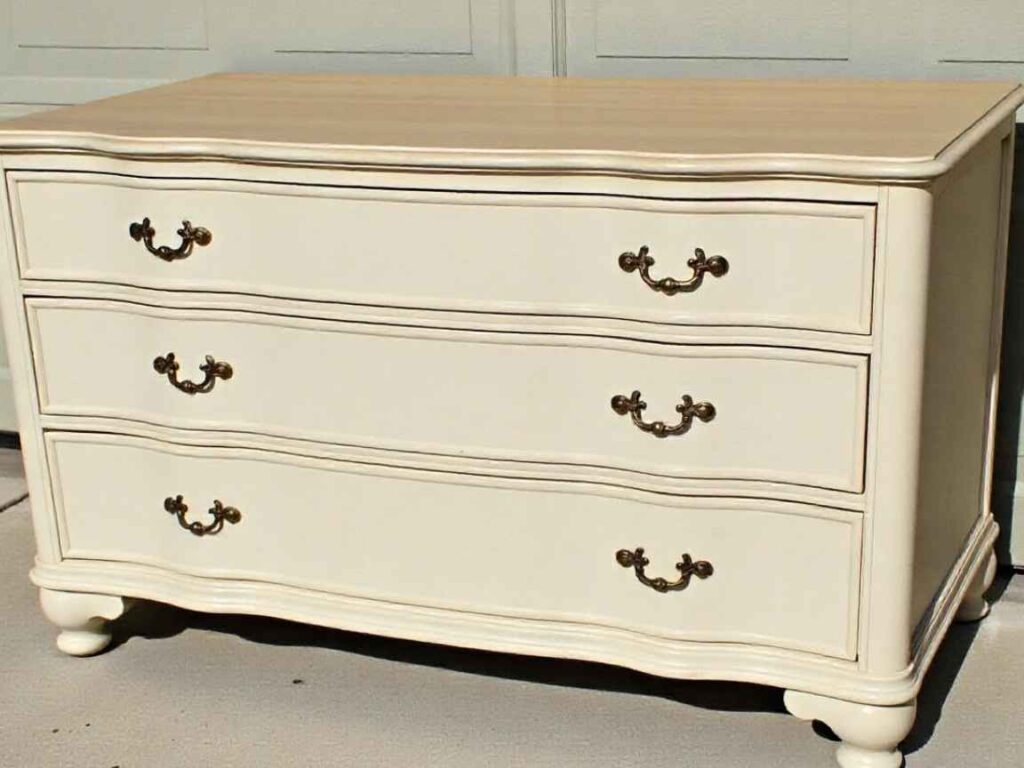
For a final, luxurious touch, I used some gold gilding wax on the hardware. I found these beautiful knobs at T.J. Maxx for just $7.99—such a steal! If you’re into upcycling furniture, T.J. Maxx is always a great place to look for affordable hardware.
The Final Result
And voilà! The table was finished. The bleached wood looked stunning, and the modern updates with the gold and neutral tones brought it into 2021 with style. The wood grain was now clearly visible, and the entire piece had a fresh, modern vibe.
This project was so fun and definitely a bit of an experiment. For the first time in my life, I didn’t paint the piece, and I have to say – I’m really loving the results! But I’m also going to stick with painting for my next project (old habits die hard!).
My Tips for This Project
- Always work outdoors when using bleach (for both safety and to avoid your house smelling).
- Be patient with the bleaching process; you may need a few coats to get the right look.
- Use a stripper on tricky areas like drawer edges.
- Make sure to wash off any bleach residue thoroughly with water.
- When choosing a primer and paint for the tiles, make sure they’re appropriate for the material you’re working with.
I hope you enjoyed this project as much as I did! If you did, please give this post a thumbs up, leave a comment below with your thoughts or questions, and don’t forget to subscribe for more DIY tips and tricks.
Until next time, happy furniture flipping!
— Emily


