


Hi crafters! If you’ve wanted to engrave wood like a pro but thought you needed to spend thousands on a laser engraver, I have good news. I’m Ashley Falco, and welcome to Craft Castle! Today, I’ll show you how to make beautiful wood engravings without expensive equipment. You don’t need any fancy gadgets for this project.
You might be wondering how this works. It’s all because of a Scorch Marker! This simple tool can turn any wood item into a personalized masterpiece, like a cutting board, coasters, or any wooden craft you want. Let’s see how you can make beautiful wood engravings without spending a lot.
Why Choose Scorch Marker Over a Laser?
Laser engravers can cost anywhere from $600 to several thousand dollars. (Budget-FLaser engravers can cost anywhere from $600 to several thousand dollars. While I do have one in my crafting space (a $4,000 machine to be exact), not everyone wants to make such a big investment, especially if you just want to do a few personal projects. If you’re like me, you might feel like you’re missing out on laser engraving. The Scorch Marker changes that. With this marker, you can get the same engraving effect as a laser using just a simple pen and some basic skills. ular marker, but with the added benefit of creating a laser-like engraving effect on wood. (How It Works | Scorch Marker, n.d.) You can use it to add intricate designs, letters, or even just doodles on wooden surfaces. It’s perfect for personalized gifts, home décor, or simply adding a little extra creativity to your wooden crafts. And the best part? It’s budget-friendly!
Creating Custom Designs with a Cricut
Now, let’s step up the game a bit. While you can absolutely use the Scorch Marker for freehand designs, I want to show you how you can take it a step further by using your Cricut machine to create custom stencils. Here’s the step-by-step process:
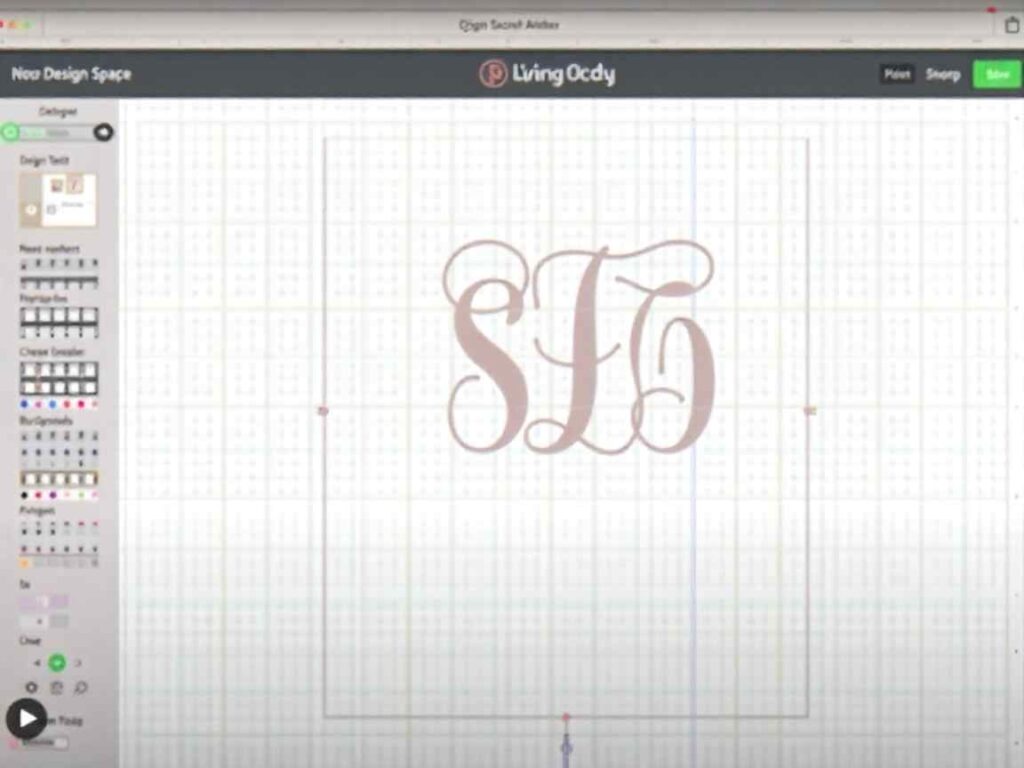
1. Set Up Your Cricut Design Space
- Open Cricut Design Space on your computer, and start a new project.
- For this project, I’m going to create a cute monogram design. Simply go to the Images tab, search for “monogram,” and pick a design you like. I’m going with a fun, personalized monogram.
- Once you’ve selected your design, ungroup the text if necessary, then customize it by changing the initials.
2. Measure Your Wood
- Take a wooden item you want to engrave (in my case, a set of wooden coasters) and measure its size. I’m keeping my monogram under 4 inches in diameter to fit perfectly.
- Adjust the design size in Cricut Design Space to match the measurement.
3. Cut the Stencil with Cricut
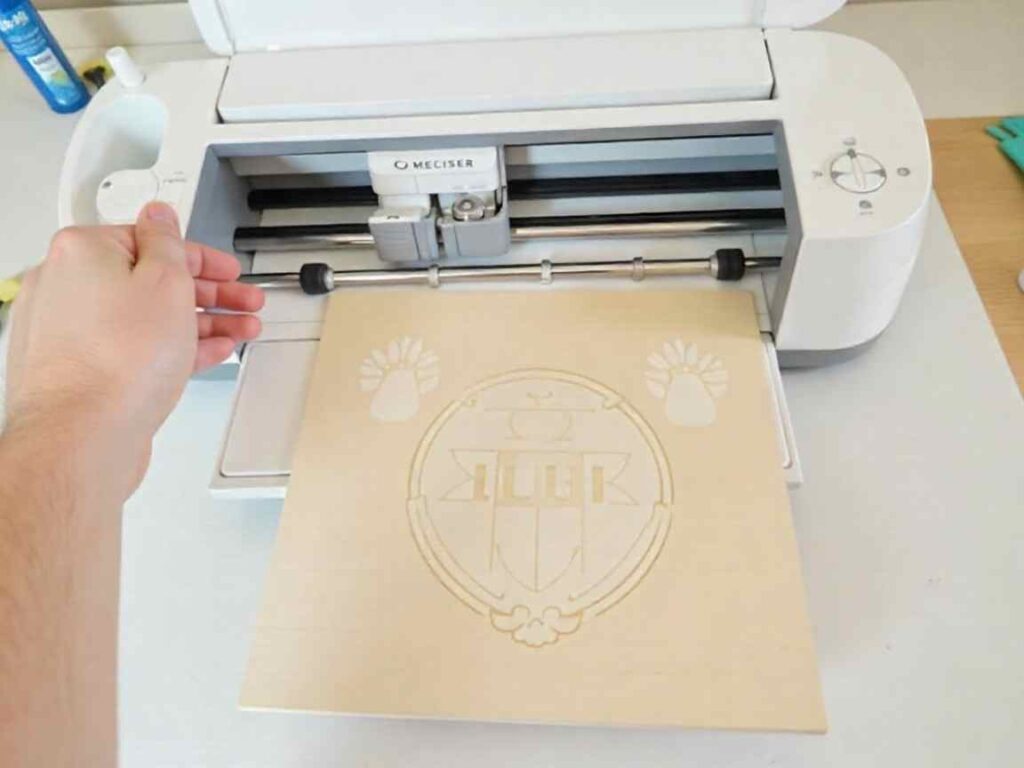
- Load your Cricut mat with scrap vinyl (you can use any color).
- Set your Cricut to Vinyl Mode and hit Continue.
- Cut out your stencil design, and once finished, carefully remove the vinyl from the mat.
4. Weed and Transfer the Stencil
- Carefully weed out the unwanted vinyl (this is what will be engraved).
- Apply transfer tape to your vinyl stencil and use a brayer or credit card to ensure it sticks properly. Position it onto your wooden piece, ensuring everything is aligned.
- Gently peel off the backing of the vinyl, leaving your stencil firmly on the wood.
5. Activate the Scorch Marker
- Before using the Scorch Marker, test it on a piece of scrap paper to make sure the ink is flowing smoothly.
- Use the fine-tipped felt pen (not the foam brush tip) to fill in your stencil. Be careful to avoid flooding the edges, which could cause the ink to seep outside the stencil.
6. Engraving Your Wood
- Once you’ve carefully filled in your stencil, let the Scorch Marker ink sit for a moment. Then, carefully peel off the vinyl stencil.
- Now, take your heat gun and gently heat the design. The heat will activate the ink, turning it into a darkened engraving on your wood, just like a laser.
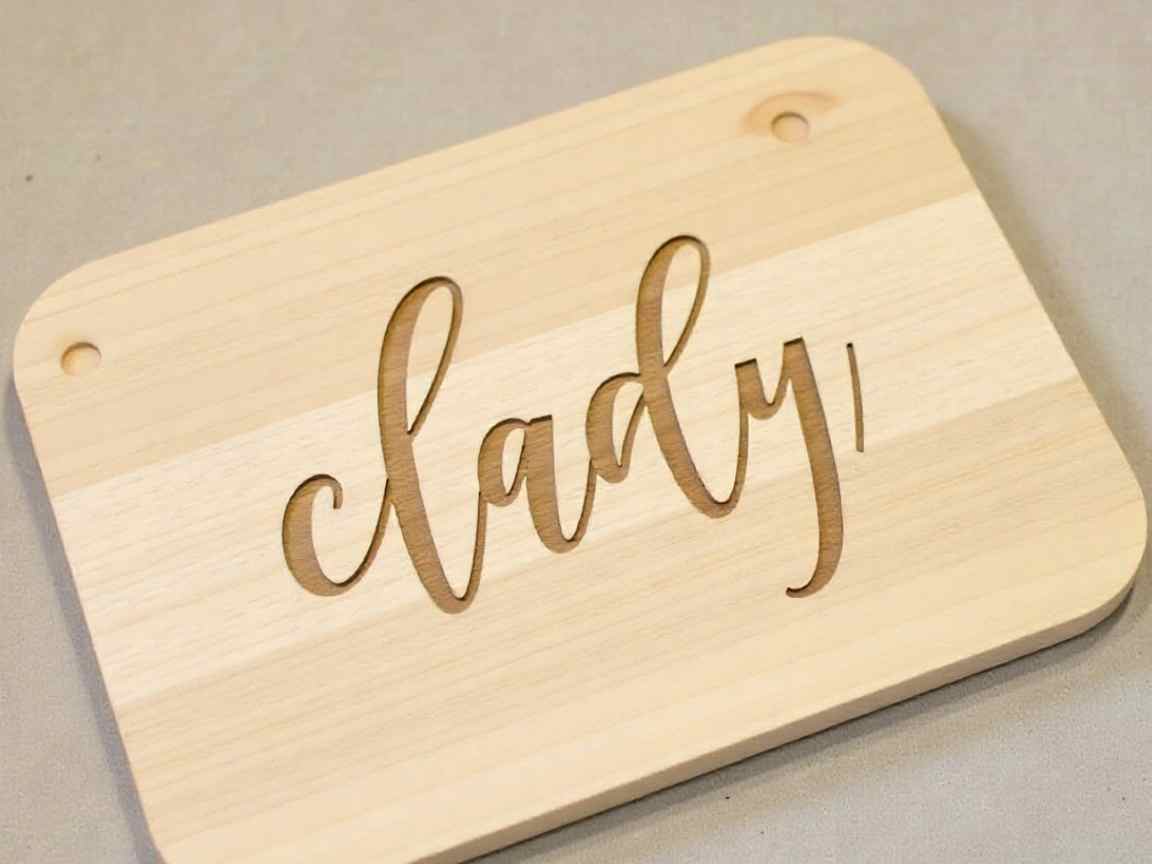
The Final Touches: Stunning Wood Engraving
After a quick heat application, your design will be permanently engraved into the wood with beautiful depth. (How it Works, n.d.) The final result will be crisp, clean, and professional-looking—just like what you’d get with a pricey laser engraver! (Scorch Marker Official Website, n.d.)
The Magic of Scorch Marker for Kids’ Crafts
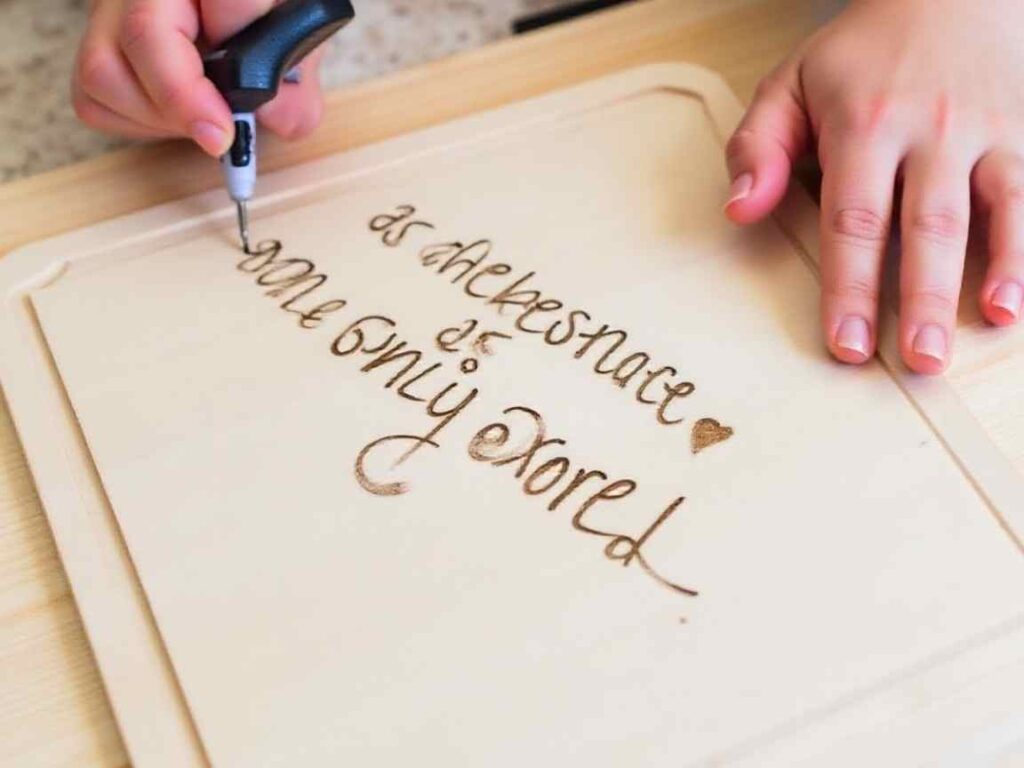
One of my favorite things about the Scorch Marker is that it’s not just for adults. It’s a fantastic tool for kids’ crafts too! (Wood burning for kids | Fun crafting for kids | Wood burning basics – Scorch Marker, n.d.) Whether they’re making personalized gifts for Mother’s Day, Father’s Day, or even Christmas, kids can use this marker to create beautiful engravings on wooden blanks. No need for complicated machines or expensive equipment—just a Scorch Marker, some wood, and a little creativity.
Both of my kids—an 11-year-old and an 18-year-old—love using this marker. It’s so easy to use, and they can create custom gifts without needing to know how to operate a Cricut or laser cutter. That’s the beauty of the Scorch Marker—it’s accessible, affordable, and easy for crafters of all ages to use. (How It Works | Scorch Marker, n.d.)
Why Scorch Marker is a Game Changer
If the high cost and complexity of laser engraving have held you back, this simple tool can open up new crafting possibilities. Whether you’re experienced or just starting out, the Scorch Marker is an affordable, effective, and fun way to make professional-looking wood engravings. You don’t need expensive equipment or complicated setups—just your creativity and a marker.
Final Thoughts
So, are you ready to start engraving wood without breaking the bank? Whether you’re creating personalized gifts, adding unique designs to your home décor, or getting your kids involved in crafting, the Scorch Marker is a must-have tool. I hope today’s tutorial has inspired you to try it out for yourself and unlock the endless possibilities that this simple marker can provide.
Thanks for joining me in Craft Castle, and happy crafting! Don’t forget to share your creations with me—I’d love to see how you’ve used the Scorch Marker in your projects!
Ready to get started? Grab your Scorch Marker and start crafting today!


