


Installing drawer slides is key to making sure your drawers work smoothly. No matter if you’re new to DIY or have woodworking experience, learning to install drawer slides can make your cabinets better and help your drawers last longer. This guide will show you how to install three types: epoxy-coated, full extension ball-bearing, and center-mount slides.
1. Installing Epoxy-Coated Drawer Slides
Epoxy-coated drawer slides are a popular choice due to their affordability, ease of installation, and durability. (22 Inch Epoxy Drawer Slides | Euro Style Drawer Slides, n.d.) These slides are often used in lighter-duty applications, such as bathroom cabinets or smaller drawers. (Drawer Slides, n.d.) They consist of two parts: one part attaches to the drawer box, while the other part connects to the cabinet itself.
Steps for Installing Epoxy-Coated Drawer Slides:
- Step 1: Attach the Slide to the Drawer
Begin by attaching the slide to the drawer box. Make sure the slide is positioned with the wheel at the back and the fixed side at the front. Align the slide with the edge of the drawer and screw it into place. Leave a small gap (about 1/32 inch) from the drawer’s front edge to ensure smooth movement. - Step 2: Mount the Slide to the Cabinet
Once the slides are attached to the drawer, move to the cabinet. Slide the mounting bracket onto the back of the slide. Adjust it so that the drawer is aligned just slightly back from the face frame of the cabinet. You can use a magnetic jig to hold the slide in place, ensuring precise alignment. - Step 3: Check the Level
Using a small level, check to ensure that the slide is perfectly level. Secure the slide to the cabinet with screws, making sure not to over-tighten. Leave a slight bit of wiggle room to allow the drawer to adjust its position once installed. - Step 4: Install the Drawer
Slide the drawer into place, checking that it moves smoothly and that it is level with the face frame of the cabinet. Adjust if necessary, and secure the back of the slide in place with screws.
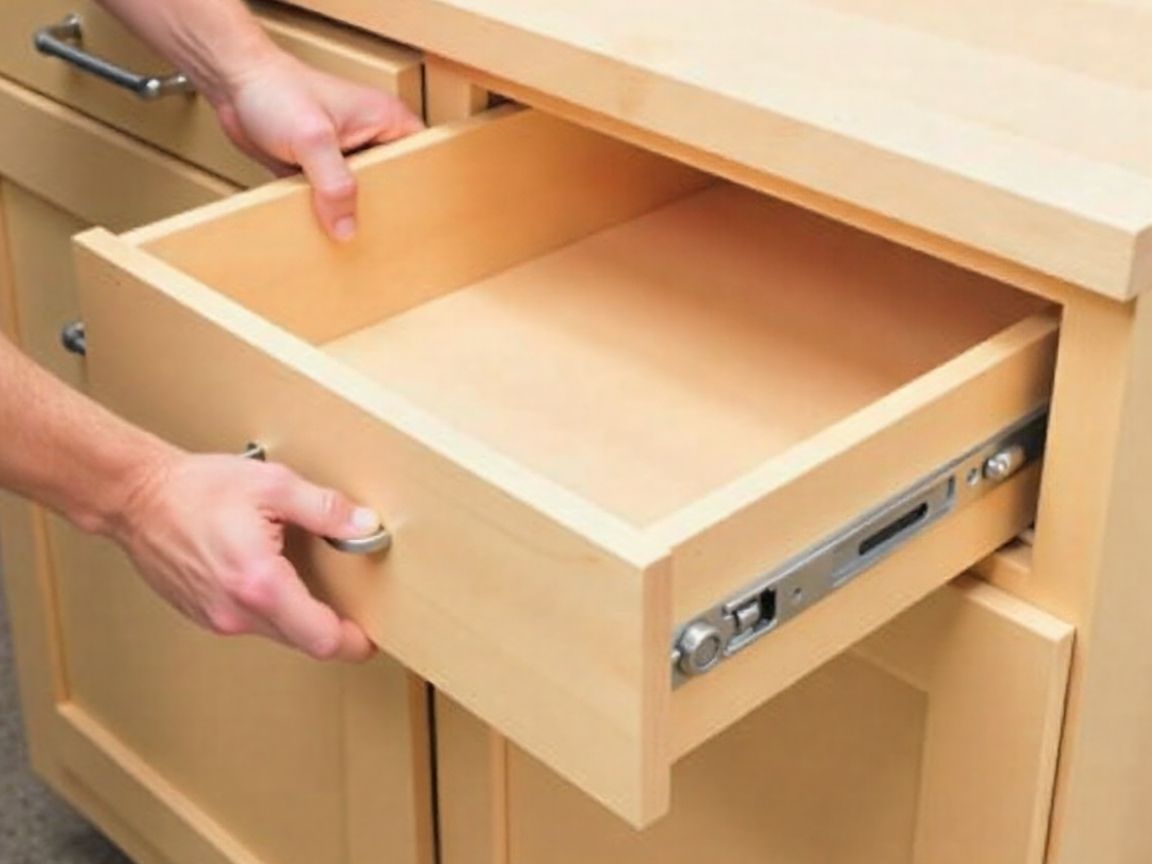
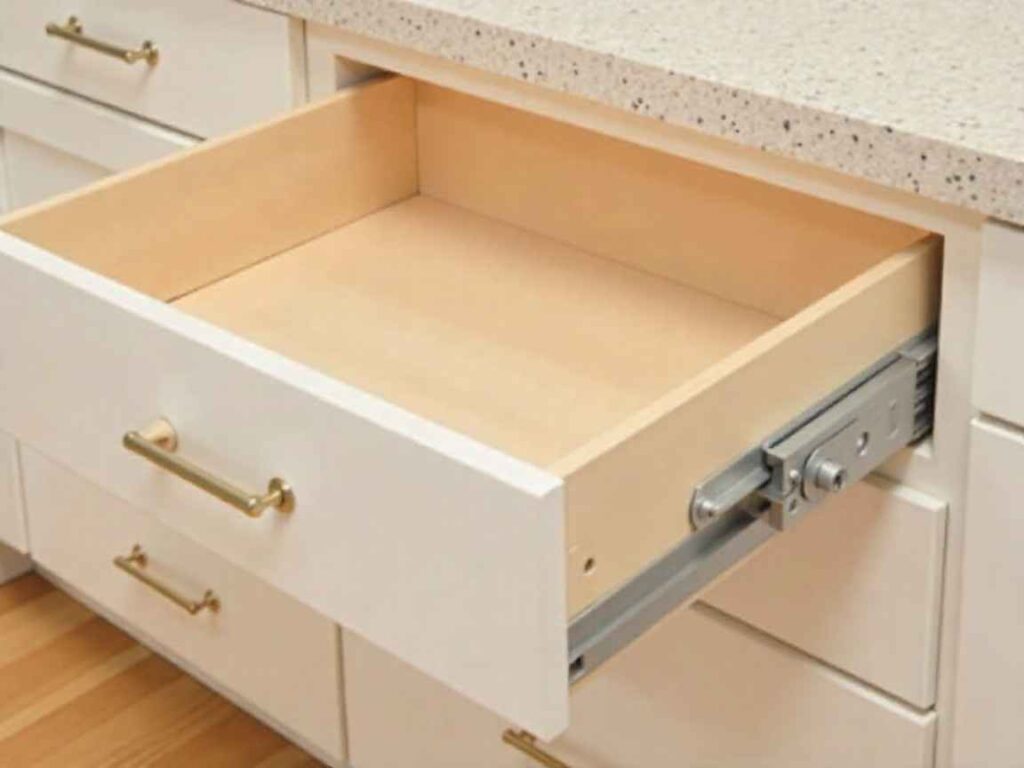
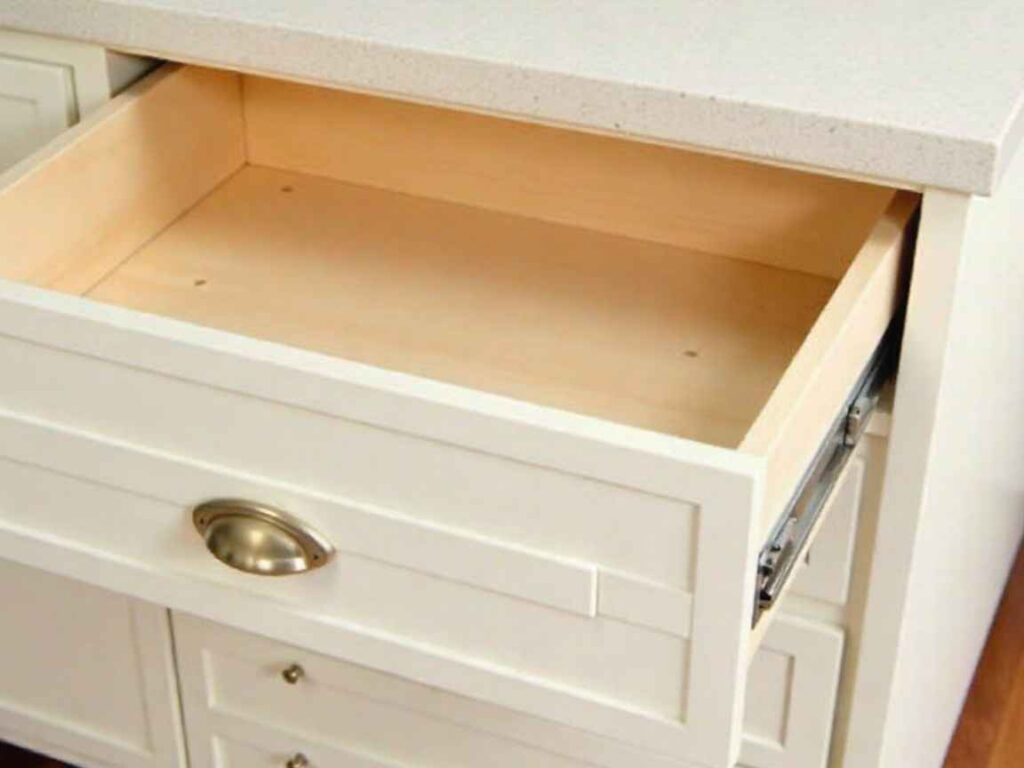
2. Installing Full Extension Ball-Bearing Drawer Slides
Full extension ball-bearing drawer slides offer smooth, durable performance for heavier drawers or those that require complete access to their contents. (Hardware Resources HD Ball-Bearing Drawer Slides, n.d.) These slides feature ball bearings and are commonly used for heavier-duty applications, such as kitchen drawers or tool cabinets. (Heavy Duty Drawer Slides, n.d.)

Steps for Installing Full Extension Ball-Bearing Drawer Slides:
- Step 1: Attach the Inner Slide to the Drawer
Like epoxy-coated slides, ball-bearing slides come in two parts. Start by attaching the inner slide to the bottom of the drawer. Ensure that the slide is positioned with the small part of the slide towards the front of the drawer. Screw the slide into place, ensuring it is aligned with the bottom edge. - Step 2: Install the Outer Slide to the Cabinet
Attach the outer part of the slide to the cabinet. Slide the rear mounting bracket into place on the back of the outer slide, and then snap the front bracket into the face frame. Adjust the slide so that it is parallel to the cabinet’s side and level. - Step 3: Secure the Slides
Once the outer slide is in place, secure it to the cabinet using screws. Check that the slide is level and that there’s an equal gap between the sides of the cabinet and the slide. Tighten the screws only after double-checking the alignment. - Step 4: Install the Drawer
Now, insert the drawer into the installed slides. Full extension ball-bearing slides will allow you to pull the drawer out fully, giving complete access to its contents. Once the drawer is in place, test its smooth movement and make sure the drawer face is flush with the cabinet.
3. Installing Center-Mount Drawer Slides
Center-mount drawer slides are typically used in smaller or lighter-duty drawers. (Center Mount Drawer Slides, n.d.) They are mounted at the center of the drawer’s underside and are often found in applications where space is limited. (Center-Mount Drawer Slides, n.d.) The main advantage of center-mount slides is that they provide maximum drawer width, as they do not require space along the sides of the drawer. (35-lb. Center-Mount Drawer Slides – Centerline® 714 (14″ To 24″), n.d.)
Steps for Installing Center-Mount Drawer Slides:
- Step 1: Prepare the Drawer
If you’re using center-mount slides, you’ll need a slightly thicker drawer bottom for better support. A 1/2-inch plywood bottom is typically ideal. (Drawer Bottoms, n.d.) Measure and mark the center of the drawer and align the slide to this point. Screw the slide into place. - Step 2: Install the Slide in the Cabinet
Move to the cabinet and measure to find the exact center of the drawer opening. Install the rear mounting bracket and adjust it so that it’s aligned with the center of the cabinet. Secure the slide in place, ensuring it is level and parallel to the cabinet sides. - Step 3: Adjust and Test
After attaching the slide to the cabinet, slide the drawer in and check for proper alignment. If the drawer is not sitting flush with the face frame, you may need to make slight adjustments. Once satisfied, secure the slide with screws.
Common Tips for All Types of Drawer Slides:
- Ensure Proper Measurements: Always measure the width and depth of the drawer and cabinet before purchasing and installing drawer slides. This ensures the slides will fit properly.
- Use a Level: A level is essential to ensure that the drawer slides are perfectly aligned, which helps the drawer open and close smoothly.
- Leave Some Space for Adjustments: When installing the slides, leave a little room for adjustments. This makes it easier to tweak the position of the drawer after installation.
Final Thoughts
Installing drawer slides might feel challenging at first, but with the right tools and clear steps, you can make your cabinets work better. No matter which type you pick, these instructions will help your drawers open and close smoothly for a long time.
Pick the right slide for your project and take your time with installation. This will make your cabinets last longer and work better. Happy woodworking!


