


If you want to update your wooden furniture but keep its natural texture, whitewashing is a great choice. In this guide, I’ll show you how to whitewash wood with chalk paint—a simple technique that can change the look of any piece. You’ll still see the wood grain, but with a lighter, fresher feel. Whether it’s a table, bookshelf, or something else, whitewashing can give your furniture a new look in just one day.
The Table Before Whitewashing
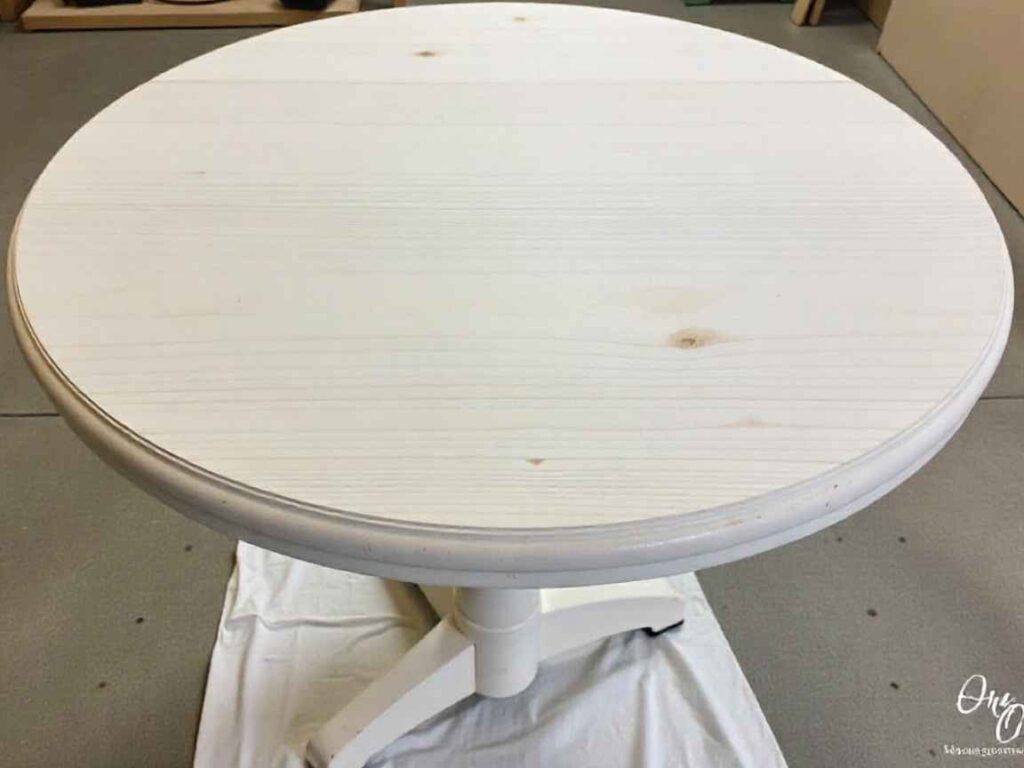
I recently picked up a second-hand pine table that fit perfectly in my workspace. Its drop-leaf design makes it both compact and versatile. At first, I considered painting it solid white with chalk paint, but I loved the wood grain too much. After getting some advice from friends in my DIY Facebook group, I chose to try a whitewashed finish instead.
Prep Work: Cleaning and Sanding
Before starting any painting project, it’s essential to clean and prep the furniture properly. Cleaning ensures that any dirt or grease won’t affect your finish, so give the table a thorough wipe-down.
After cleaning, I saw some scratches and old varnish on the table, so I needed to sand it. Sanding is important before whitewashing because it smooths out imperfections and prepares the wood. I used an electric sander, starting with 80-grit sandpaper, then 120-grit, and finished with 240-grit for a really smooth surface.
Can You Whitewash Over Varnish?
No, varnish stops the whitewash from soaking into the wood. If your furniture has varnish, you’ll need to sand it off first. If you’re painting with chalk paint for a solid finish, you don’t have to remove the varnish unless it’s peeling, since chalk paint sticks to most surfaces. (How to: Prepare a Surface for Chalk Paint, n.d.)
Materials You’ll Need for Whitewashing
To make your whitewash with chalk paint, you’ll need these supplies:
- White chalk paint
- Water
- A spoon for mixing
- A paint tray or jar
- Lint-free rags
- Paintbrush
How to Make Whitewash with Chalk Paint
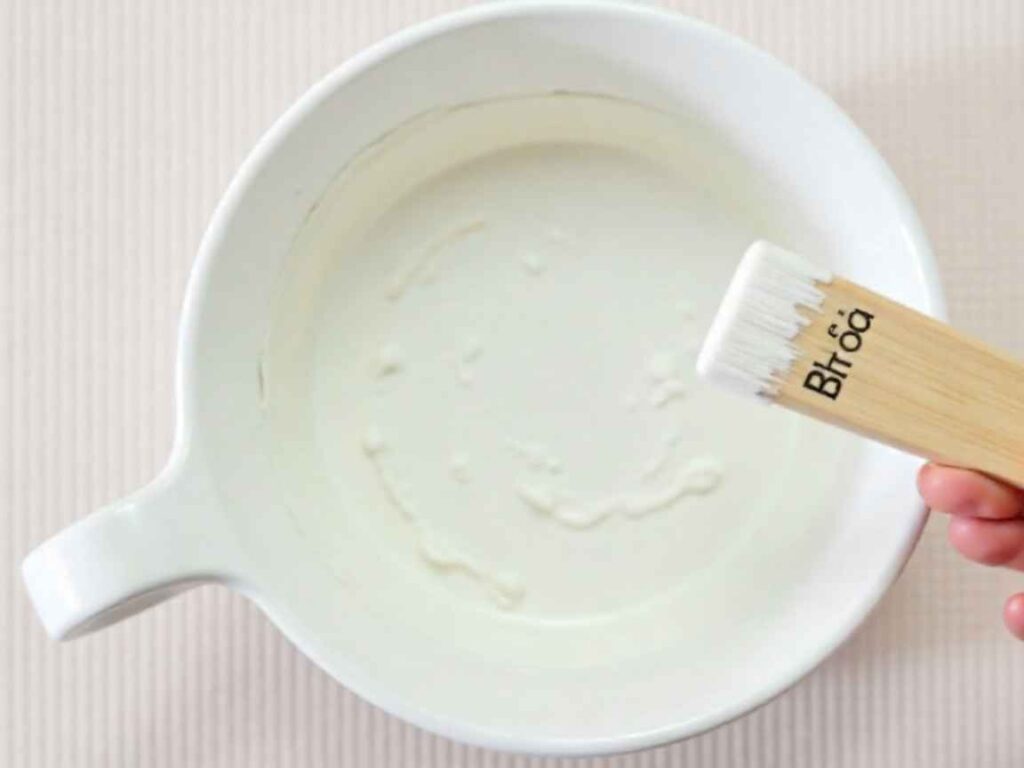
Making a whitewash mix is simple. Just combine a small amount of white chalk paint with water. I usually start with one tablespoon of paint and about one cup of water, then stir until it’s smooth. If you have old, dried chalk paint, don’t throw it away—just add some water to bring it back and use it for your whitewash.
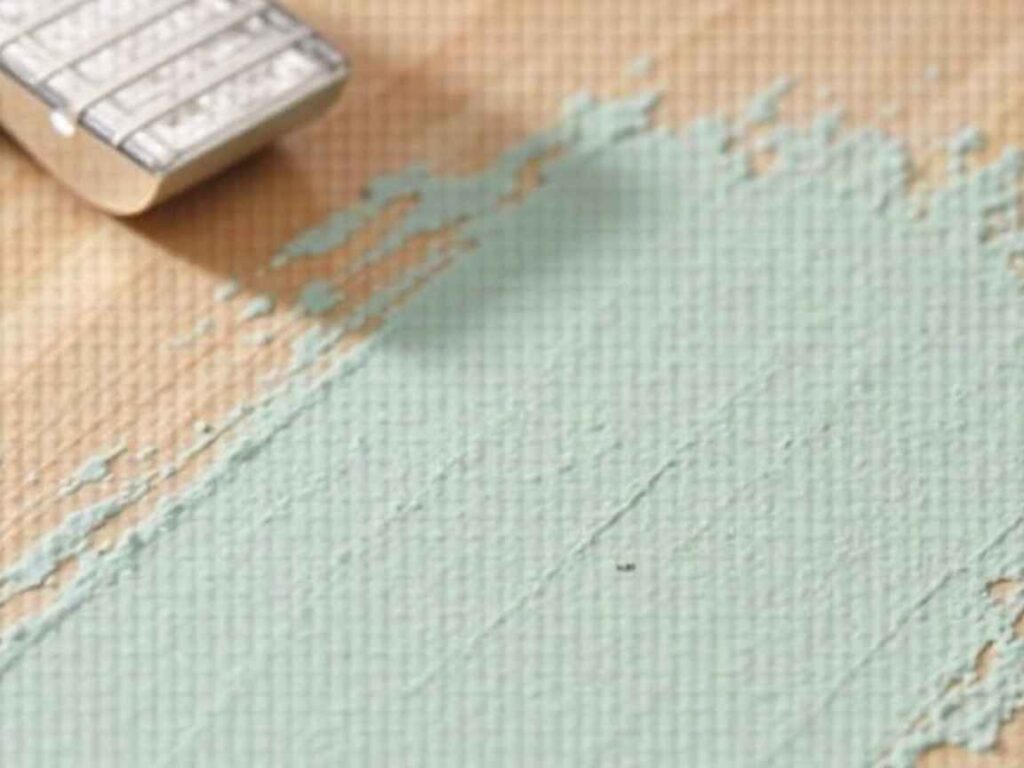
How to Apply the Whitewash
You can apply whitewash to wood in two main ways:
- Brush and Rag Method: Brush the whitewash onto the wood and let it sit for a few minutes. Then, wipe off the extra with a lint-free rag, moving with the wood grain. This gives you a lighter, more see-through finish.
- Paint-Only Method: Use a paintbrush to apply the whitewash directly to the wood and blend it in evenly without wiping. This gives you more coverage but still lets the wood grain show.
Multiple Coats for the Perfect Look
How many coats you use depends on the look you want. One coat gives a subtle effect, but you can add two or three for more coverage. I used three coats to tone down the orange color of the pine while keeping the wood’s character.
Tip: Always paint along the wood grain, and if you’re using the rag method, wipe in the same direction for a smooth, even finish.
Finishing Touches
Once you’re happy with the coverage, it’s time to seal your whitewashed furniture. The best finish depends on how you’ll use the piece. For tabletops or surfaces that get a lot of use, I suggest a water-based polycrylic because it protects and doesn’t turn yellow. (Polycrylic Protective Finish – Wood Protection | Minwax®, n.d.) For other pieces, clear wax is a good option if you want a softer look. (Clear Chalk Paint® Wax, n.d.)
Final Result
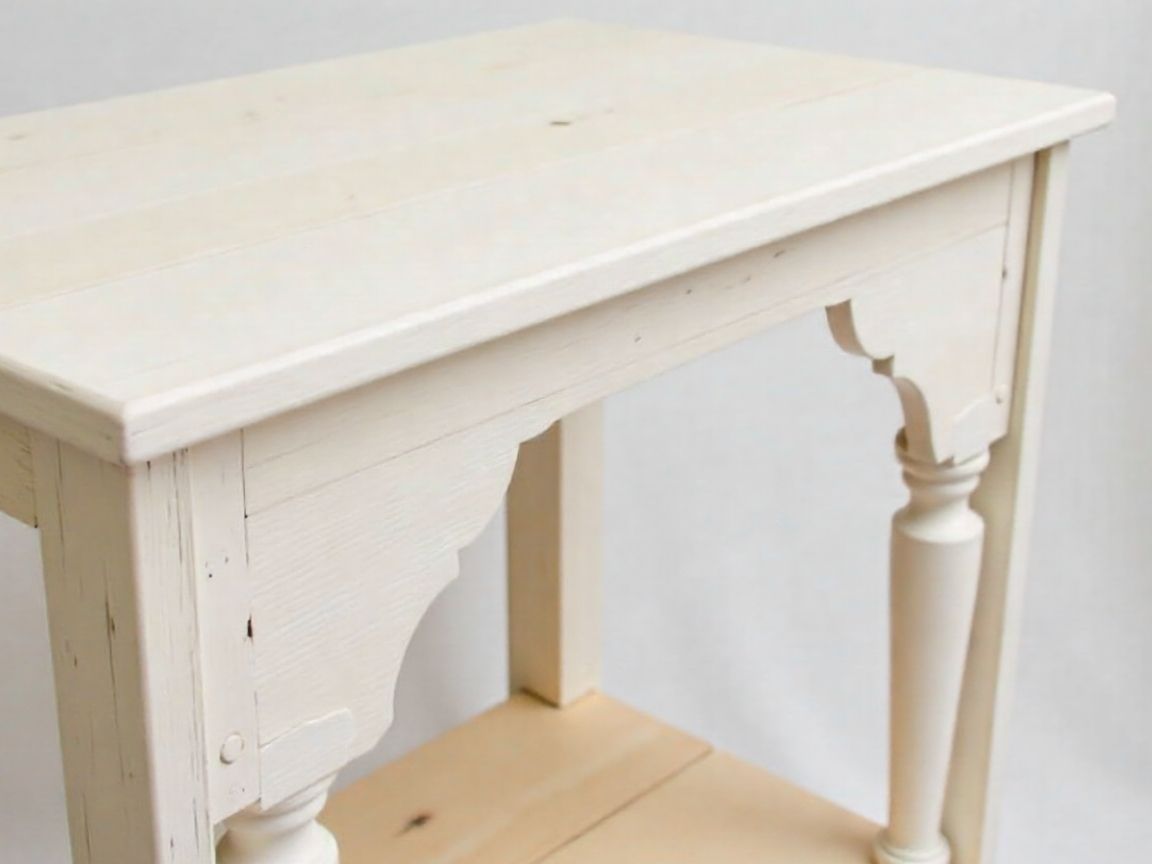
After finishing the whitewash, I was really happy with how the table turned out. The pine looks fresh, and the wood grain stands out nicely. Now it’s perfect for my workspace, working as both a craft and photography table. The wood grain is still visible, but the orange tones are softer, giving it a more subtle and stylish look.
Conclusion
Whitewashing wood with chalk paWhitewashing wood with chalk paint is a quick and satisfying DIY project that can refresh old furniture. Whether you’re working on one piece or a whole room, this method keeps the wood’s natural beauty while giving it a modern update.


