


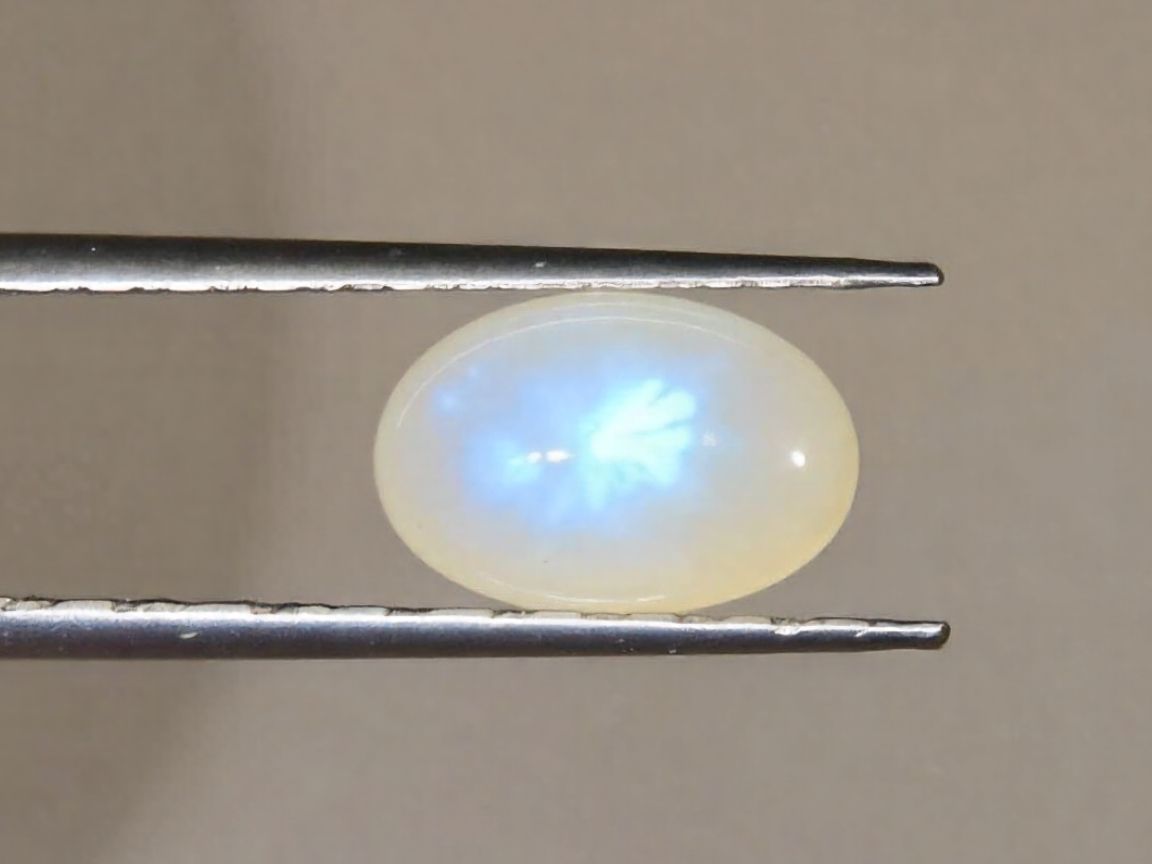
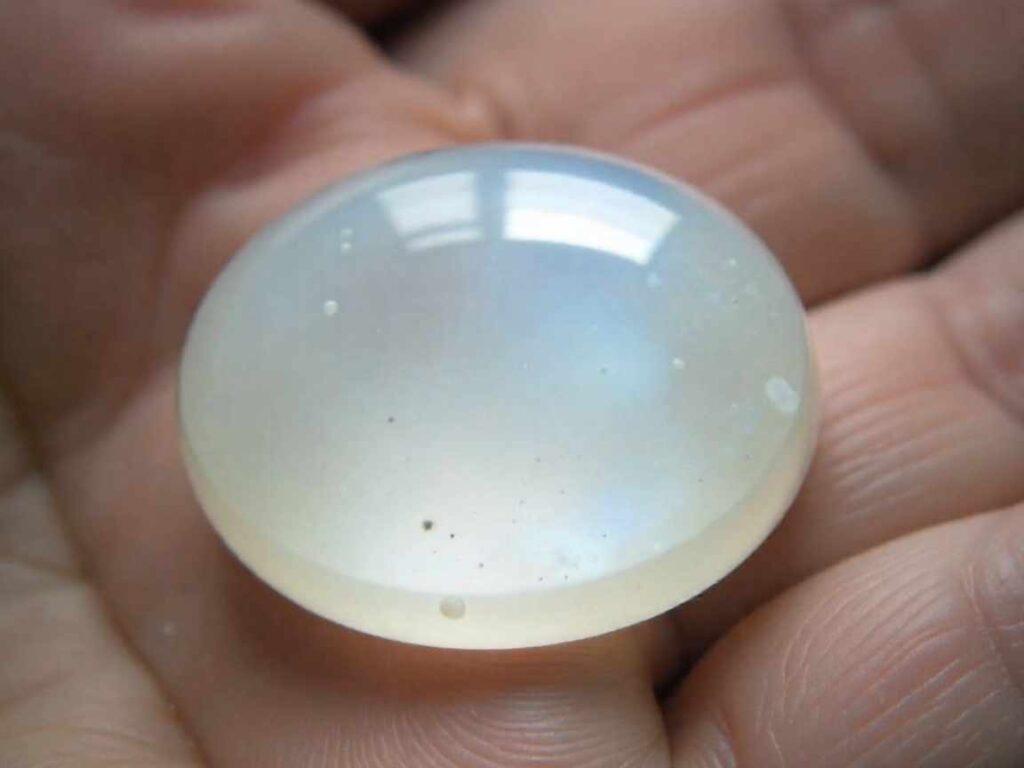
Have you ever seen a gemstone that glows from the inside? That’s the magic of moonstone. This gem has a quality called adularescence, which gives it a pearly, colorful flash that’s hard to miss. While moonstone is often cut as cabochons, finding pieces clear enough for faceting is rare, so it’s a real treat for gem cutters.
This guide will show you how to facet moonstone, a beautiful stone from the feldspar family. We’ll go over everything from picking the right rough to the final polish. Whether you’re a gem cutter looking for a new challenge or just curious about the process, you’re in the right place. We’ll share what we learned, including our mistakes, to help you cut your own moonstone.
By the end of this article, you’ll know what makes moonstone special, what tools you need, and how to facet and polish it step by step. You’ll also find out which cutting designs work best and which polishing agents bring out that signature moonstone glow.
Understanding Moonstone
Before we start cutting, it’s important to understand the material. Moonstone has a hardness of 6 to 6.5 on the Mohs scale, which means it requires a careful hand to avoid damage during the faceting and setting process. (Gemstone Qualities & Treatments, n.d.) Its most prized feature is adularescence, a shimmer that moves across the stone’s surface. The goal of faceting is to maximize this effect.
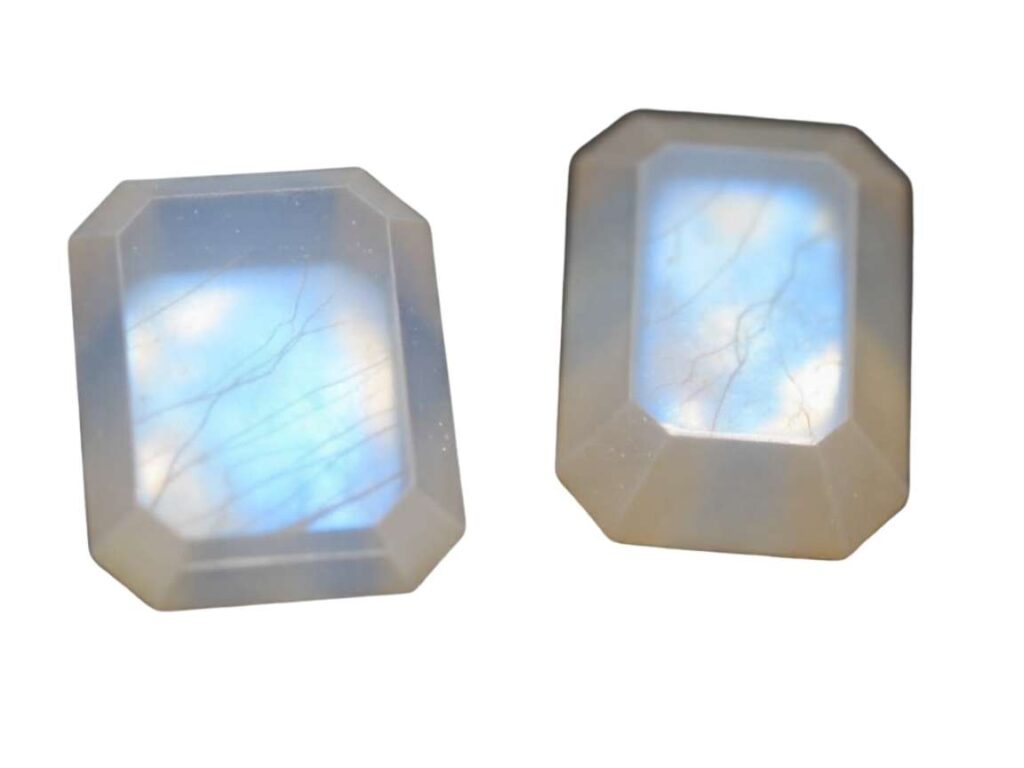
Only a small fraction of moonstone rough is considered “facet grade,”Only a small amount of moonstone rough is considered “facet grade,” meaning it’s clear enough to cut into a clean, transparent gem. The best material is not only eye-clean but also shows a strong, beautiful flash of color. The moonstone in this guide came from a mine in Malawi that is now closed, so this material is even harder to find. Two rectangular pieces of moonstone rough. Rectangle or emerald shapes are well-suited for this material. (Moon Dance: Faceting Design Diagram, n.d.) We selected two popular designs: “Fruity Candy” by Arya Akhvan and “Spellbound” by Jeff Rohnimus. (Fruity Candy Faceting Design Diagram, n.d.) Both are excellent designs for emerald cuts and are highly recommended if you haven’t tried them before.
Preparing the Rough
- First, secure the moonstone on a brass dop. For a rectangular design, line up the long sides of the stone with the 24 and 72 teeth on your faceting machine’s index gear. Usually, a quick visual check is enough.
- Initial Cutting: With the stone in place, you can begin cutting the pavilion (the bottom half of the gem). We started with a 1200-grit lap to shape the main facets.
- Pre-Polishing: After the initial cut, we moved to a 3000-grit diamond on a BATT™ lap for pre-polishing. This step smooths the facets and prepares them for the final polish.
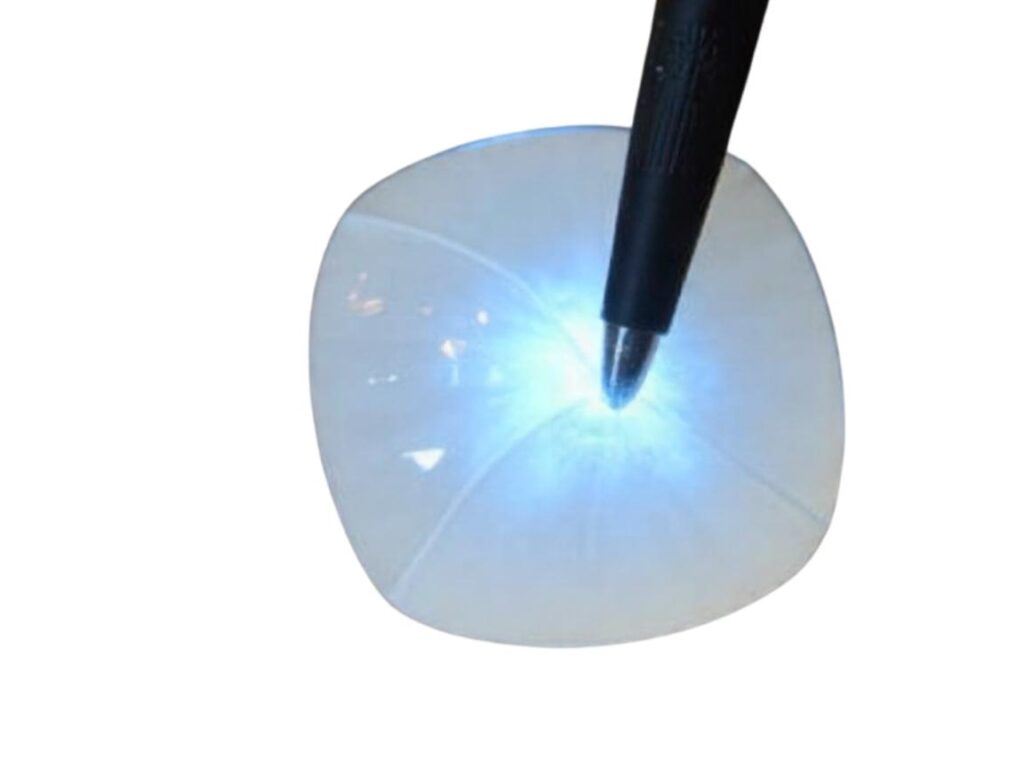
While cutting, you might find internal fractures. You’ll have to choose whether to cut through the fracture for a smaller, cleaner stone or leave it as an inclusion in a larger gem. For our first try, we went for a clean finish, even though it meant a smaller stone.
The Polishing Process: Trial and Error
One of the biggest challenges when working with a new material is figuring out the best polishing method. There is limited information available online from other gem cutters about polishing faceted moonstone. This meant we had to experiment.
Common polishing agents for different gems include:
- Cerium Oxide: Often used for quartz. (Cerium Oxide Fine-Grade 500g | TREO 95% | 2.5 Microns – GP90004, n.d.)
- Aluminum Oxide: A go-to for gems like garnet. (Graham & R., 2021)
- Diamond: Necessary for extremely hard stones like sapphires. (What is the Best Lap for Polishing Sapphire?, n.d.)
Testing with Cerium Oxide
We started with cerium oxide on a tin lap. After polishing the first set of pavilion facets, we saw right away that this was the best choice. Cerium oxide gave a bright polish quickly and easily. We used a BATTSTIXX™ from Gear-loose, which is a handy stick that lets you apply the oxide straight to the lap.
Once the pavilion was polished, we moved the stone to another dop to work on the crown, which is the top half.
Cutting and Polishing the Crown
The process for the crown is similar to the pavilion.
- Setting the Girdle: We started by cutting the first crown facets to establish the girdle’s width, using a 1200-grit lap.
- As we worked on the crown, a beautiful light blue flash started to show through the stone. Getting the orientation right is key to bringing out this adolescence.
- Final Polish: We polished the crown facWe polished the crown facets and the table, the large flat top facet, using the same cerium oxide and tin lap that worked well on the pavilion.nd” design, turned out beautifully. The internal play of light was magnificent, showcasing the iridescence that makes moonstone so special.
The Finished Gemstones
Cutting moonstone for the first time was very rewarding. Both the “Fruity Candy” and “Spellbound” designs worked well, giving us unique gems with beautiful adularescence. The stones polished up easily with cerium oxide on a tin lap, so the process was pretty straightforward once we found the right method.
The finished stones are truly unique. They catch the light like a fine pearl, with a soft glow that seems to move inside the gem. Cutting this rare, facet-quality material was a lot of fun and offered a special challenge with a great reward.
Your Next Gemstone Project
Faceting moonstone is a great project for any gem cutter who wants to work with something unique and beautiful. It takes patience and some trial and error, but the results are worth it. If you assess the rough, pick a good design, and use the right polishing agents, you can make a gemstone with a beautiful inner glow.
If you’ve cut moonstone before or tried these designs, let us know what you think! Sharing our experiences is what makes the gem-cutting community so valuable.


