


How to Patina Copper Metal: 5 Easy Recipes for Stunning Finishes
Want to turn plain copper into something special? Patinas let you create beautiful, aged finishes in many colors. Whether you like classic green or deep black, this guide shows you five easy ways to make stunning copper patinas at home.
What is a Copper Patina?
A patina is a colored layer that forms on copper as it reacts with different chemicals. (CHEMISTRY, n.d.) Copper will develop patina on its own over time, but you can speed things up and choose your results by using simple household products and methods. (Colangelo & Adam, 2025)
Safety First
Before you start, make sure to use these chemicals safely:
- Work in a well-ventilated area
- Wear eye protection and chemical-resistant gloves.
- Keep chemicals away from children and pets.
- Handle ammonia with extra care.
Method 1: Ammonia Fumes (Vibrant Blue-Green Patina)
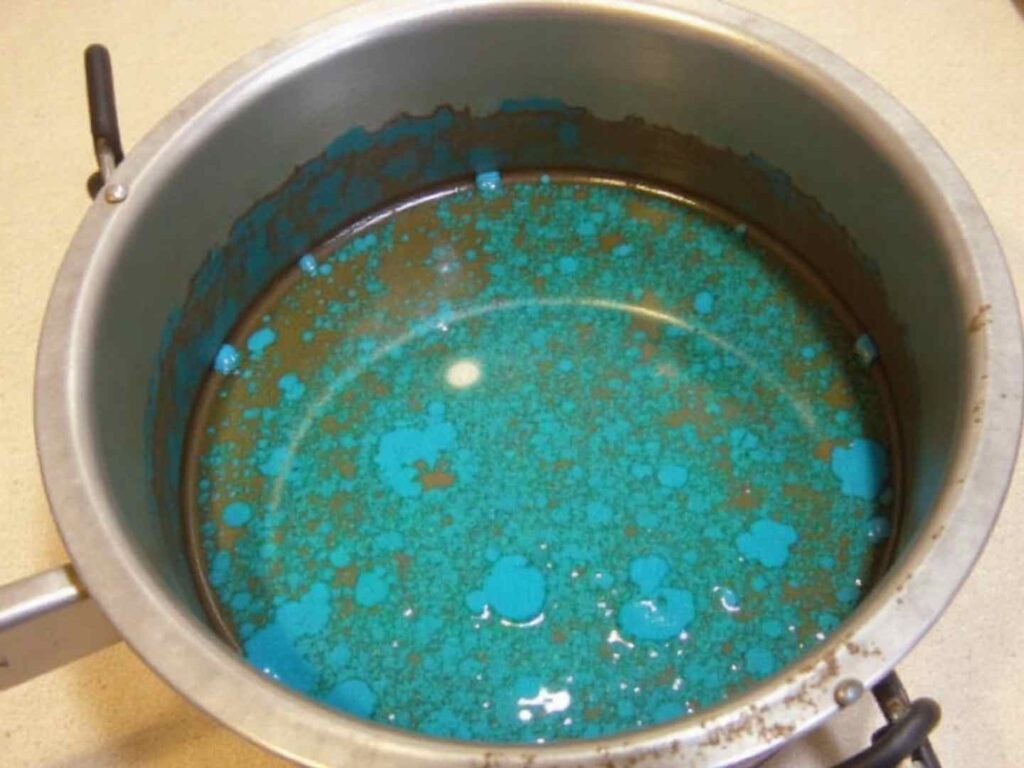
This method gives you bright blue and turquoise colors, similar to what you see on old copper roofs. (Traditional Blue Patinas, n.d.)
What You’ll Need:
- Household ammonia
- White vinegar
- Salt (optional)
- Container with lid
- Paper towels
- Copper piece
Instructions:
- Pour ammonia into your container (about 1-2 inches deep)
- Apply vinegar to your copper piece using a paper towel.
- For enhanced results, sprinkle salt on the vinegar-dampened copper.
- Suspend the copper piece above the ammonia using a wire or a makeshift stand.
- Cover loosely (it doesn’t need to be airtight)
- Let sit overnight
Alternative Setup: Place ammonia in a small cup inside a larger container, apply vinegar and salt to your copper, then place it in the larger container without direct contact with the ammonia.
Results: You’ll notice color starting to appear in 10-20 minutes. After leaving it overnight, you’ll get bright blues and greens. Letting it sit longer makes the colors even stronger. (How to Give Metal the Look of Copper Patina, n.d.)
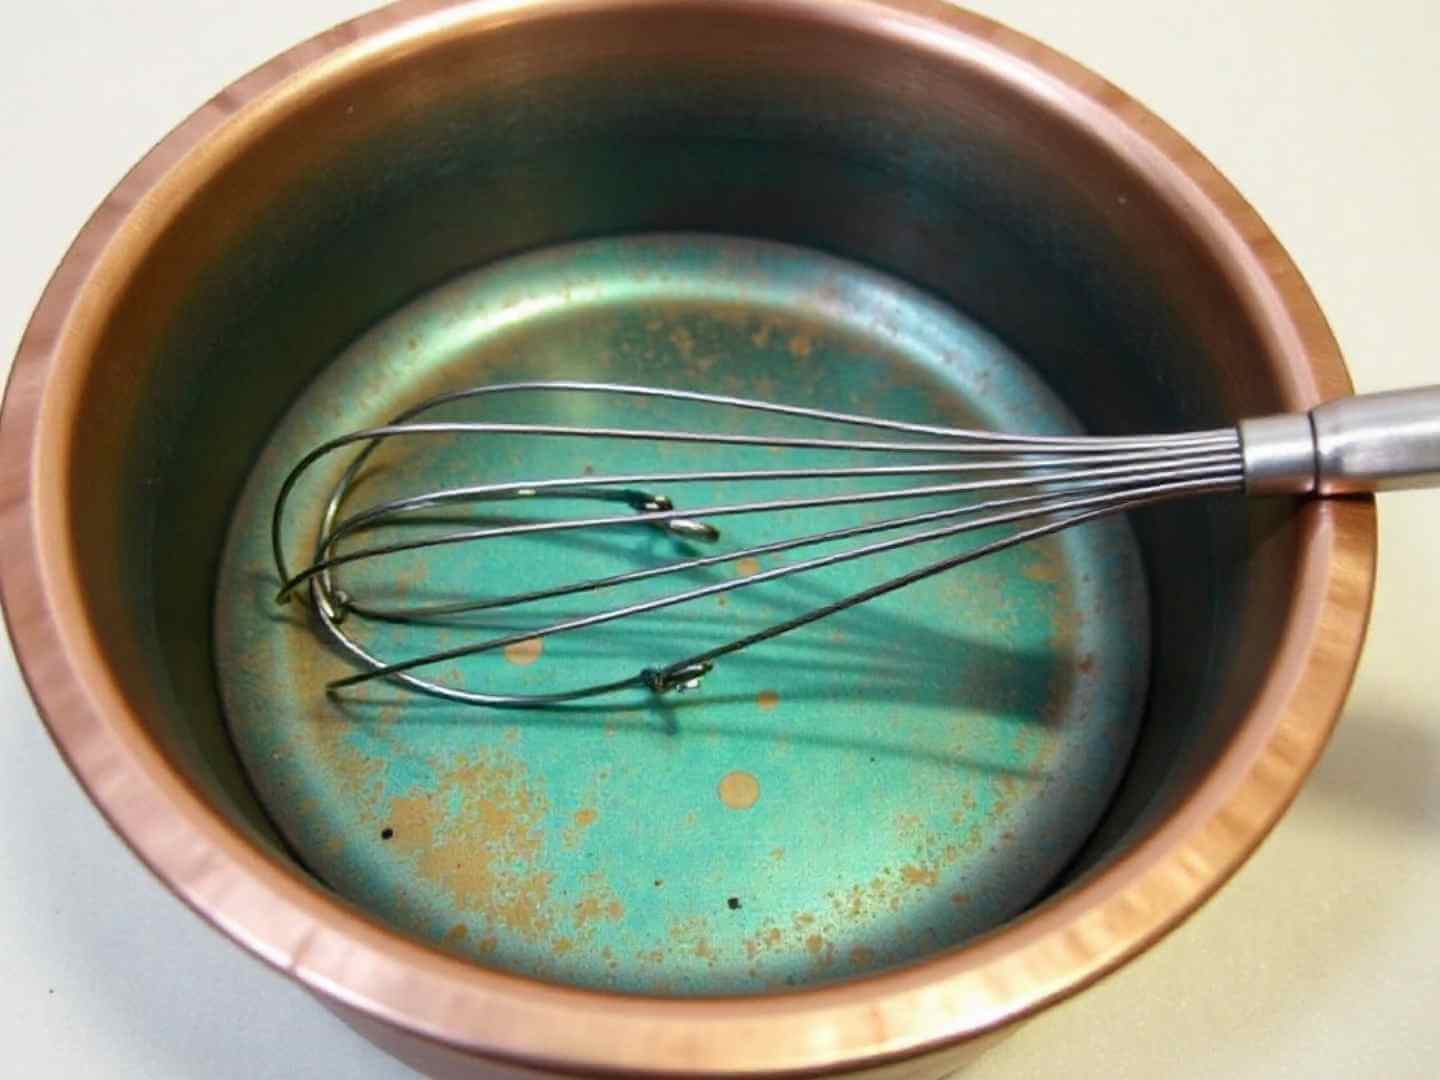
Method 2: Vinegar and Salt Soak (Turquoise Crust)
This easy method makes a crusty turquoise patina with things you likely already have in your kitchen. (Salt & Vinegar Patina: 8 Steps (with Pictures), n.d.)
What You’ll Need:
- White vinegar
- Table salt
- Container
- Copper piece
Instructions:
- Mix salt into vinegar in a container.
- Submerge your clean copper piece.
- Let it soak for several hours or overnight.
- Remove and let dry on a paper towel.
- Sprinkle additional salt on top if desired.
- Apply more vinegar and let it sit.
Pro Tip: Let the patina go a bit further than you want, since it will lose some color when you brush off the crust.
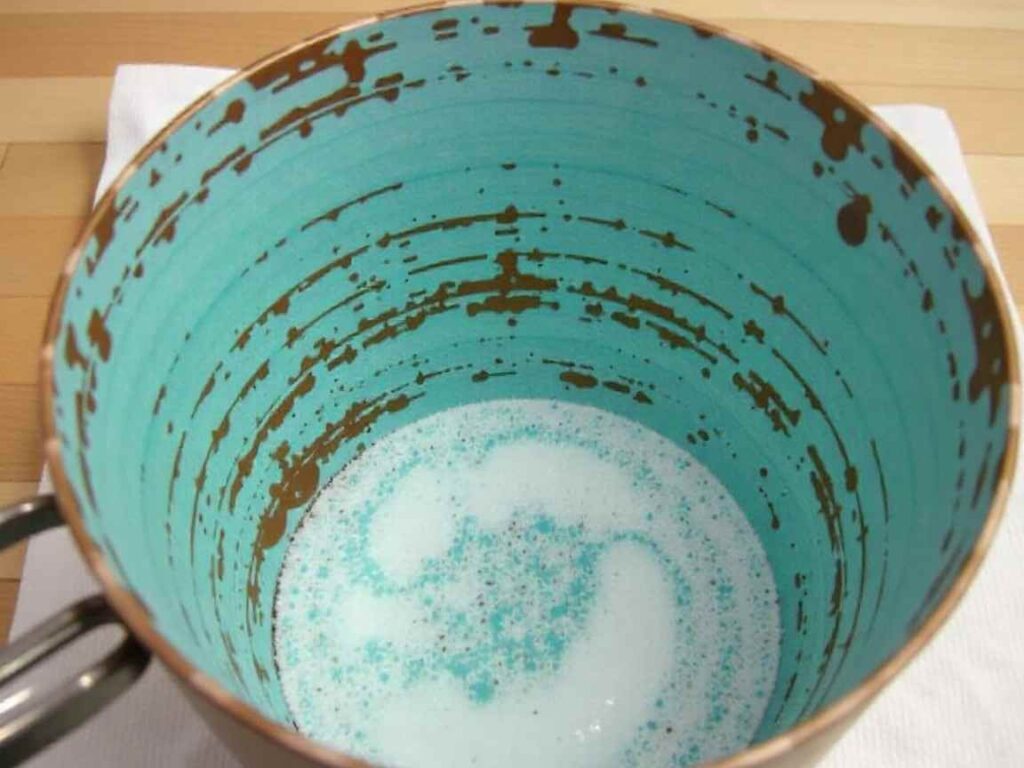
Method 3: Vinegar and Salt Surface Application
For more control over the patina placement, try this surface application method.
What You’ll Need:
- If you want to control where the patina appears, try this surface application method. Rally onto your copper.
- Sprinkle salt over the wet surface.
- Apply another coat of vinegar.
- Optional: Cover with a vinegar-soaked paper towel or sawdust
- Let sit overnight
This method allows you to target specific areas and create unique patterns.
Method 4: Liver of Sulfur (Dark Brown to Black)
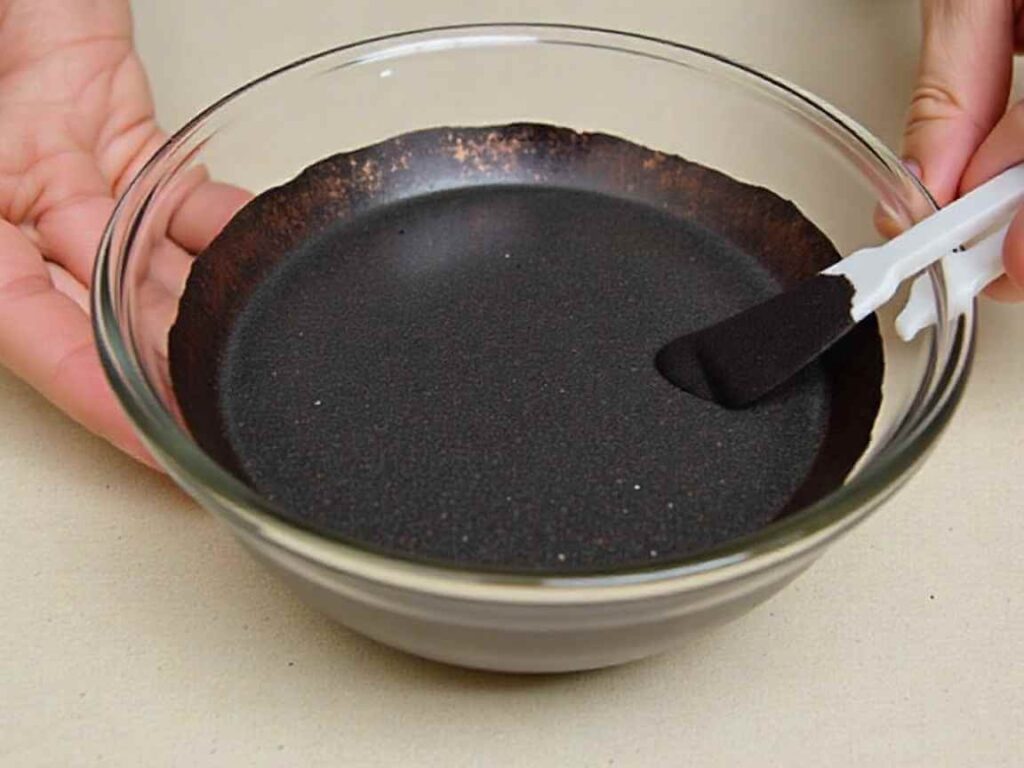
Liver of sulfur creates dramatic dark patinas quickly, perfect for adding depth and contrast to textured copper pieces. (Liver of Sulfur, 4 oz., n.d.)
Fair Warning: This solution smells strongly of rotten eggs. (How to Create a Patina on Copper (2025 Guide), 2025) Work outdoors or in a very well-ventilated area. Fair Warning: This solution smells like rotten eggs. Use it outside or in a space with lots of fresh air. 70°F or higher)
Instructions:
- Prepare a neutralizing bath: Mix 2 tablespoons of baking soda in hot water.
- Follow the package directions to mix the liver of sulfur solution.
- Dip your copper piece into the liver of sulfur.
- Watch it darken (this happens in seconds)
- Immediately transfer to the baking soda bath to stop the reaction.
- Rinse and dry
Finishing Touch: Lightly sand the raised areas and edges with fine sandpaper. This will show the copper underneath and leave the lower areas dark, creating a nice contrast.
Disposal: Let the liver of sulfur solution sit uncovered outside until it turns clear (indicating it’s neutralized), or add generous amounts of baking soda to neutralize it before disposal.
Method 5: Peanut Oil and Heat (Warm Brown Patina)
This technique gives you a warm, natural brown patina without using strong chemicals. (How to Oxidize Brass and Copper to That Gorgeous Brown Color, 2025)
What You’ll Need:
- Peanut oil
- Torch (propane or similar)
- Brush
- Copper piece
Instructions:
- Apply a thin, even coat of peanut oil to your copper using a brush.
- Heat gently from underneath with a torch on low setting
- Watch for the color to develop as the oil heats.
- Remove heat before it flames (a little smoking is normal)
- Let cool completely
Important: Use a very light coImportant: Use only a thin layer of oil. Too much can catch fire. You want to heat the oil just enough to make a patina, not to burn it. peanut oil-finished pieces to anyone with peanut allergies.
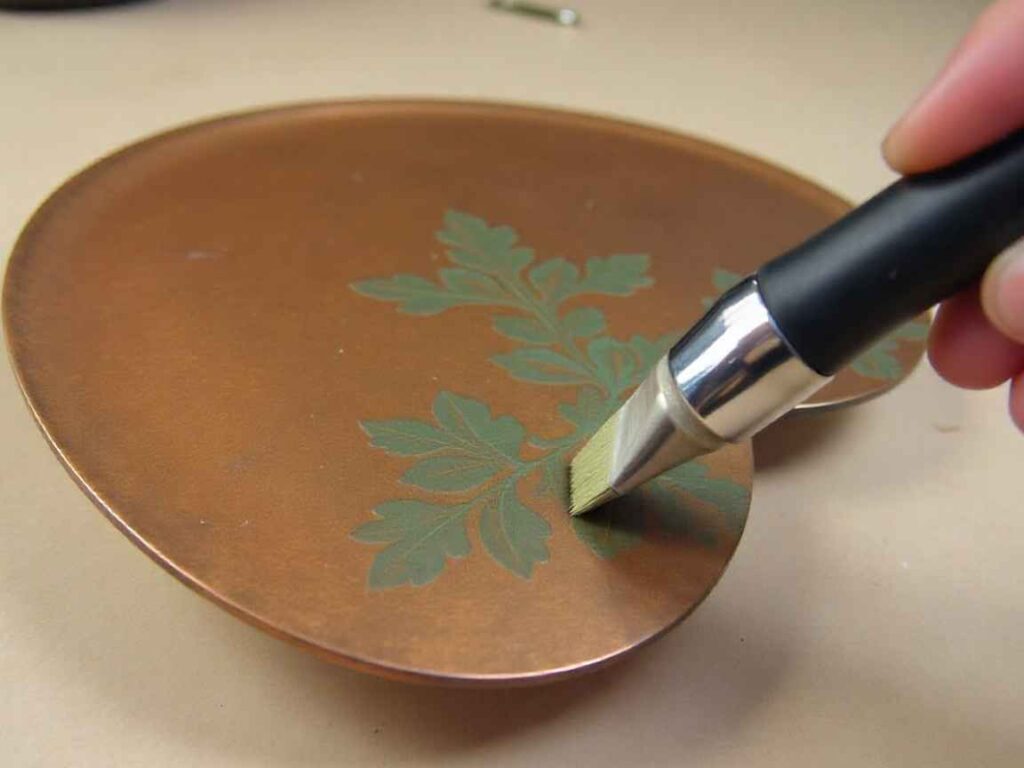
Bonus Method: Commercial Patina Solutions
If you prefer to avoid mixing If you don’t want to mix your own chemicals, you can use commercial patina solutions for reliable results. (Brass, Bronze, and Copper Patina Solutions, n.d.)int (like verdigris from craft stores)
- Black patina base coat
- Glaze medium
- Brushes
- Heat gun (optional)
Instructions:
- Apply black patina as a base coat to all recessed areas.
- Let partially dry (or speed up with a heat gun)
- Apply your colored patina (like verdigris green) over the black.
- Dab and blend with a paper towel while still wet.
- For a glazed effect: Mix patina color with glaze medium and apply as a wash.
- Heat set between coats for faster drying.
This method gives you precise control over color placement and intensity.
Enhancing Your Patina: The Sanding Technique
After your patina has formed, you can make it look even better by gently removing color from the raised areas:
- Use fine sandpaper (1000 grit) or a sanding sponge.
- Lightly sand raised areas, edges, and textures
- This reveals the bright copper underneath.
- Creates contrast between dark recessed areas and bright highlights
- Mimics natural wear patterns
Think about where real wear happens. Edges catch on things, high spots get touched, and corners rub against surfaces. Sand these places for the most natural aged look.
Sealing Your Patina
Copper will keep changing color over time, but you can keep your finish looking the same by using a sealant. (Metal Finishes & Patinas FAQ, n.d.)
Options:
- Microcrystalline wax: Apply, let sit, then buff for a soft protective layer
- Clear acrylic spray: Apply 2-3 light coats (like Krylon Crystal Clear)
- No sealer: Allow the patina to continue evolving naturally
Note: If you wear unsealed copper against your skin, it will keep changing color and might turn your skin a little green. This is normal and not harmful. (Why jewelry turns skin green—and how to stop it, n.d.)
Tips for Success
- Start with clean copper: Sand your piece before applying patina for best results.
- Let the patina develop a bit more than you want. It’s easier to make a strong patina lighter than to darken one that’s too faint.
- Experiment with combinations: Try layering different patina methods for unique effects
- Be patient: Some methods work in minutes, others need overnight exposure.
- Keep notes: Record your process so you can replicate successful results.
- Embrace imperfection. Patina is beautiful because it forms in natural and unexpected ways.
Comparing the Methods
For vibrant blues and greens: Ammonia fumes method
For quick, dramatic darkness: Liver of sulfur
For turquoise crust effects: Vinegar and salt soak
For warm, organic browns: Peanut oil and heat
For precise control: Commercial patina solutions
Final Thoughts
Making copper patinas is both a science and an art. Every piece will look different depending on the copper, the chemicals, your environment, and how you work. Try different methods and mix them to get the look you want.
The great thing about these techniques is that copper is easy to fix. If you don’t like how it looks, just sand it down and try again. Grab some copper, choose a method, and start making your own beautiful patina pieces..


