


Brass hardware and décor add warmth and elegance to any room, but sometimes their shiny finish looks too new for your style. Whether you have vintage brass fixtures or new pieces, aging them can help you achieve the antique look you want.
The good news is you don’t have to wait years for a natural patina. With the right methods, you can make new brass look aged in just minutes. This guide explains three reliable ways to age brass, including a quick method that works in under five minutes.
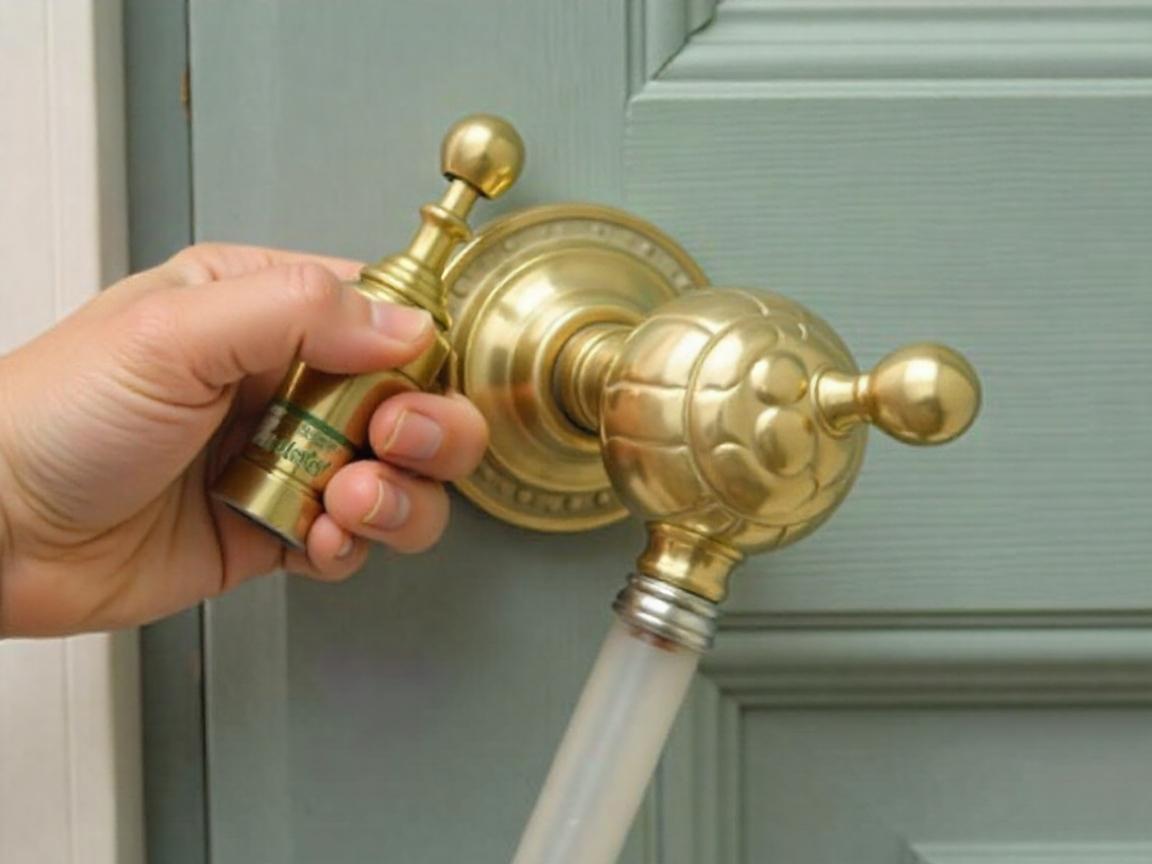
Before you start aging brass, it’s important to remove the protective lacquer coating. This step is key to making sure your project turns out well. (DIY Aging Metal Faux Patina, n.d.)
Preparing Your Brass: Lacquer Removal is Essential
Most new brass items have a clear protective coating called lacquer. (Lacquer for Brass, n.d.) This invisible layer stops tarnishing and oxidation, so you need to remove it before any aging method will work.
Testing for lacquer takes just seconds. Dip a cotton swab. You can test for lacquer in seconds. Dip a cotton swab in acetone (nail polish remover) and rub it on a hidden spot of your brass item. If the surface turns sticky or gummy, there is lacquer that needs to be removed. Large enough to hold your brass item
- Submerge the piece for one to two minutes.
- Once the finish turns gummy, immediately rinse under running water.
- Repeat if necessary until all lacquer dissolves.
- Allow the item to dry completely before proceeding.
Safety tip: Always wear protective glasses and rubber gloves when using acetone or any chemicals.
Method 1: The 5-Minute Brass Ager Solution
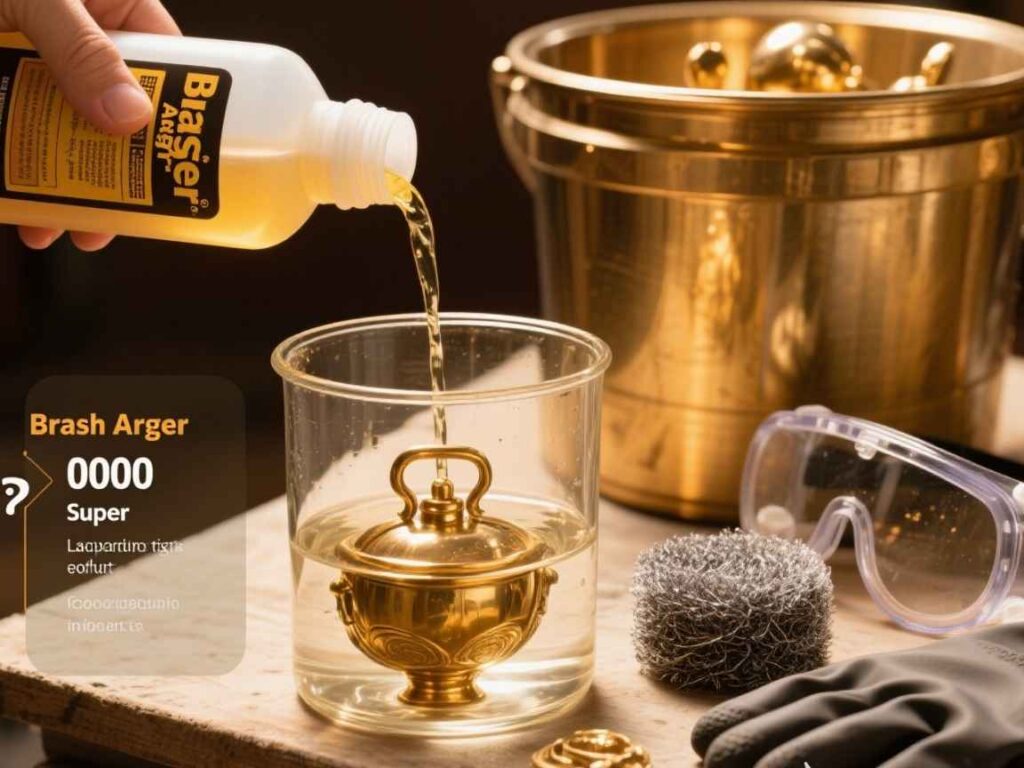
If you want quick and even results, a commercial brass aging solution is the fastest way to transform your brass.
What you’ll need:
- Brass Ager solution
- “0000” super-fine steel wool
- A container large enough for your brass piece
- Safety goggles and rubber gloves
Step-by-step process:
Pour enough Brass Ager into your container to fully cover the brass item. This makes sure the whole surface ages evenly.
Immerse the clean, lacquer-free brass piece for just a few seconds. ThDip the clean, lacquer-free brass piece for just a few seconds. The change happens fast, and you’ll see it darken right away. The dark patina will continue developing slightly as moisture evaporates. (Patina – Wikipedia, n.d.)
For a lighter, more natural antique look, gently rub the wet brass with super-fine steel wool right after you take it out. This removes some dark color from raised spots but leaves deeper tones in the crevices, just like natural wear.
If you remove too much patina, re-dip the item for an additional second, then steel wool again until you achieve your desired finish.
Method 2: DIY Aging with Common Household Items

If you want to use things you already have at home, this method works well, though it takes a little more patience.
Gather these supplies:
- White vinegar
- Hydrogen peroxide
- Table salt
- Small Brush for application
The process:
After you remove the lacquer, gently rub the brass with “0000” steel wool. The small scratches help the aging solution stick better.
Brush white vinegar evenly over the brass. Let it sit for at least two hours, or until it’s completely dry. This step sets up the aging process. In a container, combine 16 ounces of hydrogen peroxide, 2 ounces of white vinegar, and half a tablespoon of salt. Apply this mixture to the dry, vinegar-coated brass.
You’ll see the brass start to change color as the reaction happens. When you like how it looks, rinse it well with water and dry it completely.
Method 3: Creating an Authentic Verdigris Patina
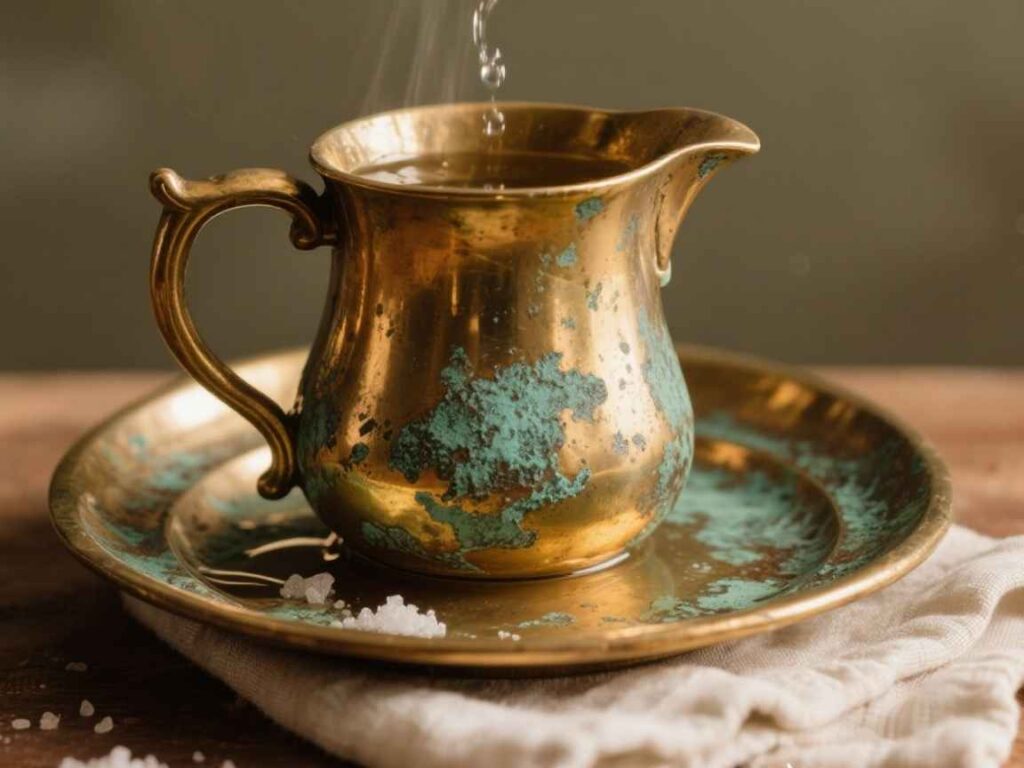
Verdigris is the blue-green patina you often see on outdoor copper and brass. It gives a bold, aged look that seems like it took decades to form.
The verdigris technique:
Start with lacquer-free brass. Briefly dip the item in boiling water, then wipe with a dry cloth once cool enough to handle safely.
Create a soaking solution by mixing one cup of vinegar with one tablespoon of salt. Submerge your brass piece for exactly one hour.
Preheat your oven to 450°F (230°C). Put the brass item on a baking sheet and bake it for 20 minutes. The heat speeds up the patina process. (How to Age Brass With Vinegar and Salt?, n.d.)
Carefully put the hot brass back into the vinegar-salt solution. The change in temperature helps the verdigris develop more strongly.
Leave the piece in solution until you achieve your desired blue-green color intensity. Remove and shake off excess liquid, then air dry completely. Avoid wiping, as this can disturb the delicate patina layer.
Achieving Professional Results
Getting good results with brass aging depends on careful preparation and patience. Each method gives a different look. The commercial brass ager gives a consistent, controlled finish, while household methods create more natural, varied results.
The verdigris method gives the most dramatic change, but it takes more time and heat. Think about your project timeline and the look you want before choosing a method.
Keep in mind that aged brass will keep changing a little over time. The finish may get darker or lighter depending on the environment and how much you handle it. (Brass Patina: Formation & Importance Explained, n.d.)
Transform Your Space with Aged Brass Character
Aging brass gives you lots of design options. Vintage cabinet hardware, old-style picture frames, decorative bowls, and light fixtures all get instant character with these easy methods.
Try your technique on a test piece or a hidden spot first, especially before working on valuable or visible items. Different brass alloys react in their own way, so experimenting helps you see what works best for your pieces.
With these methods, you can make brass look authentically aged in just minutes instead of waiting years, adding timeless style to your space right away.


