


If you’re renovating, now is a great time to control how sound moves between rooms. This guide will show you how to cut down on noise from footsteps or pets above and help you make spaces like bedrooms or offices more private.
Sound management can be done at different levels. Here, we’ll focus on basic noise reduction and making rooms more private. We’ll cover full soundproofing for spaces like home theaters in another guide.
Step 1: Insulating the Ceiling for Basic Sound Management
Start by adding insulation to the ceiling. This will help cut down on noise from footsteps or movement above.
Choosing Your Insulation
A lot of people think you need premium products like mineral wool (also called Roxul) for soundproofing. But for basic sound control, standard fiberglass insulation works just as well. (Mineral Wool vs Fiberglass: Which is Better?, 2025) Fiberglass is usually cheaper and faster to install. (2025 Home Insulation Cost | Installation Prices, 2025) For this project, we’ll use next-gen fiberglass insulation.
How to Install Ceiling Insulation
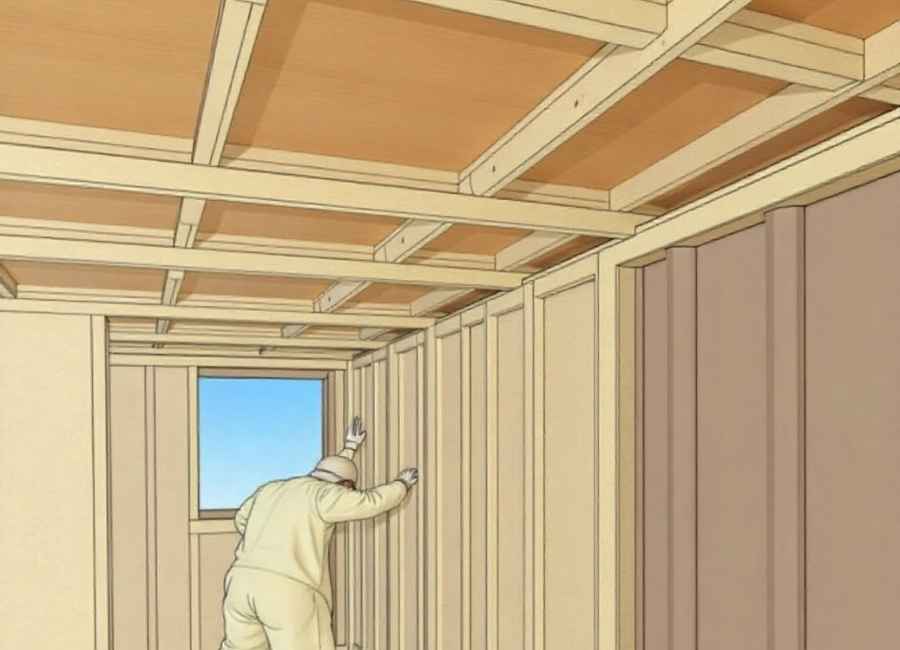
You don’t need to pack the space tightly with insulation. The main goal is to add enough mass to absorb sound. One layer of insulation is usually enough to reduce impact noise. (ISOLFON-Acoustic Products-Prospectus, 2024)
- Start with the ducting. Begin by placing insulation on both sides of any ductwork. If the ducts are low in the cavity, you can go above and beneath them. If they’re deficient, you can even split a batt of insulation and place a thinner layer above the ducts when you install the strapping later.
- Cover plumbing pipes. Just as with ductwork, you want to insulate any plumbing. This helps muffle the sound of rushing water from flushing toilets or running water. Don’t forget the plumbing. Insulate pipes just like you did with the ductwork. This will help quiet the sound of water from toilets or showers. (ACOUSTIDRAIN SOUNDPROOFING PRODUCT FOR DRAINPIPE, n.d.)orb as much sound as possible. Leave a small air gap above the insulation. This is helpful if an electrician needs to run wires for pot lights later, and the insulation will naturally settle over time anyway.
Safety tip: Even with newer fiberglass, it’s smart to wear protective gear. You’ll also notice the room gets warmer as you add insulation, since it acts as a thermal barrier.
Step 2: Insulating Walls for Added Privacy
If you want more privacy for a bedroom or office, you’ll need to do more than just insulate the ceiling. The next step is to insulate the walls and add a special sound-dampening layer.
Installing Wall Insulation
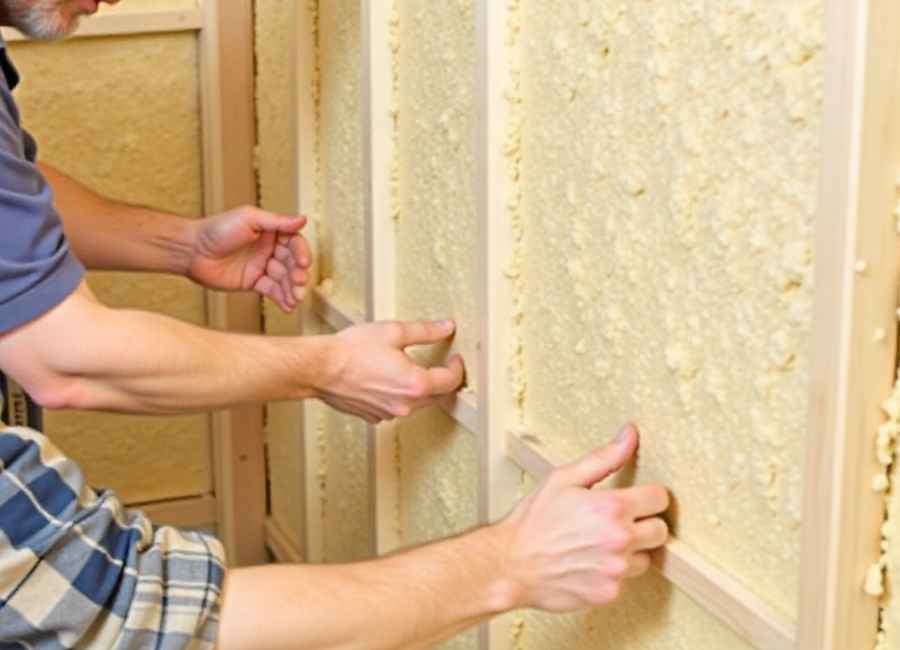
For the walls, you’ll need to be more careful with how you install the insulation to make a stronger sound barrier.
- Use pre-cut batts. Insulation batts are typically pre-cut to fit snugly between studs spaced 16 inches on center. (Owens Corning R-30 Unfaced Fiberglass Batt Insulation (Bundle), n.d.)
- Work around wires and outlets. When you encounter electrical wires, cut a slit in the back of the insulation batt, fit it around the wire, and tuck it back in. For electrical boxes, cut out the shape of the box from the back of the batt. This allows the insulation to wrap behind the box, adding more mass to block sound. For proper soundproofing (such as in a theater room), you’d use putty pads around outlets; however, this method is sufficient for creating privacy. (Acoustical Putty Pads, n.d.)
- Make sure every space between the studs is filled with insulation. If an electrician still needs to work in a section, leave that part open until they’re done and it’s been checked.
Installing a Sound-Dampening Board
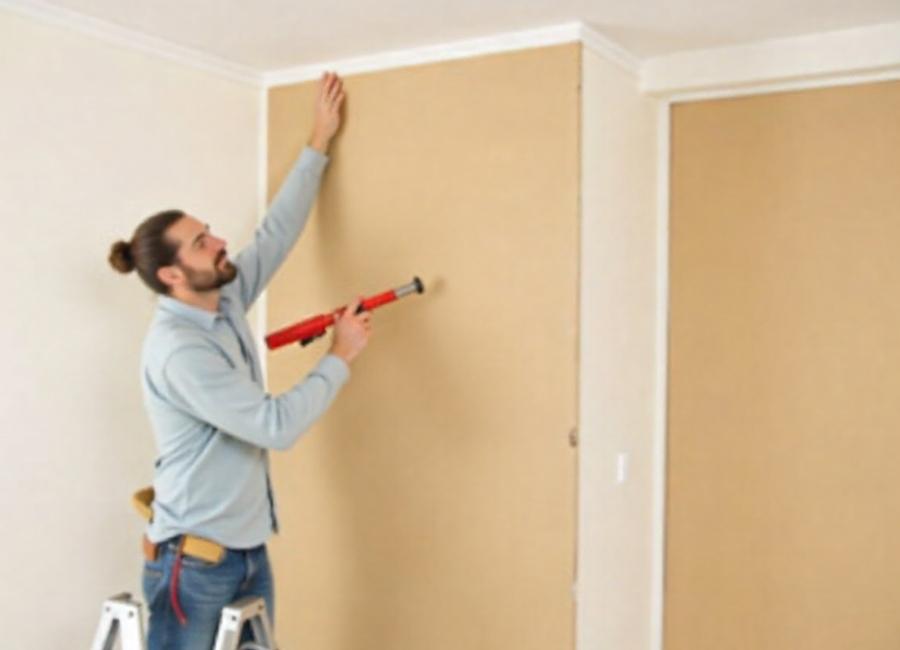
After insulating, the next step is to install a sound-dampening board, like Sonopan. This adds a significant layer of mass to block airborne sound. (Installation Guide for Walls and Ceilings, 2024)
- Get your Sonopan panels ready—they’re ¾-inch thick. (FAQ | Soundproofing Panels for Walls and Ceilings | SONOpan, n.d.) Attach them to the studs with 1 ⅝-inch drywall screws. You only need a few screws for now: one in each corner and a couple in the middle to keep the panel in place.
- Mark where the studs are on the panel. This will help you know where to put the drywall screws later.
- Now add the drywall as the final layer. When you put it over the Sonopan, use five screws for every four feet to hold both the drywall and the panel in place.
Finishing Touches and Considerations
These extra layers will make your walls thicker, so keep this in mind when you finish the room.
- Electrical boxes: With thicker walls, your regular electrical boxes will sit too far back. Use a box extender—a plastic or metal ring that attaches to the existing box and brings it even with the new drywall. After you install it, spray foam around the extender to seal any gaps.
- Door jambs: Thicker walls mean a standard 2×4 door jamb won’t fit. Order a jamb for a 2×6 wall and trim it to the right thickness with a table saw. When you install the sound-dampening panel, keep it off the hinge side so the hinges can be screwed into the solid wood for better support.
Final Tip: Don’t Forget the Pipes
Insulation works for heat when it’s fluffy and traps air, but for soundproofing, you want more mass. So it’s fine to compress the insulation for this purpose.
When you strap the ceiling, you can add more sound-blocking materials around pipes. Push strips of insulation into the spaces around drains and water lines. This extra mass will help stop water sounds from getting into your finished basement.
Keep in mind, you only have one chance to do this while the walls are open. Taking the time now to add these soundproofing layers will give you a quieter, more private home for years.


