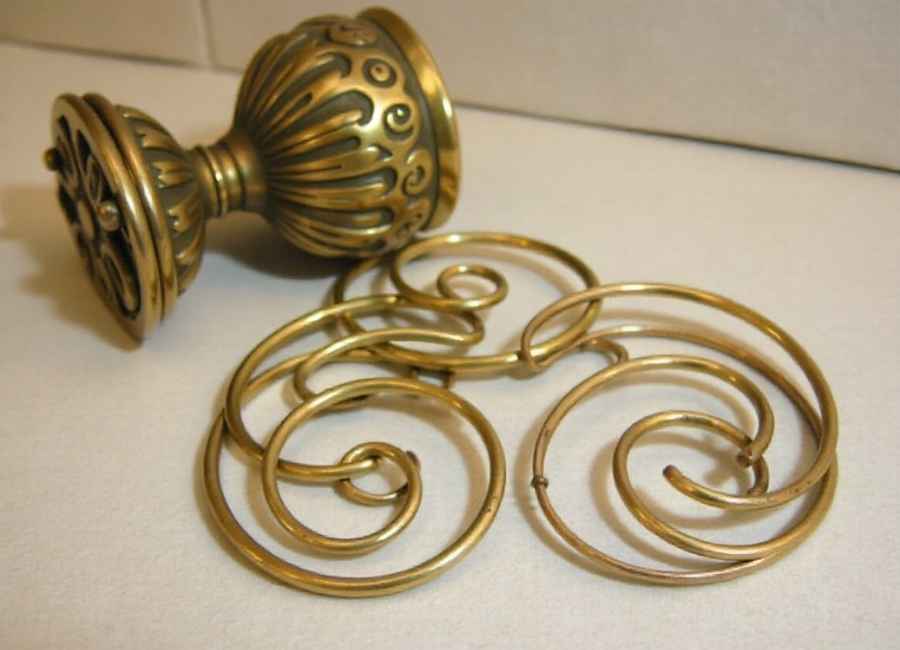
Brass has a warm, golden color that gives any room a classic feel. If you like a softer, antique look instead of a shiny finish, you can easily age brass at Home. This simple DIY project can quickly change the look of your hardware, fixtures, or decorations.
If your new brass pulls or lamps are too shiny for your style, you can fix that with just a few supplies and a little time. This guide shows you three easy ways to age brass, so you can get the look you want for your Home projects.
Before You Begin: Removing Lacquer
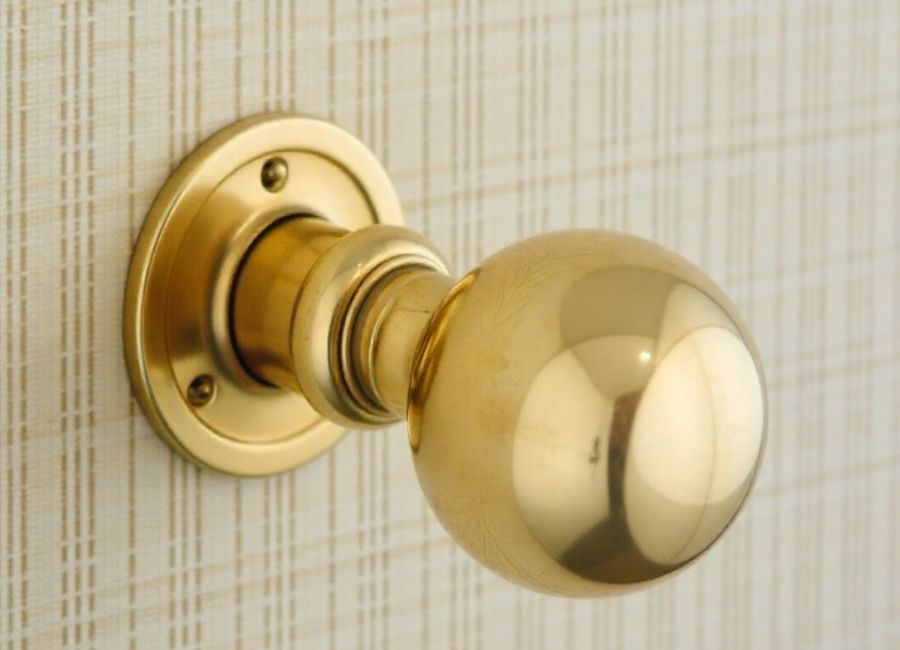
Most new brass items are coated with a clear lacquer to prevent tarnishing and keep them shiny. Before you can age the brass, this protective layer must be removed. If you skip this step, the aging solution won’t be able to react with the metal. (Antique Brass – Kipkis, n.d.)
Here’s how to tell if your brass is lacquered and how to remove it:
- Test for Lacquer: If you’re unsure whether your item has a lacquer finish, dip a small, inconspicuous area in acetone (nail polish remover).
- Soak and Remove: If the finish becomes gummy or starts to peel after a minute or two, it’s lacquered. To remove it, pour acetone into a container large enough to submerge the item. Let it soak for a few minutes until the lacquer softens.
- Rinse and Dry: Once the lacquer is gummy, rinse the item under water. You may need to gently rub it with a cloth or dip it back into the acetone to remove all residue. Let it dry completely before proceeding.
Safety Note: Always work in a well-ventilated area and wear rubber gloves and safety goggles when handling acetone and aging solutions.
Method 1: How to Age Brass in 5 Minutes

This is the fastest and most controlled method for achieving an aged brass look. It uses a product specifically designed for this purpose, giving you consistent results in seconds. (Brass Ager – 8oz and 32oz, n.d.)
What You’ll Need:
- Brass Ager solution
- “0000” superfine steel wool
- Plastic or glass container
- Rubber gloves and safety goggles
Step-by-Step Instructions:
- Prepare the Solution: Pour the Brass Ager into your container. Make sure you have enough to submerge the brass pieces completely for even coverage.
- Dip the Brass: Place your unlacquered brass items into the solution. The reaction is almost immediate. Leave them in for only a few seconds—10 seconds is often enough to create a dark finish.
- Customize the Finish: Remove the brass from the solution. While it’s still wet, gently rub the surface with “0000” steel wool. This will lift some of the dark finish, revealing hints of the bright brass underneath. Continue rubbing until you achieve your desired level of aging.
- Rinse and Dry: If you remove too much of the aged effect, you can re-dip the item for a few more seconds and try again. Once you’re happy with the look, rinse the piece with water and let it dry completely.
This method allows you to go from a bright, polished look to a subtly toned-down patina or a deeply antiqued finish with complete control. Since the lacquer is gone, the brass will also continue to age naturally over time. (Removing Patina or Tarnish from Solid Brass, n.d.)
Method 2: Age Brass with Household Items

If you’d rather not buy a special product, you can use common household items to age your brass. This method takes a bit longer, and the results can vary, but it’s a good option using things you probably already have at Home.
What You’ll Need:
- 16 oz hydrogen peroxide
- 2 oz white vinegar
- 1/2 tbsp salt
- “0000” superfine steel wool
Step-by-Step Instructions:
- Prep the Brass: After removing any lacquer, lightly scuff the surface of the brass with superfine steel wool.
- Apply Vinegar: Brush on a coat of white vinegar and let it sit for at least two hours, or until it is completely dry.
- Create the Aging Solution: In a separate container, mix the hydrogen peroxide, white vinegar, and salt.
- Apply and Wait: Brush this mixture onto the dry, vinegar-coated brass. A chemical reaction will begin to change the metal’s color. (Patina, n.d.) Wait until you are satisfied with the patina.
- Rinse and Dry: Once the desired look is achieved, rinse the brass with water to stop the reaction and let it dry.
Method 3: How to Create a Verdigris Finish

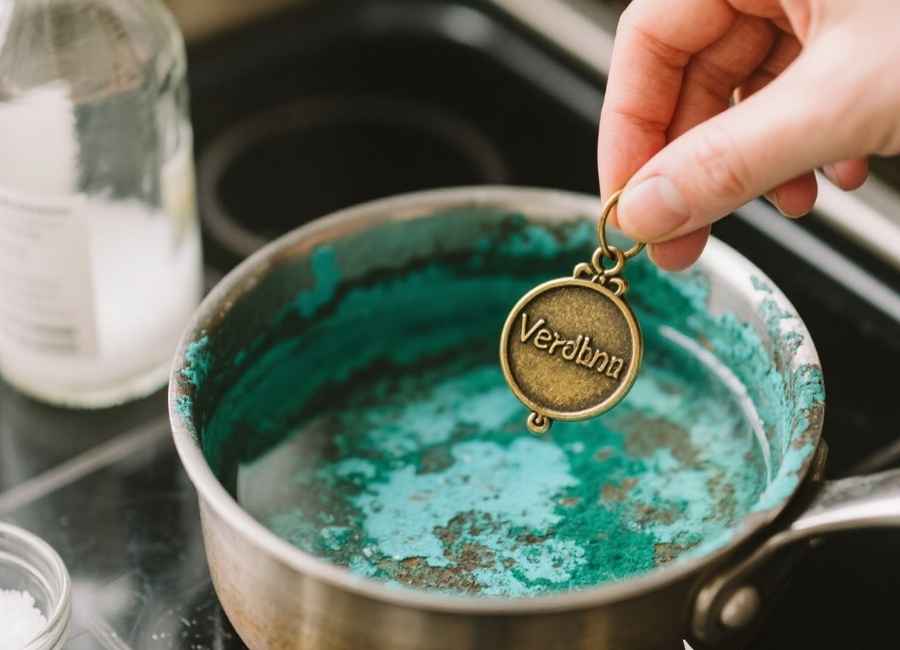
To get a really aged, weathered look, you can create a greenish-blue patina called verdigris. (How to make a patina or verdigris on brass charms, 2025) This method uses heat to speed things up.
What You’ll Need:
- White vinegar
- Salt
- A pot for boiling water
- An oven
Step-by-Step Instructions:
- Clean and Boil: After removing any lacquer, clean the brass piece. Bring a pot of water to a boil and dip the item in for a few seconds. Once it’s cool enough to handle, wipe it with a clean cloth.
- Soak in Vinegar: Create a solution of one cup of vinegar and one tablespoon of salt. Soak the brass item in this mixture for one hour.
- Bake the Item: Preheat your oven to 450°F (232°C). Place the brass item in the oven and bake for 20 minutes.
- Soak Again: Carefully remove the hot item from the oven and place it back into the vinegar-salt solution. The verdigris color will begin to appear.
- Dry and Finish: When you are happy with the color, remove the brass from the solution. Shake off any excess liquid and allow it to air dry.
Add the Finishing Touches
Once your brass hardware is aged, your project is almost done. If you’ve changed drawer pulls, you might want to make custom labels. You can design and print them on cardstock, cut them to fit, and add a piece of clear acetate for protection. This small touch can really complete your furniture makeover.
Take Your DIY to the Next Level
Whether you’re reviving an old piece or aging brass is an easy and satisfying way to update old furniture or new fixtures. Pick the method that fits your style, whether you want a gentle, aged look or a bold, antique finish. Gather your supplies and give your brass a lasting, beautiful patina.


