


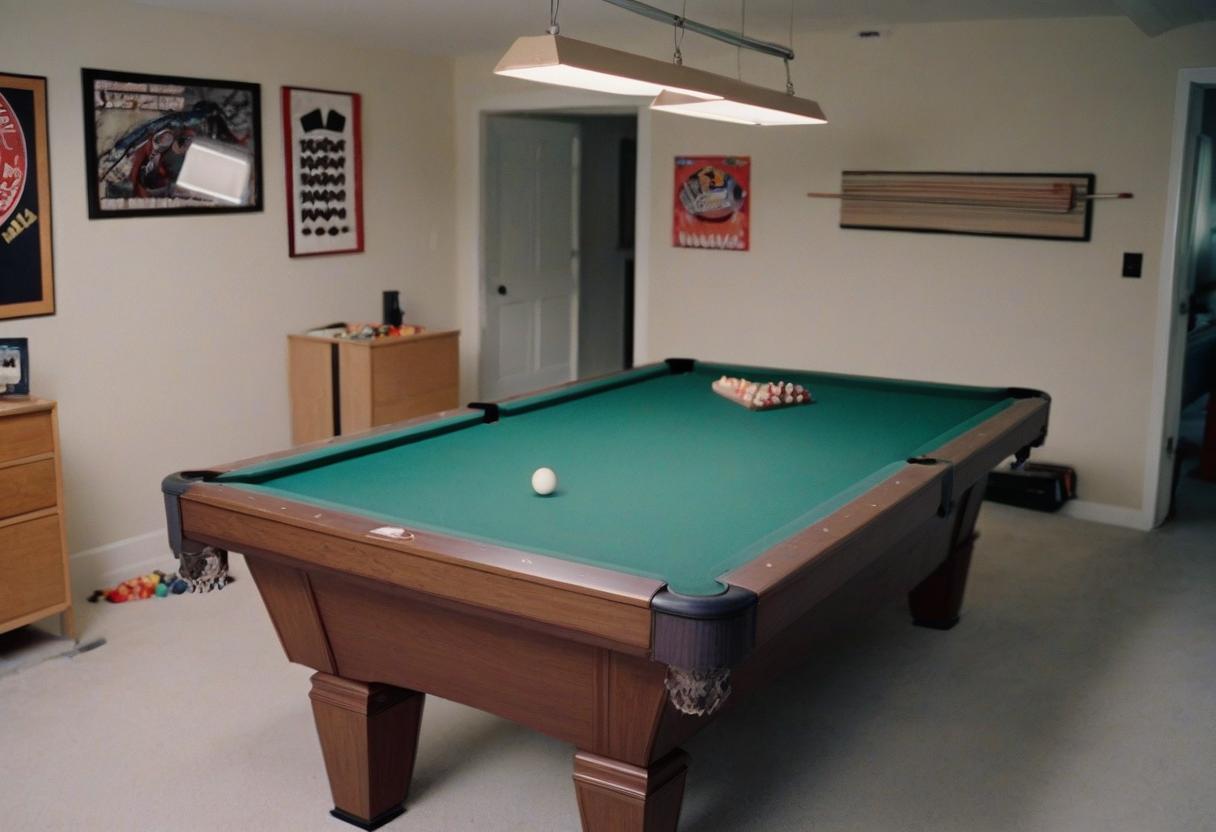
Setting up a pool table can seem daunting, but with the right approach, even first-time DIY enthusiasts can do it with precision. Whether creating the ultimate home entertainment space or upgrading your game room, knowing how to set up your pool table correctly is essential to ensuring hours of smooth play.
This guide will walk you through every process step—from choosing the right spot to fine-tuning the table’s level for that perfect break shot. You’ll feel confident about setting up your pool table like a pro by the end.
What You’ll Need to Set Up Your Pool Table
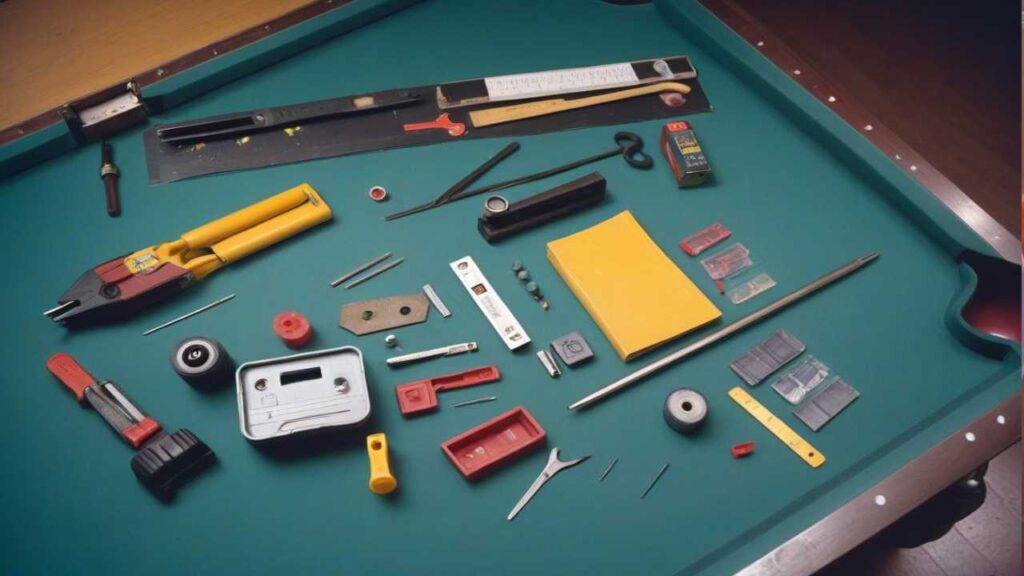
Before jumping into the process, here’s a checklist of tools and equipment you will need:
- Socket wrench or spanner
- Leveling tool (or a leveling app on your phone)
- Pool table felt (if setting up from scratch)
- Beeswax or filler compound (for assembling slate tables)
- Screwdriver
- Measuring tape
- Help from at least one additional person (pool tables are heavy!)
Ensure all these tools are handy to reduce disruptions during the setup.
Step 1: Choose the Perfect Location
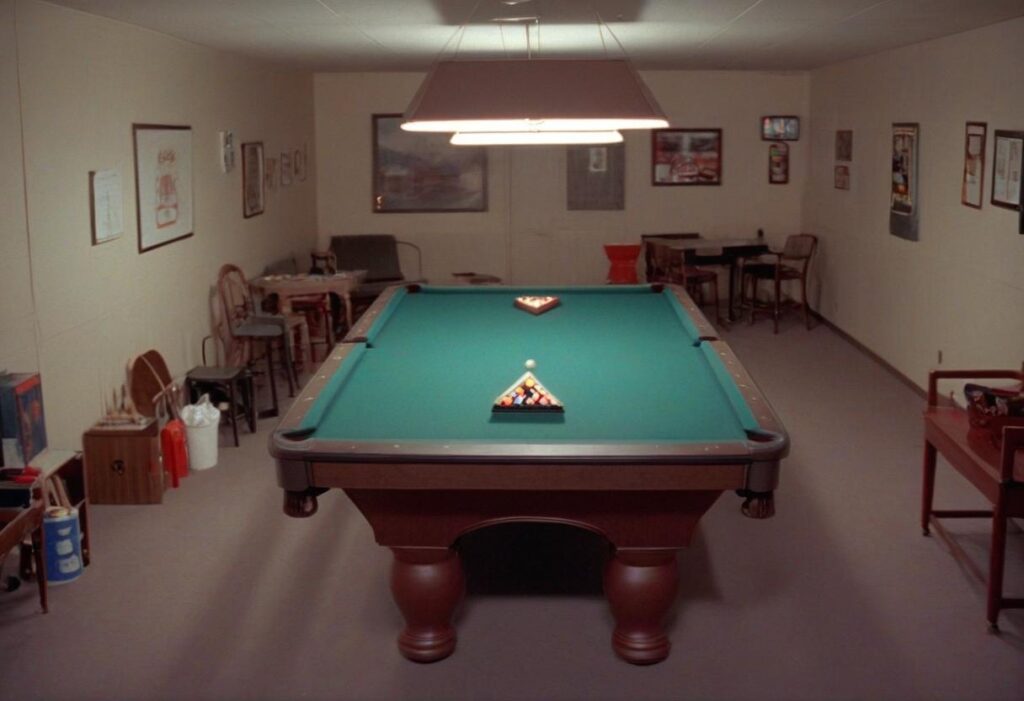
How Much Space Does a Pool Table Need?
The first step in setting up a pool table is identifying the ideal spot. Pool tables typically come in standard sizes, such as 7, 8, or 9 feet long. To enjoy a hassle-free game, ensure enough room around the table for players to use their cues comfortably.
Here’s a quick reference for recommended room dimensions:
- 7-foot table (39’’ x 78’’ play area): Room size needed – 13′ x 16’8’’
- 8-foot table (44’’ x 88’’ play area): Room size needed – 13’4’’ x 17’
- 9-foot table (50’’ x 100’’ play area): Room size needed – 13’6’’ x 18’
Measure the space and factor in cue stick lengths (at least 58 inches on all sides). Poor spacing can spoil the game, so take your time with this step.
Flooring Considerations
Pool tables are heavy. If you install them on the carpet, expect some settling over time, which may create leveling issues. Hardwood or tiled floors work best for maintaining balance and stability, but use a protective pad to prevent floor scratches.
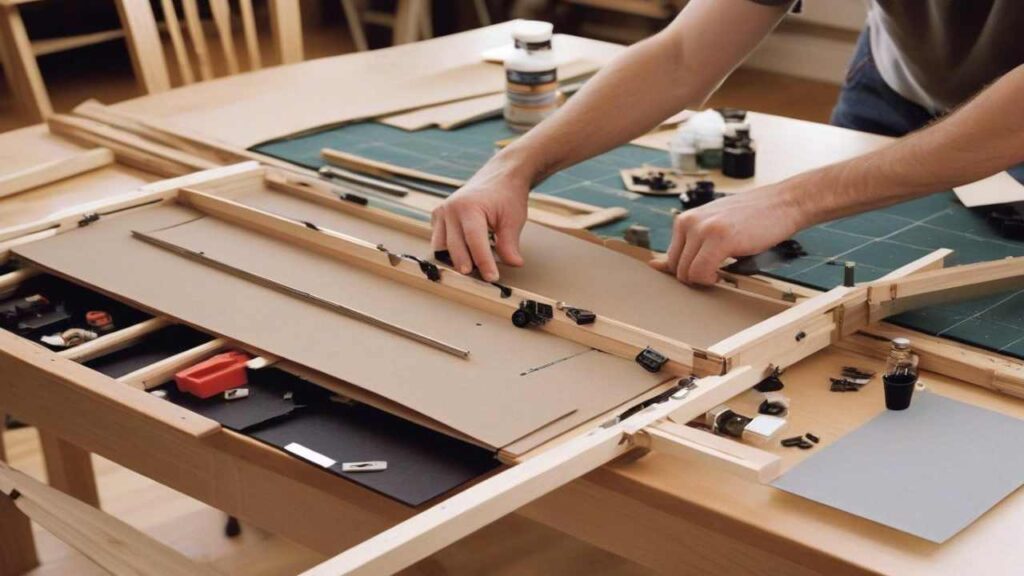
Step 2: Assemble the Pool Table Frame
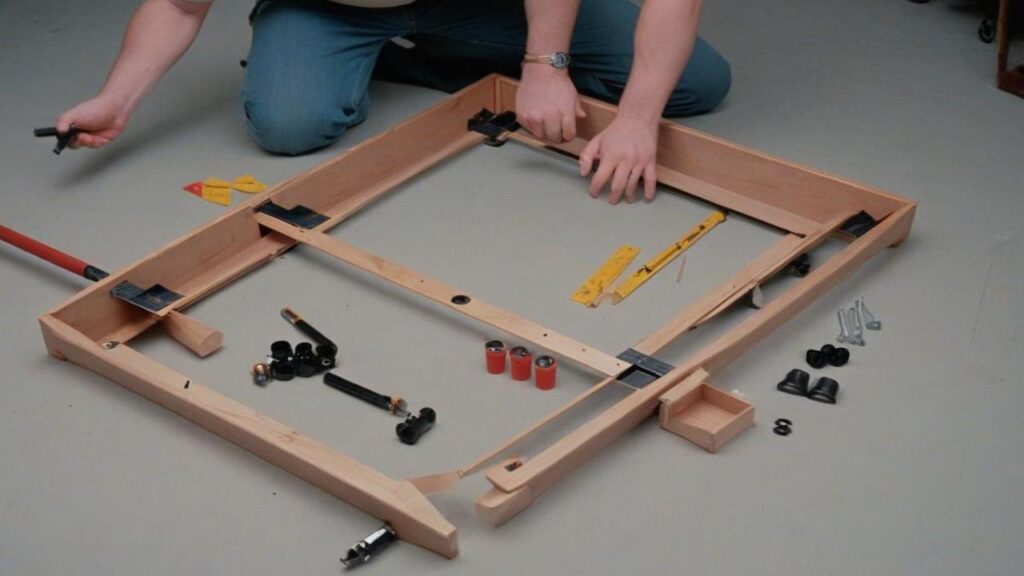
With your location set, it’s time to assemble the frame. Here’s how you can do it:
Lay Out the Pieces
Unbox all the pieces and lay them out where the table will eventually rest. Double-check that you have all components, including the legs, bolts, and support brackets.
Attach the Legs
Using a socket wrench, fasten the legs onto the frame securely. Ensure they’re tightly fitted to avoid wobbling once the table is upright.
Construct the Frame
Most frames are designed to be assembled upside down. Follow the manufacturer’s instructions closely and use a screwdriver for securing any screws. Once done, you’ll need help flipping the table upright—pool table frames are not light!
Step 3: Install the Slate Bed
If you have a slate pool table (typical for professional play), installing the slate bed is critical.
Place the Slate
Slate tables usually come in two or three sections. Carefully lift each piece onto the frame, ensuring it aligns snugly along the edges.
Fill in the Gaps
Use beeswax or a filler compound to fill any gaps between the slate sections and screw holes. This ensures a seamless playing surface.
Level the Slate
Use a spirit level to check the slate’s flatness. Start with the center and move to the sides. Adjust the height of each corner using shims until the slate is perfectly level.
Pro Tip: A leveled slate is crucial for accurate gameplay. Don’t compromise here!
Step 4: Stretch and Attach the Felt
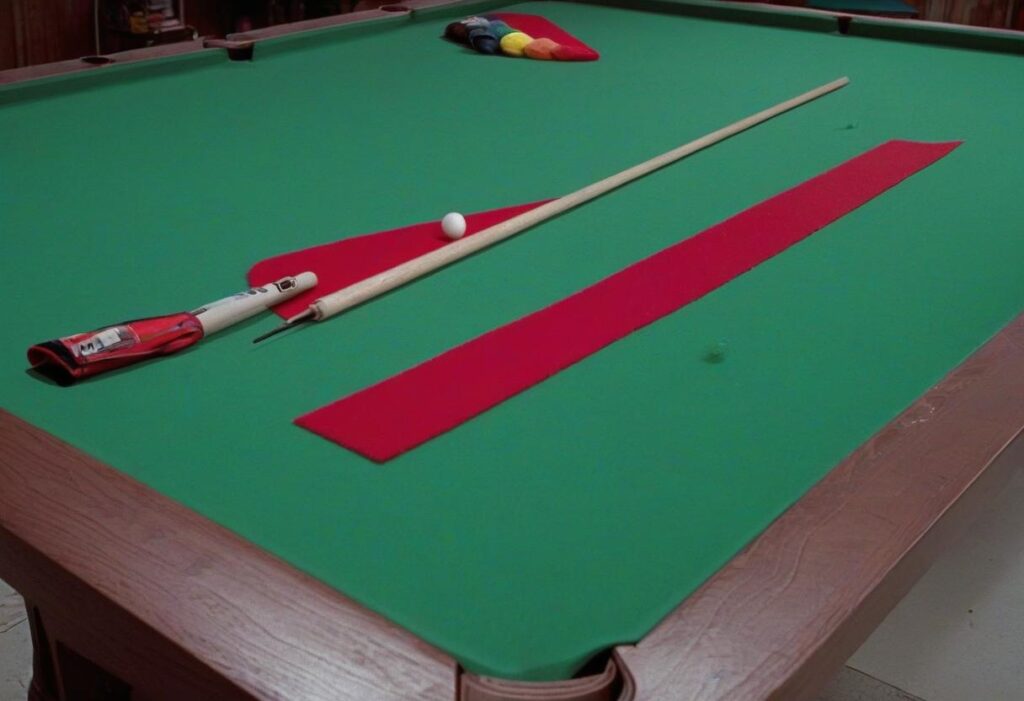
That pristine green (or custom-colored) pool table felt? It’s time to put it in place.
Position the Felt
Spread the pool table felt over the slate, aligning it with the edges.
Secure the Felt
Depending on the table design, you’ll use staples or glue to secure the felt. Start from one corner and work outward, pulling the fabric taut to avoid wrinkles.
Trim the Excess
Use a sharp utility knife to trim off any excess felt. For pocketed tables, carefully cut the thought over the pockets and secure it underneath.
Step 5: Attach the Rails and Pockets
With the surface ready, it’s time to assemble the finishing touches.
Attach the Rails
Screw in the rails along the edges of the table. These should fit snugly against the felt. Ensure all screws are tightened securely.
Install the Pockets
Attach the pockets directly to the rails for drop-pocket tables. Follow the manufacturer’s instructions for assembling the chute system for ball-return systems.
Final Adjustment
Check the alignment of each rail and pocket for symmetry. They play a crucial role in rebound consistency.
Step 6: Fine-Tune the Table
Congratulations! Most of the hard work is done. Now, it’s time to fine-tune the table.
Final Leveling
Double-check the table’s level once the felt, rails, and pockets are installed. Even slight imbalances can affect gameplay.
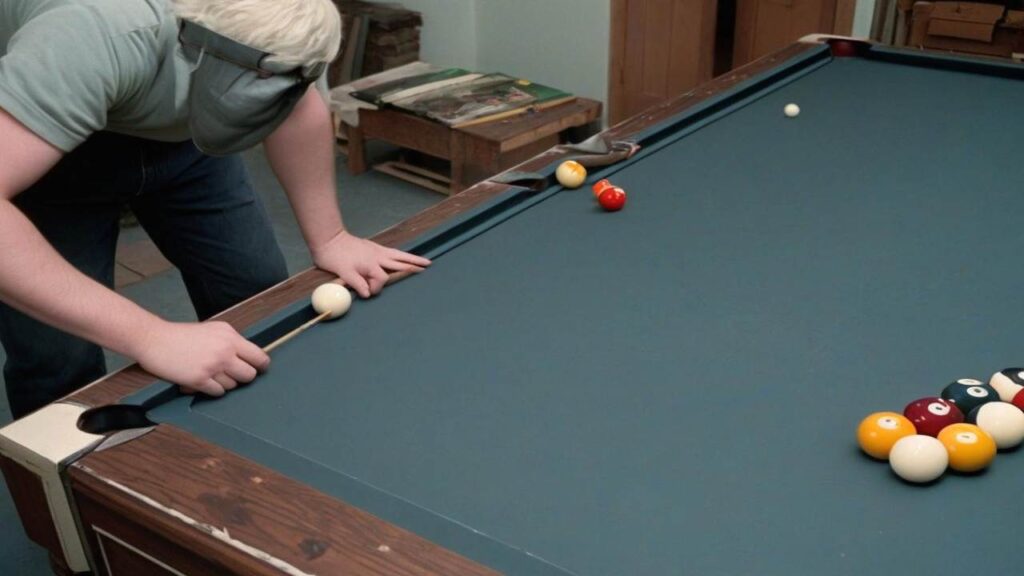
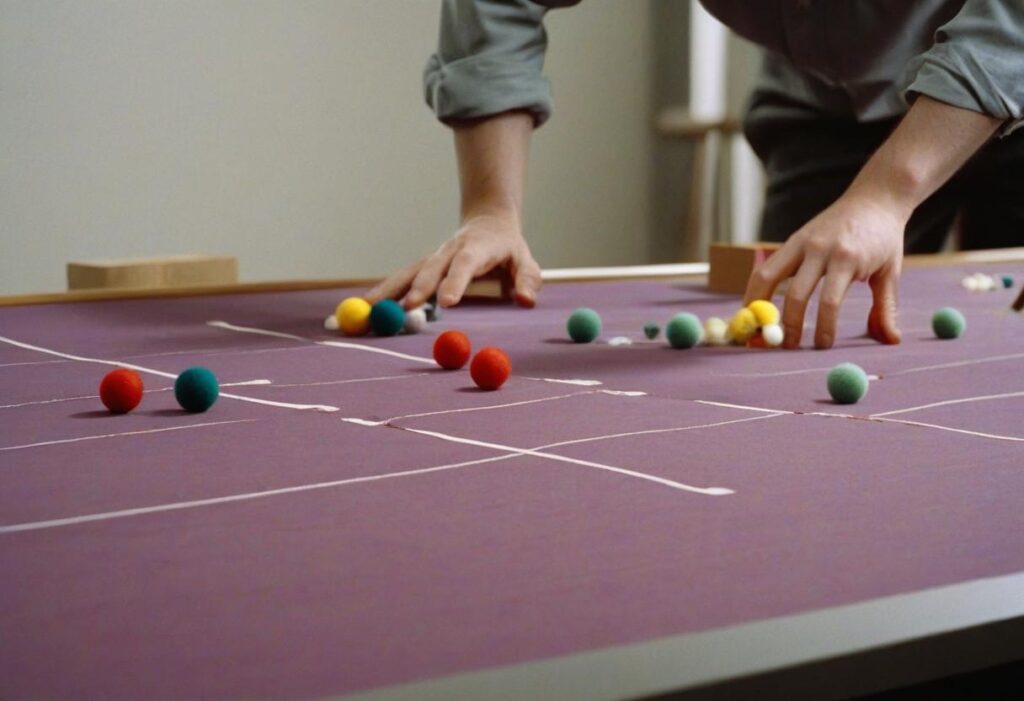
Test the Bounce
Roll a ball along each edge and the centerline to check for irregularities. If needed, adjust the table’s shims further.
Clean the Surface
Use a pool table brush to clean the felt and remove loose fibers or dust. Your table is now game-ready!
Why Proper Setup Matters
Setting up a pool table properly ensures not just a great playing experience but also the longevity of your table. A poorly installed table can warp, reducing the quality of gameplay and potentially requiring costly repairs. Taking the time to do it right will result in years of enjoyment and competitive matches.
Wrapping It Up
Setting up a pool table may seem intimidating, but it’s an achievable DIY project with the proper preparation and tools. Here’s a quick recap of what you need to do:
- Find the perfect space and measure carefully.
- Assemble the frame and level the slate bed.
- Stretch the felt tightly and attach the rails and pockets.
And just like that, you’re ready to enjoy your first game! If you need more confidence in taking on this project, consider hiring a professional for the most precise results.
Frequently Asked Questions
1. How long does it take to set up a pool table?
The time it takes to set up a pool table can vary depending on factors such as your level of experience and the specific model of the table. On average, the installation process can take a few hours to a full day.
2. Do I need special tools to set up a pool table?
While some essential tools, such as a socket wrench, a spirit level, and a staple gun, will suffice for most installations, you should refer to the manufacturer’s instructions for any specific tools that may be required for your pool table model.
3. Can I set up a pool table independently, or need professional help?
Setting up a pool table is possible on your own, especially with the help of a detailed installation guide like the one provided here. However, if you need more tools or expertise, seeking professional assistance is always a good idea to ensure a smooth and accurate installation.
4. How often should I level my pool table?
The frequency of leveling your pool table largely depends on factors such as the stability of your floor and the regularity of use. As a general guideline, check and potentially re-level your table every few months or whenever you notice any significant changes in its stability or playing surface.
5. Can I move a pool table after it’s been set up?
Yes, it’s possible to move an adequately set up pool table. However, driving a pool table requires careful disassembly and reassembly to ensure its structural integrity and playing quality. It’s advisable to consult the manufacturer’s instructions or seek professional assistance when moving a pool table to avoid any damage or complications.
Conclusion
Setting up and maintaining a pool table requires careful attention to detail, but the effort is well worth the enjoyment it brings. By following the steps outlined in this guide, you can ensure an adequately leveled and well-prepared pool table for optimal gameplay. Regularly check and potentially re-level your table to maintain its stability and playing surface. If you ever need to move your pool table, exercise caution and consider seeking professional assistance to prevent any damage or complications. Now, gather your friends and family, and let the games begin!


