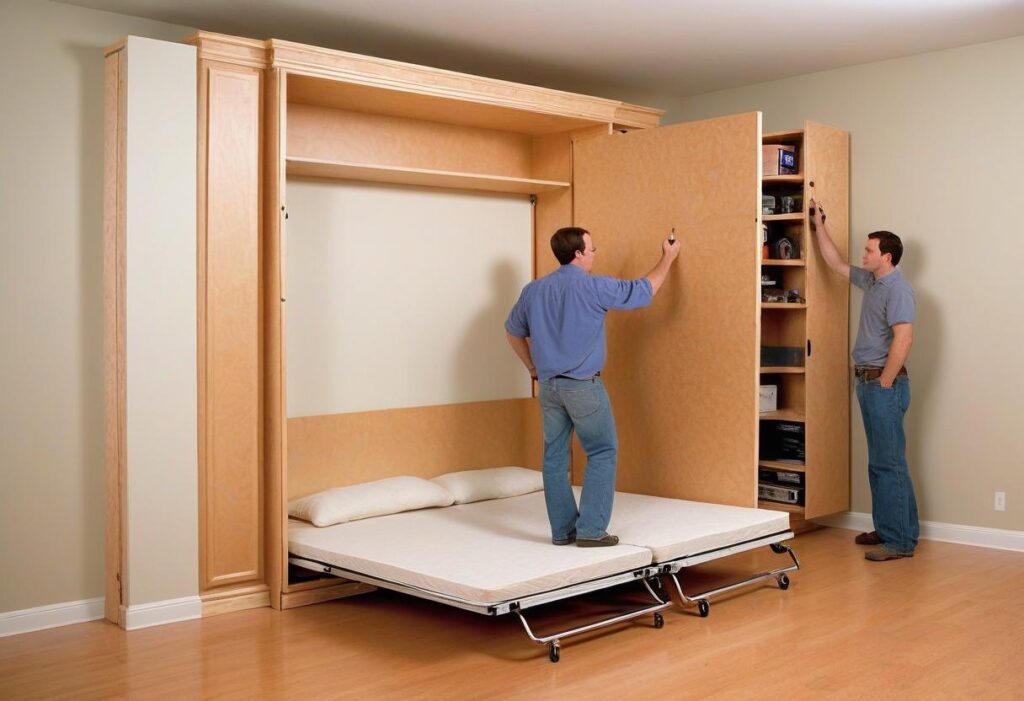
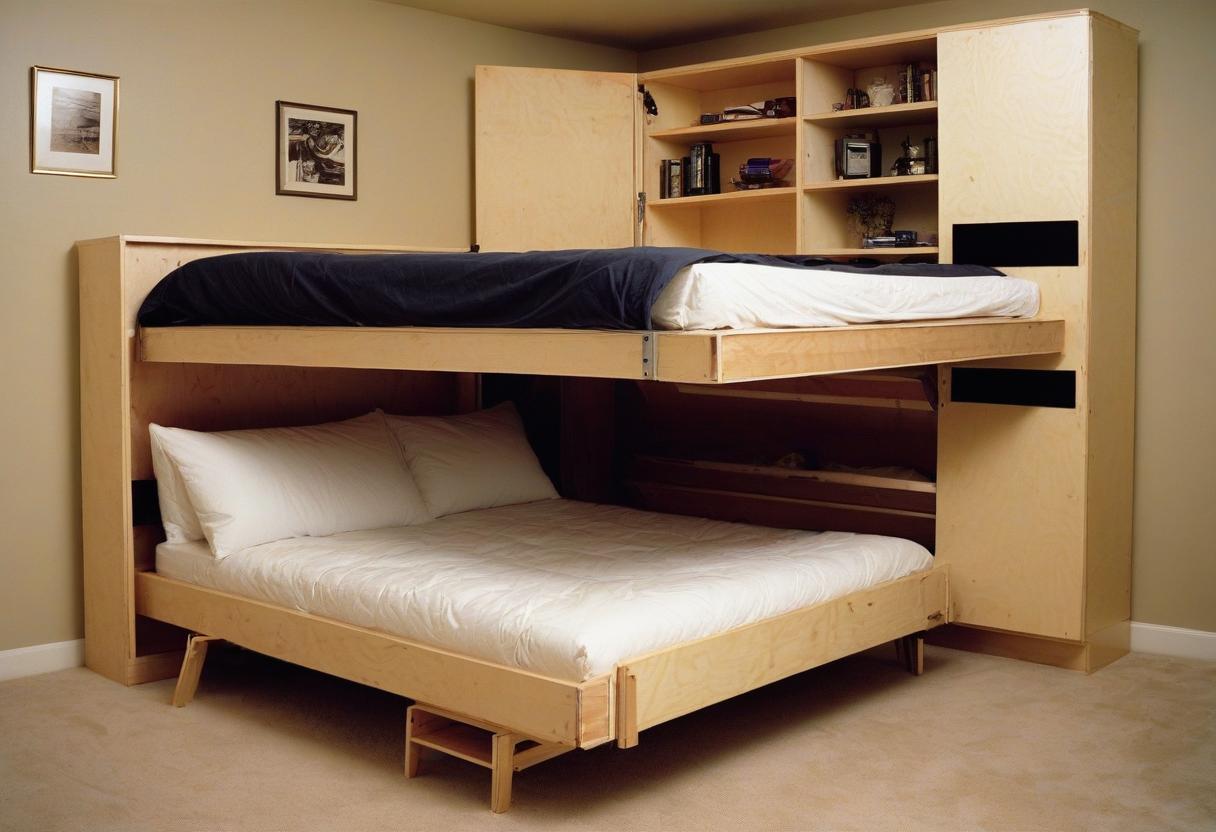
Do you need more space in your home but wish to have an extra bed for guests? A Murphy bed, also known as a wall bed, is the perfect solution. It provides all the comfort of a standard bed without taking up valuable floor space during the day.
Whether you’re a savvy DIYer or a weekend home renovator, building a Murphy bed can be a rewarding project combining functionality and style. This guide explains everything you need to know—from understanding the components to assembling the bed—that will help you create your perfect Murphy bed.
What Is a Murphy Bed and Why Build One?

A Murphy bed is a bed that folds up vertically into a cabinet or against the wall when not in use. It’s the ultimate space-saver for apartments, studios, or multipurpose rooms. But why build a Murphy bed instead of buying one?
Cost Savings: Store-bought Murphy beds can cost between $1,000 and $3,500. Building one yourself can significantly lower that cost.
Customization: You can customize the bed’s look to complement your home decor, including colors, finishes, and storage add-ons.
Skill Development: Building a Murphy bed is a great DIY project for honing your woodworking or home improvement skills.
Now that you’re sold on the benefits let’s get started!
Materials and Tools You’ll Need

The first step in your DIY Murphy bed project is gathering the necessary supplies.
Materials
Wood Panels (Plywood or MDF): For the mattress base, Frame, and cabinet. A ¾-inch plywood sheet works well for durability.
Murphy Bed Hardware Kit: This kit includes essential pieces like mounting brackets, gas pistons or springs, and hinges, which are the key to seamless folding.
Bed Frame Hardware (optional): Metal bed frames can be integrated for extra mattress support.
Mattress (Foldable): Choose a mattress no thicker than 10 inches to ensure a snug fold.
Paint or Finish: Match the bed’s color to your room style.
Tools
- Saw (Circular or Jigsaw)
- Drill with Bits
- Screwdriver
- Measuring Tape
- Clamps
- Level
- Sandpaper or Electric Sander
- Stud Finder
Now that your toolkit is ready, it’s time to move on to design.
Step-by-Step Guide to Building Your Murphy Bed
Follow these easy steps to plan and assemble your Murphy bed from scratch.
Choose the Perfect Location

Before anything else:
- Decide where the bed will be installed.
- Choose a space near a wall with adequate clearance for the bed to fold completely.
- Use a stud finder to locate wall studs; you’ll need these for secure mounting.
Measure both the bed and cabinet dimensions. The depth of the folded-up Murphy bed typically requires a 12-16-inch gap between the wall and other furniture. Remember to account for surrounding items like bookshelves or desks.
Plan Your Design
Choose a design aesthetic that matches your space. When folded up, Murphy beds can be disguised as cabinets, bookshelves, or even mirrors. Many plans are available online to guide you, or you can create your custom design using woodworking software.
Pro Tip: Add drawers or shelves to the side of the bed to maximize storage and make the unit functional, even when closed.
Build the Frame Structure
The bed frame is your Murphy bed’s foundation and securely holds the mattress. Here’sHere’s how to build it step by step:
Cut the Wood Panels: Using a circular saw, cut your plywood or MDF to match the mattress size (Twin, Full, Queen).
Assemble the Frame: Attach wooden side rails and cross beams to the mattress panel using screws. This creates a structure that will fold with the bed.
Attach the Hardware: Follow the instructions in your Murphy bed hardware kit to secure hinges, pistons, or springs to the Frame.
Build the Cabinet

The outer cabinet hides the bed and adds a polished, functional look.
Cut the Cabinet Pieces: Measure and cut wood panels for the cabinet sides, top, and bottom. The cabinet needs to be taller than the folded bed, plus clearance for the hardware.
Assemble the Cabinet: Use wood screws and clamps to attach the panels.
Anchor the Cabinet: Use a drill to secure the cabinet to the wall-mounted studs. A level is crucial here—ensure it’s perfectly upright.
Safety Tip: The wall anchors must be very secure to support the weight of the bed and prevent accidents.
Attach the Bed to the Cabinet
This step is where the magic happens.
Connect the Frame to the Cabinet: Attach the bed frame hardware to the cabinet’s hinges or pivot system from your Murphy bed kit.
Test the Fold-Down Mechanism: Slowly fold the bed to ensure everything is smooth and aligned. Adjust the hinges or gas pistons as needed.
Add Finishing Touches
- Smooth the edges of your wood using sandpaper.
- Apply a coat of paint or wood stain for a polished look.
- Mount door handles, trim, or decorative molding to complete the cabinet’s cabinet’s appearance.
Your DIY Murphy bed is now ready to use!
Common Challenges and Tips for Success
Weight Distribution: Consider the weight of the wood and mattress, and ensure the hardware kit you choose is designed to meet your bed’s specifications.
Precision is Key: To avoid errors, measure everything multiple times before cutting or drilling.
Don’t Skip the Studs: The cabinet anchors must be inserted into wall studs for stability—a drywall mount will not suffice.
Why DIYing a Murphy Bed Is Worth It
By building your Murphy bed, you’re not just saving space—you’re creating a one-of-a-kind piece tailored to your needs. Every fold-down will bring the satisfaction of knowing you accomplished a challenging yet rewarding home project.
For DIY enthusiasts, this project also opens up possibilities for future furniture creations. Once you tackle a Murphy bed, why not try coffee tables or custom bookshelves next?
Tools and Supplies Needed
Before embarking on your Murphy bed DIY project, gathering the necessary tools and supplies is essential. Here are the key items you’ll need:
Tools:
- Tape measure
- Saw (circular saw or table saw)
- Drill
- Screwdriver (or cordless screwdriver)
- Clamps
- Level
- Sandpaper or sanding block
- Paintbrush or roller
Supplies:
- Plywood sheets (for the bed frame, panels, and shelves)
- Wood screws
- Hinges
- Bed lift mechanism
- Mattress
- Wood glue
- Paint or stain (optional)
- Decorative hardware (optional)
These readily available tools and supplies will make your DIY Murphy bed project more efficient and enjoyable. Remember to follow safety precautions and consult detailed plans or instructional resources for measurements and assembly instructions. Get ready to create your space-saving haven with a custom-built Murphy bed!
Create Your Space-Saving Haven
With a Murphy bed in place, your room instantly transforms into a more versatile, livable space. Whether you need a work-from-home setup daily or a guest bedroom by night, this practical furniture solution is a game-changer.
If you’re inspired to build your own Murphy bed but still have questions, explore detailed plans online. And don’t forget to share photos of your completed project—nothing beats showing off your hard work!


