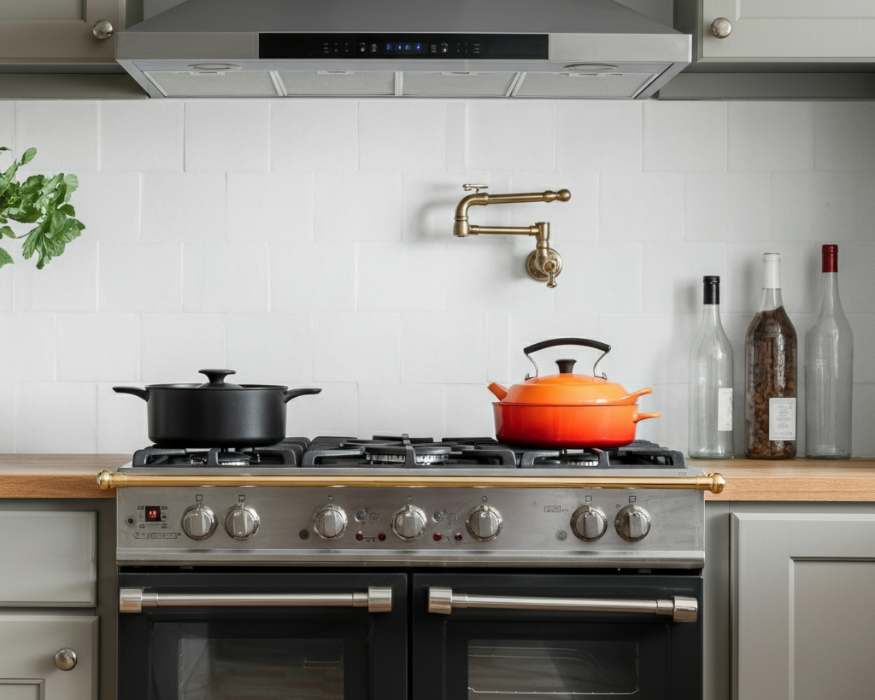
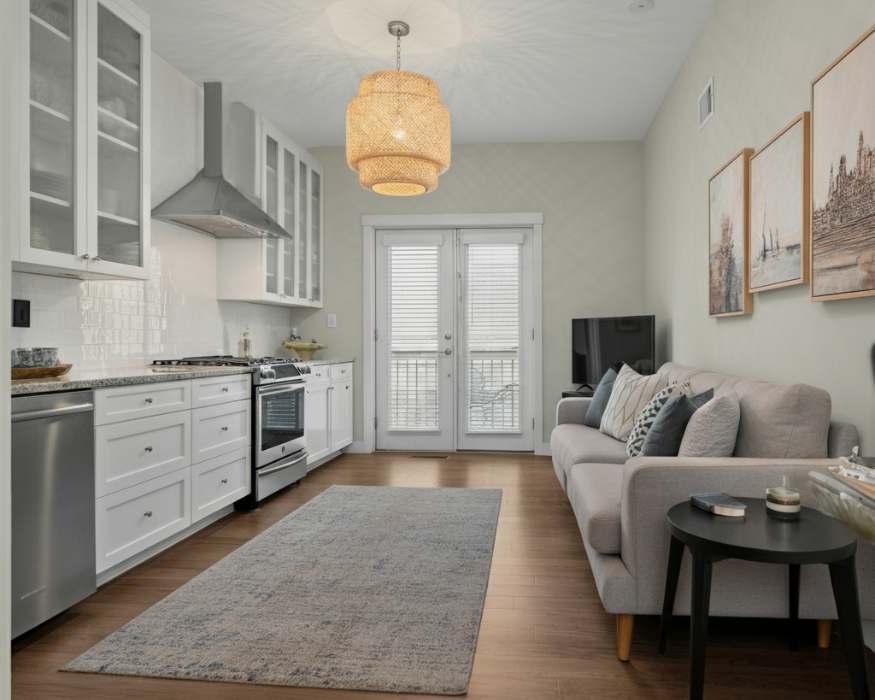
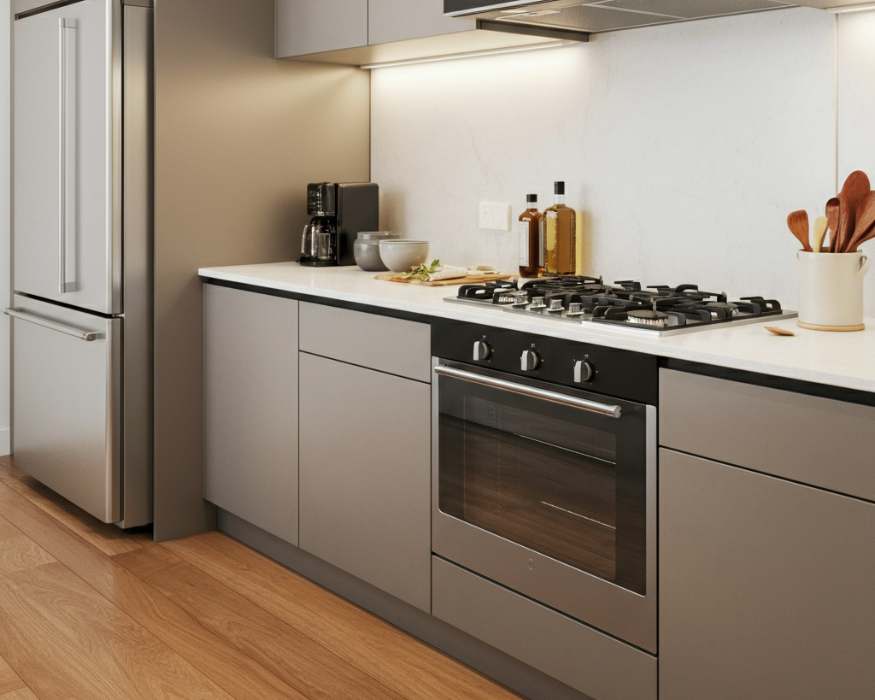
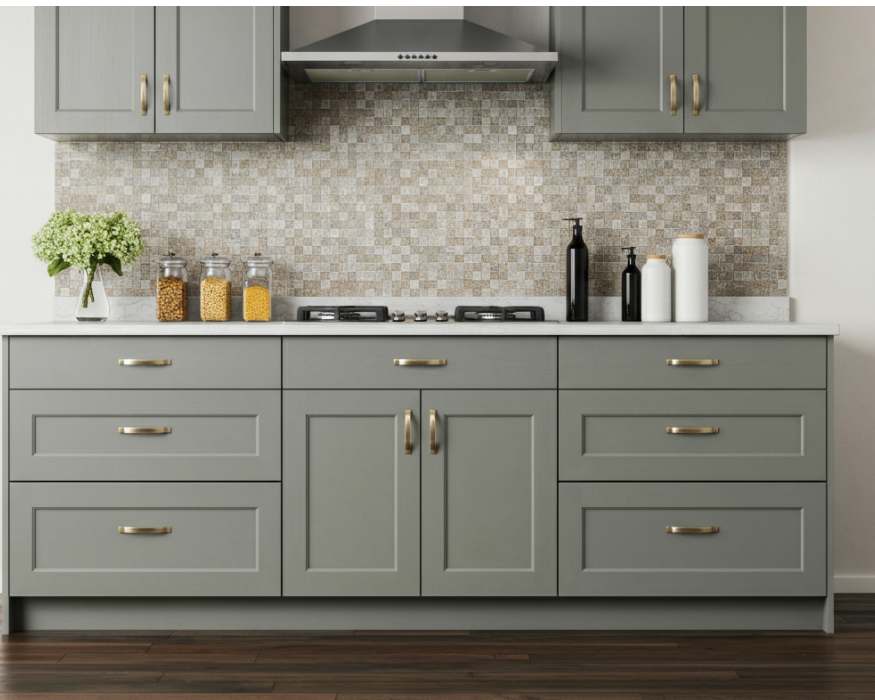
A kitchen is the heart of the home—even when that home is a cozy condo. But it might be time for a change when outdated or generic kitchen cabinets overshadow your space. Revamping cabinets can be daunting for condo owners due to space constraints and sometimes building regulations, but a successful transformation can bring new life into your kitchen.
Whether you’re a condo owner looking for a fresh start, a home renovator optimizing small spaces, or a DIY enthusiast eager to tackle a project, this guide is here. We’ll cover everything from planning and choosing materials to tips on staying within guidelines, ensuring your kitchen becomes a functional and stylish centerpiece of your home.
Why Refreshing Your Kitchen Cabinets is a Game-Changer

A simple upgrade to your cabinets can bring several benefits to your living space.
Aesthetics: Outdated or dull cabinets can drag your kitchen down, making the condo feel old-fashioned. Updated cabinets can create a sleek and modern atmosphere.
Better Functionality: Customized storage solutions make even the smallest condo kitchens more user-friendly, helping maximize every inch of your space.
Added Property Value: Upgraded cabinetry can appeal to potential buyers or renters, making it a worthwhile investment in your condo’s long-term value.
Now that you know the importance of upgrading, let’s get into the nitty-gritty of making it happen.
Step 1: Define Your Kitchen Goals

Start by determining what you want to achieve with this upgrade. Are you focused on aesthetics, functionality, or both?
Ask yourself the following questions:
- Do I need more storage space?
- Is my priority to modernize the look of my kitchen?
- Will I complete this as a DIY project or hire professionals?
- What’s my budget—and how flexible can I be?
Having clear goals will help guide every choice, from materials to layout and designs.
Step 2: Know Your Condo’s Regulations

Before selecting pieces or hiring contractors, it’s essential to understand your condo’s renovation rules. Many condo associations have specific guidelines for changes affecting shared areas like plumbing or ventilation.
Common restrictions may include:
Work Hours: Timeframes within which renovations can occur.
Noise Limitations: Ensure your work won’t disturb your neighbors.
Approval Process: You may need written approval for structural changes or installations.
Communicate your renovation plans with your condo association early on to avoid any surprises down the line.
Step 3: Measure Your Space

Condo kitchens often have space limitations. Start by accurately measuring your kitchen to ensure you purchase cabinets that fit the layout perfectly.
Key points to measure include:
- Cabinet height and width
- Depth from the wall to the edge of your countertop
- Space under sinks, along corners, and adjacent to appliances
Pro Tip: Add 1-2 inches of “buffer zone” between cabinets and walls for seamless installation.
Step 4: Choose the Right Cabinet Style

The style of cabinets you select will set the tone for your kitchen. There are three main cabinet styles to consider:
Stock Cabinets
Pre-manufactured and sold at standard sizes, these aren’t customizable but offer affordable and convenient options. They’re perfect for those with a tight budget or minimal time constraints.
Best for: Budget-conscious upgrades.
Semi-Custom Cabinets
These are partially customizable, allowing you to tweak sizes, finishes, and design elements. They strike a balance between affordability and personalization.
Best for: Small kitchens where a tailored look is needed.
Custom Cabinets
Made-to-order creations tailored to your precise specifications. It is ideal for those who want a unique look and specialized storage solutions.
Best for: Maximizing space and style in unique layouts.
Step 5: Choose Durable Materials

Not all materials are created equal. Consider these popular choices, depending on your budget and lifestyle needs.
Solid Wood: Classic, durable, and long-lasting. It is perfect for a premium feel but requires maintenance.
MDF (Medium-Density Fiberboard): Affordable, highly customizable, and prone to water damage.
Plywood: Lightweight, strong, and more resistant to moisture than MDF.
Laminate: Budget-friendly and available in various finishes, though it may lack longevity.
Combine materials for a balanced outcome—for example, durable wood doors with MDF interiors can offer a great mix of style and cost-effectiveness.
Step 6: Focus on Functionality
Functionality is key for condo kitchens, where every inch matters. Opt for cabinets that enhance storage and practicality.
Pull-out Drawers: Maximize access in smaller spaces.
Corner Storage Solutions (e.g., Lazy Susans): Utilize even hard-to-reach corners for storage.
Built-In Organizers: Consider options like spice racks, utensil separators, or pull-out trash bins to keep things tidy.
Slim Cabinets: Perfect for narrow gaps or particular spaces under countertops.
Opt for soft-close hinges to eliminate slamming in close-knit condo spaces—and add a touch of elegance.
Step 7: Pick a Color Scheme
The color you choose for your cabinets can shift the mood of your entire kitchen.
Bright Neutrals like white, gray, or beige make small kitchens feel more extensive and more open.
Bold Colors like navy blue or forest green can add depth and personality to the look.
Two-tone schemes keep things modern by featuring one color for upper cabinets and another for lower.
Always consider how the colors will complement your countertops and flooring.
Step 8: Decide Between DIY and Professional Help
Deciding whether to DIY or hire professionals depends on your skills and budget.
DIY Approach
Some cabinet upgrades can be a fun and budget-friendly DIY project if you’re handy and confident. Tasks like repainting, replacing hardware, and assembling stock cabinets are feasible for many DIYers.
Expert Help
Hiring a professional for custom projects or extensive replacements ensures the job is done efficiently and to a high standard, especially when plumbing or electrical adjustments are required.
Step 9: Bring it All Together with Hardware
The handles, knobs, and pulls you choose act like jewelry for your cabinets. Use metallics like brushed nickel, matte black, or polished brass for a sophisticated and modern touch.
Opting for uniform hardware across your kitchen creates a cohesive and polished look.
Step 10: Enjoy Your New Kitchen
Once installed, your upgraded cabinets will transform your kitchen’s overall feel and functionality. To keep them looking fresh, remember to clean them regularly and avoid exposure to excessive moisture or heat.
Final Thoughts—Elevate Your Condo Kitchen
Changing your kitchen cabinets may feel overwhelming, but as this guide demonstrates, it’s a worthwhile venture that enhances your condo’s aesthetics and value. With careful planning, the right materials, and a focus on functionality, your upgraded cabinets can transform your condo kitchen into a delightful space.
If you’re unsure how to start, consider consulting a professional renovation service for custom advice and support. Whether you DIY or work with the pros, your dream kitchen is closer than you think!


