


Installing a new toilet may seem straightforward, but getting the rough-in dimensions right is essential to avoid unnecessary headaches (and plumbing disasters). It’s one of the first and most critical steps in any toilet installation or replacement project. Whether you’re a seasoned plumbing professional or a DIY enthusiast tackling home improvement, understanding toilet rough-in dimensions will set you on the path to a smooth, successful installation.
This guide will explain everything you need to know about toilet rough-in dimensions, including how to measure them, the different types available, and key tips to remember. You’ll feel confident planning your toilet installation project like a pro by the end.
What Are Toilet Rough-In Dimensions?
The toilet rough-in refers to the distance between the wall behind the toilet and the center of the drainpipe (or the bolts that secure the toilet to the floor). This measurement determines the toilet size you need and ensures it will fit properly in your bathroom without obstructing other features.
Most homes are built with standardized rough-in dimensions, but there can be variations depending on the age of the home, the type of toilet, and local plumbing codes.
Standard Rough-In Sizes
The most common rough-in sizes are:
12 Inches (Standard): The vast majority of toilets in North America are designed for a 12-inch rough-in. It’s the go-to size for most residential bathrooms.
10 Inches (Compact): Found in smaller bathrooms or older homes, this size is ideal for spaces where every inch counts.
14 Inches (Oversized): Less common, this rough-in is typically seen in older or custom-built homes.
These measurements are taken from the finished wall (not the baseboard) to the center of the drain or bolts. Always account for the wall’s finish, such as tiles or drywall, when measuring.
Why Are Toilet Rough-In Dimensions Important?
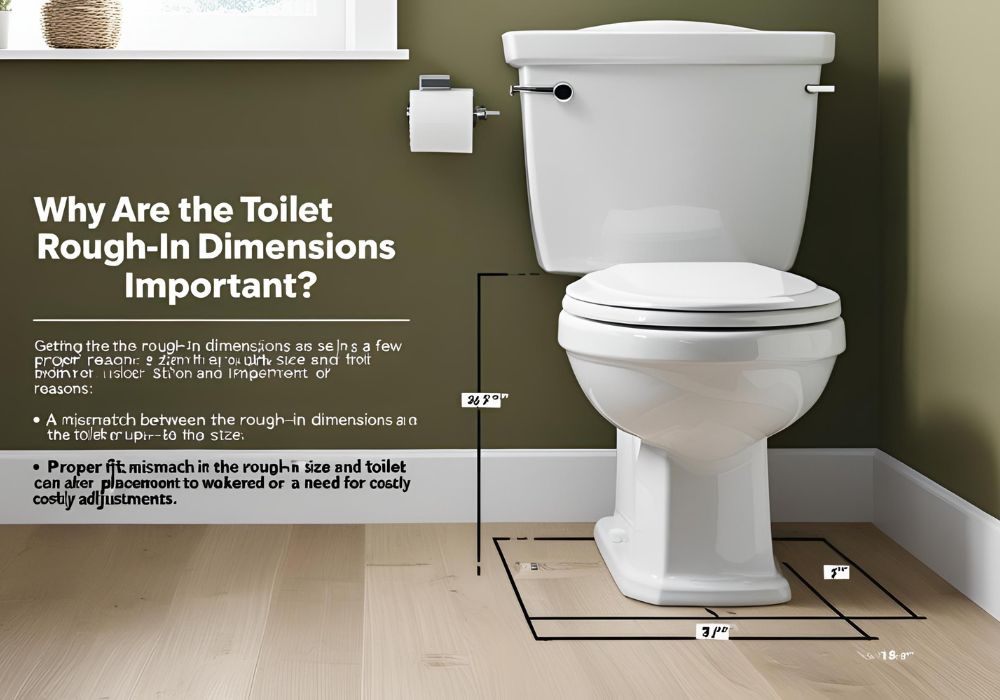
Getting the rough-in dimensions right is critical for a few reasons:
Proper Fit: A mismatch between the rough-in size and toilet can lead to awkward placement or the need for costly adjustments.
Efficient Functionality: A toilet that isn’t correctly installed may not flush as effectively or could lead to leaks.
Compliance with Plumbing Codes: Local codes often dictate the rough-in dimensions to maintain safety and functionality. Always check before installation.
How to Measure Your Toilet Rough-In
Whether replacing an old toilet or installing one for the first time, accurate measurements are crucial. Here’s a step-by-step guide:
What You’ll Need:
- A measuring tape
- A notepad and pen to jot down measurements
Steps to Measure:
Locate the Bolts or Drain Center: If a toilet is already installed, locate the two bolts at the toilet’s base (these secure it to the floor). If there is no toilet, find the center of the soil pipe or flange.
Measure the Distance: Place the end of your measuring tape against the finished wall (not the baseboard) and stretch it to the center of the bolts or flange. Write this measurement down.
Check for Accuracy: Take the measurement a second time to ensure accuracy. Even a tiny miscalculation can cause problems during installation.
Consider Obstacles: Account for obstacles like baseboards, pipes, or cabinets. Proper clearance is essential for a snug and functional fit.
Types of Toilets for Different Rough-In Sizes
Once you’ve identified the rough-in dimension, choosing the right type of toilet becomes much more manageable. Here’s what you need to know:
Standard Toilets (12-Inch Rough-In)
These are the most widely available and come in various styles, including two-piece and one-piece designs. They work well in most modern bathrooms and offer the broadest options.
Compact Toilets (10-Inch Rough-In)
Compact toilets are designed for smaller spaces. Though they have fewer design options than standard models, you can find excellent compact options that save space without sacrificing comfort.
Oversized Toilets (14-Inch Rough-In)
Toilets for a 14-inch rough-in are less common, so your selection might be limited. However, many newer models offer adjustable fittings that can adapt to larger rough-in sizes.
Consider Offset Flanges for Mismatched Rough-Ins
If replacing a toilet doesn’t match your existing rough-in dimension, an offset flange may be your solution. It allows for slight adjustments to the rough-in placement without significant renovations. Be sure to consult a professional plumber if you’re considering this option.
Common Mistakes to Avoid

Even with a solid understanding of rough-in dimensions, missteps can happen. Here are a few common pitfalls and how to avoid them:
Measuring from the Baseboard: Always measure from the finished wall—not the baseboard. Failing to account for the baseboard can result in incorrect dimensions.
Ignoring Clearance Requirements: Toilets need adequate space around them for comfort and usability. Double-check building codes for minimum clearances on either side.
Choosing the Wrong Size: Don’t assume your home has a 12-inch rough-in without measuring! Mistaking a 10-inch for a 12-inch size is more common than you might think.
Overlooking Accessories or Fittings: Items like offset flanges can help solve rough-in mismatches but require careful planning and installation.
Pro Tips for a Successful Toilet Installation
To make your toilet installation experience as smooth as possible, keep these tips in mind:
Double-Check Everything: Measure twice, install once. Rechecking your dimensions can save you time, money, and stress.
Invest in Quality Tools: A reliable measuring tape, wrench set, and a proper wax ring ensure a hassle-free setup.
Research Replacement Models: If you’re replacing an old toilet, look for models that match the rough-in dimension of your existing toilet to avoid unnecessary adjustments.
Ask for Help if Needed: DIY can be rewarding, but don’t hesitate to consult a professional plumber for tricky installations or adjustments.
The Bottom Line on Rough-In Dimensions
Understanding toilet rough-in dimensions is fundamental for a successful installation or replacement project. With the proper measurements, you’ll avoid compatibility issues and save yourself from costly repairs.
By investing time upfront to measure accurately, research the correct type of toilet, and plan thoroughly, you’ll ensure that your toilet fits perfectly and operates efficiently for years to come.
How about upgrading your bathroom setup? Share your toilet installation success stories with us, or drop your questions in the comments below!


