A wobbly or noisy ceiling fan can be more than just an annoyance—it can be a sign that it’s time for an upgrade. Replacing a ceiling fan might seem like a complex job best left to the professionals, but with the right tools and a clear plan, it’s a project you can handle yourself. This guide provides a straightforward, step-by-step process to help you replace your old ceiling fan safely and efficiently, giving you the confidence to tackle the task head-on.
Following these instructions will help you enhance the comfort and style of your room. We’ll walk you through everything from turning off the power and removing the old unit to installing and testing your new fan. Get ready to improve your space with a project that delivers immediate results.
Prepare for the Installation
Before you begin, gathering the right tools and materials is essential for a smooth process. Having everything on hand will prevent interruptions and help you complete the job safely.
Tools and Materials Needed
- New Ceiling Fan: Choose a fan that suits your room’s size and style.
- Ladder or Stepladder: Ensure it’s stable and tall enough to work comfortably.
- Screwdrivers: You will need both Phillips head and flat-head screwdrivers.
- Pliers: A pair of wire strippers and needle-nose pliers will be necessary.
- Voltage Tester: This is a crucial safety tool to confirm that the power is off.
- Wrench Set: An adjustable wrench or socket set may be needed for certain bolts.
- Safety Goggles: Protect your eyes from dust and debris.
Step-by-Step Replacement Guide
Follow these seven steps to replace your ceiling fan. Always prioritize safety and double-check your work as you go.
Step 1: Turn Off the Power
Safety is the most important part of any electrical project. Go to your home’s circuit breaker box and turn off the power to the room where you will be working. To confirm the power is off, flip the light switch for the ceiling fan. Use a voltage tester on the wires in the ceiling outlet box to be absolutely certain there is no electrical current.
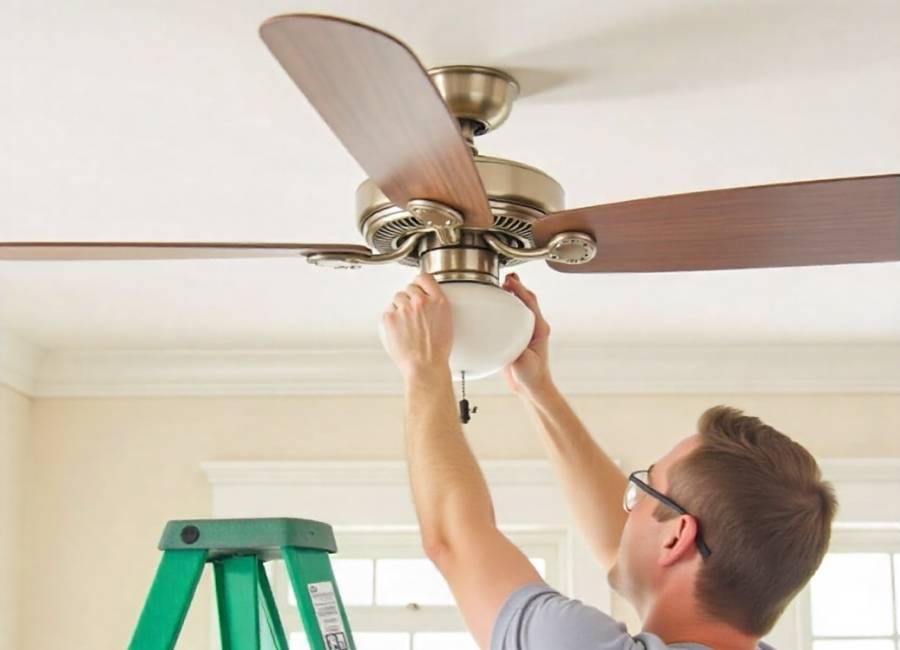
Step 2: Remove the Old Fan Blades and Light Kit
Once you’ve confirmed the power is off, you can begin disassembling the old fan. Start by unscrewing and removing the fan blades. Most blades are attached to the motor housing with two or three screws each. (Blade Screws w/ Fiber Washers (Delray™), n.d.) After the blades are off, detach the light kit if your fan has one. This usually involves unscrewing a few screws and disconnecting the wire connectors that power the lights.
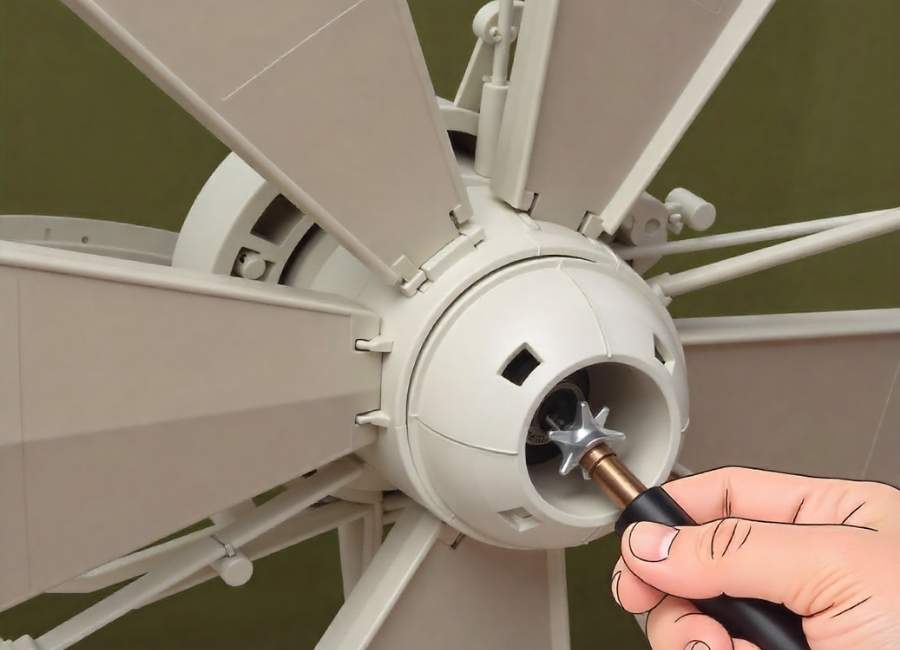
Step 3: Detach the Motor and Mounting Bracket
With the blades and light kit removed, the next step is to take down the fan motor. This is the heaviest part of the fan, so you may want a helper to hold it while you disconnect the wires. Unscrew the wire nuts connecting the fan’s wires to the ceiling wires (usually black to black, white to white, and green/copper to green/copper). Once the wires are disconnected, carefully lower the motor assembly from the mounting bracket. Finally, unscrew the old mounting bracket from the ceiling electrical box.
Step 4: Install the New Mounting Bracket

Your new ceiling fan will come with its own mounting bracket. Secure this new bracket to the electrical box in the ceiling using the screws provided. Make sure the bracket is firmly attached, as it will support the entire weight of the new fan. A secure bracket is essential for a safe, wobble-free installation.
Step 5: Assemble and Hang the New Fan
Follow the manufacturer’s instructions to assemble the new fan motor and downrod. Once assembled, lift the new fan and hang it from the hook on the new mounting bracket. This allows you to have both hands free to connect the wiring.
Step 6: Connect the Wiring
Connect the wires from the new ceiling fan to the wires in the ceiling. The color coding is standard:
- Connect the black wire (hot) from the ceiling to the black wire from the fan.
- Connect the white wire (neutral) from the ceiling to the white wire from the fan.
- Connect the green or bare copper wire (ground) from the ceiling to the green wire from the fan.
- If your fan has a light kit, there will be an additional wire (often blue) to connect to the ceiling’s hot wire.
Use the wire nuts provided to secure each connection, and gently tug on each wire to ensure it is secure. Tuck the wires neatly into the electrical box.
Step 7: Attach the Canopy, Blades, and Lights
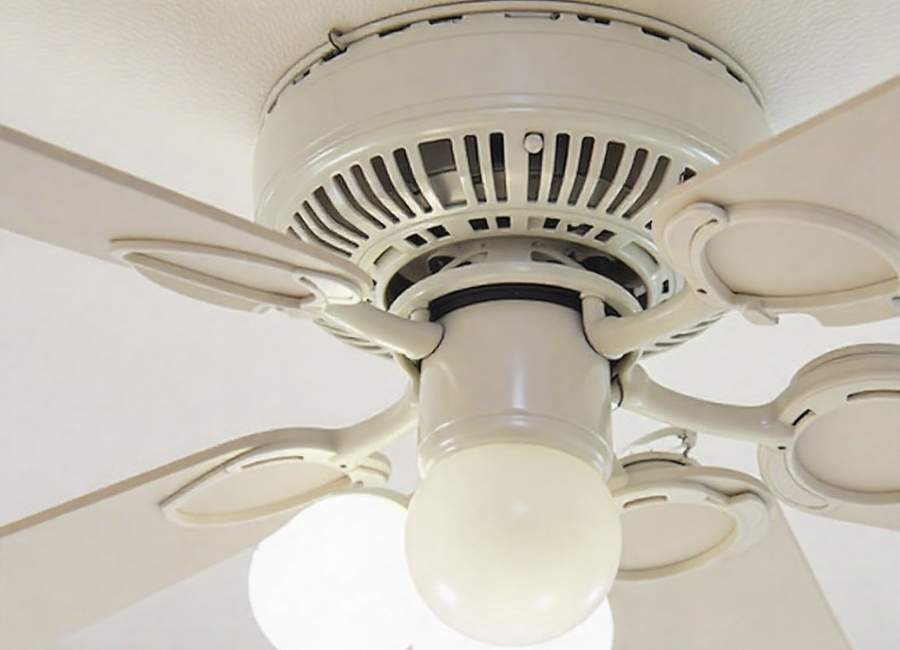
Lift the fan motor assembly into place against the mounting bracket and secure it with the provided screws. Attach the canopy to cover the electrical box and bracket. Next, attach the new fan blades to the motor housing. Finally, install the light kit (if applicable) and screw in the light bulbs.
Final Checks and Testing
With the new fan fully installed, it’s time to test your work. Go back to the circuit breaker and restore power to the room. Turn on the fan and light switch to ensure everything is working correctly. Test all the fan speeds and check for any wobbling. If the fan wobbles, you may need to use the balancing kit included with your new fan.
Enjoy Your New Ceiling Fan
Replacing a ceiling fan is a rewarding project that can improve the look and feel of any room. By following these steps, you can confidently and safely complete the installation yourself, giving you control over your home’s comfort.
If you find that the project is more than you want to handle, or if you encounter any unexpected issues, don’t hesitate to call a licensed electrician. Professional support can provide peace of mind and ensure the job is done correctly.