


You’ve found the perfect piece of wooden furniture, but the finish isn’t quite right. Maybe it’s a dated, orange-toned dresser from the 70s or a coffee table that’s seen better days. The wood is still in great shape, so your first thought might be to apply a new, darker stain directly over the old one. But can you stain over stain?
You can stain over an existing stain, but it takes a bit more effort than it might seem. Adding a new stain is a good way to update wood without stripping it completely. Still, how well it works depends on the condition of the old finish and the products you choose. This guide will help you determine if this approach is suitable for your project and show you how to implement it effectively.
Can You Put a Darker Stain Over a Lighter Stain?
Yes, you can definitely apply a darker stain over a lighter one. In fact, this is the most common and successful scenario for staining over an existing finish. The new, darker pigments will cover the lighter color, creating a rich, updated look. Think of it like using a highlighter on a piece of paper; you can easily cover a yellow mark with a blue one, but the reverse is much harder.
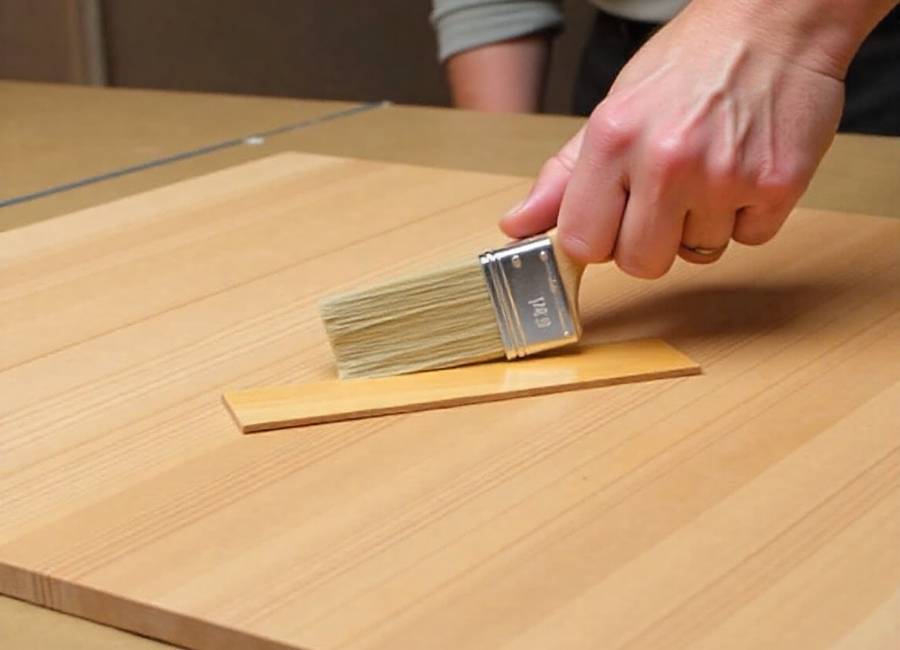
When applying a dark stain over a light one, the original color will influence the final result. For example, applying a dark brown stain over a golden oak finish might result in a warmer, deeper brown than if it were applied to raw, pale pine. It’s always a good idea to test the new stain on an inconspicuous area of the furniture, like the back of a leg or the underside of a shelf, to see how the colors will combine.
What About Staining Over a Dark Stain?
Putting a new stain over a dark finish is trickier and usually doesn’t work as well. The stain needs to soak into the wood, but if the wood is already full of dark color, there isn’t much space left for a new shade.
- If you try to put a light stain over a dark one, you probably won’t see much change. The lighter color can’t cover the dark stain, so the result will look almost the same. This method usually isn’t recommended.
- You can add a new dark stain over an existing dark stain to refresh the color or deepen it. For example, if your walnut finish appears faded, a new coat of the same or a darker shade, such as espresso, can make it look new again. Just remember, the end result will be quite dark.
Factors to Consider Before You Begin
Before you grab your stain and brushes, you need to assess the piece of wood you’re working with. The type and condition of the existing finish are the most critical factors.
Is the Wood Sealed?
Most commercially finished furniture is protected by a topcoat, such as polyurethane, lacquer, or varnish. (General Finishes Topcoats, n.d.) This clear coat creates a non-porous barrier that prevents the new stain from penetrating the wood. (Seal-A-Cell Oil-Based Sealer, n.d.) If you try to apply stain directly over a sealed surface, it will just sit on top, resulting in a sticky, uneven mess that won’t dry properly. (Why Won’t Wood Take Wood Stain? (Here’s The Fix!), n.d.)
To check if a surface is sealed, place a drop of water on it and observe the result.
- If the water beads up, the wood is sealed, and you’ll need to remove the topcoat before proceeding.
- If the water soaks in, the wood is likely unsealed or the finish has worn away, and you might be able to stain over it.
What Type of Stain Was Used?
The original stain can be either oil-based or water-based. (Oil-Based vs Water-Based Wood Stain (What’s the Difference?), n.d.) For optimal results, use the same type of stain for your new coat. (How To Stain Over Stain? (& Benefits), 2025) If you mix types—for example, an oil-based stain over a water-based one—they may not adhere properly. (Can you apply a water-based stain over an oil-based stain?, n.d.)
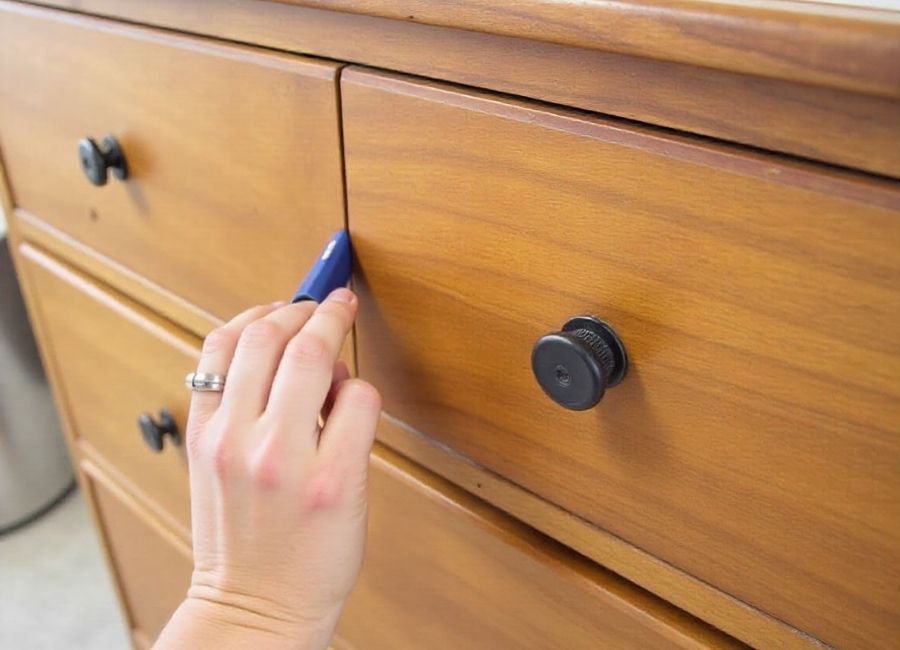
If you don’t know what type of stain is on the furniture, you can test it. Rub a small, hidden area with a cloth dipped in denatured alcohol.
- If the color comes off, it’s likely a water-based stain.
- If it doesn’t, it’s probably an oil-based stain.
How to Stain Over Existing Stain: A Step-by-Step Guide
If you’ve determined that your project is a good candidate for re-staining, follow these steps to achieve a professional-looking finish.
Step 1: Prepare Your Workspace
Work in a well-ventilated area, like a garage with the door open or an outdoor space. Lay down drop cloths to protect the floor from spills. Staining can be messy, so wear old clothes, gloves, and safety glasses to protect yourself.
Step 2: Clean the Surface
The first step is to thoroughly clean the wood. Use a cloth and a solution of mild soap and water or a specialized wood cleaner to remove any dirt, grease, or grime. Any residue left on the surface can prevent the stain from adhering evenly. Let the piece dry completely.
Step 3: Remove the Existing Finish (If Sealed)
If your wood has a sealant, you must remove it. You have two main options: sanding or chemical stripping.
- Sanding: Use a medium-grit sandpaper (around 120-150 grit) to scuff the surface. The goal is not to remove the old stain completely, but to break through the protective topcoat and create a porous surface for the new stain to adhere to. An orbital sander can significantly accelerate this process for large, flat surfaces. After sanding, wipe away all dust with a tack cloth.
- Chemical Strippers: For intricate pieces with intricate details, a chemical stripper may be easier than sanding. Apply the stripper according to the manufacturer’s instructions, let it sit, and then scrape off the softened finish.
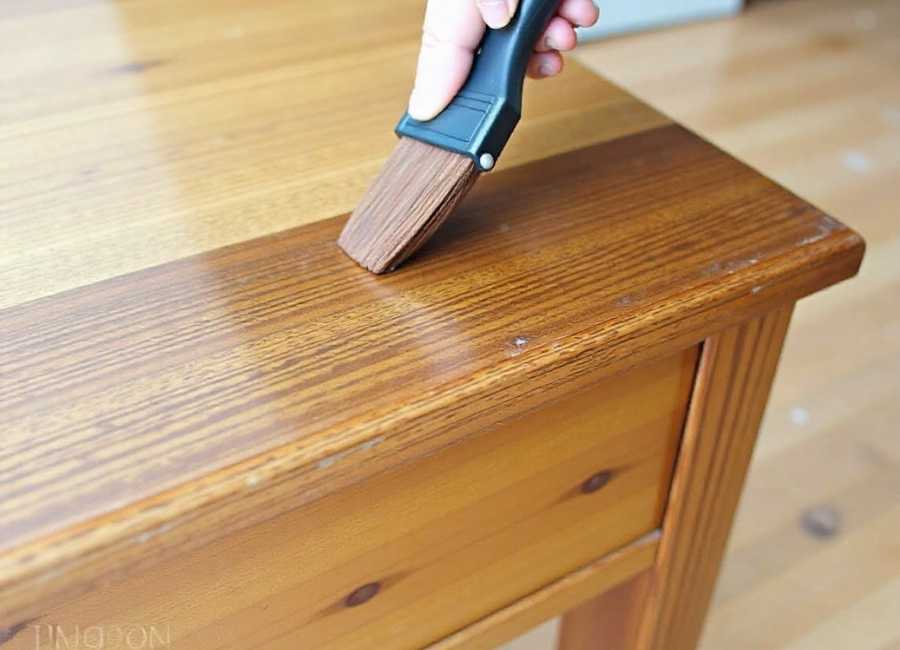
Step 4: Apply a Gel Stain
Gel stain works especially well for staining over an old finish. (How to Apply Gel Stain over Stained Wood | 10 Easy Steps, 2025) Unlike regular liquid stains that soak into the wood, gel stain is thicker and stays on the surface. (Using Gel Stain, n.d.) This helps you achieve an even color, even if the wood has already been stained. It also doesn’t drip much and is less likely to leave blotchy spots. (Avoid (or fix) Blotchy Stain, n.d.)
Apply the gel stain with a foam brush or lint-free cloth, moving in the direction of the wood grain. Work in small, manageable sections.
Step 5: Wipe Away the Excess
Let the stain sit for a few minutes—check the label for exact timing—then wipe off the extra with a clean, dry cloth. How long you wait and how hard you wipe will affect the final color. If you want it darker, apply a second coat after the first one has dried.
Step 6: Apply a Topcoat
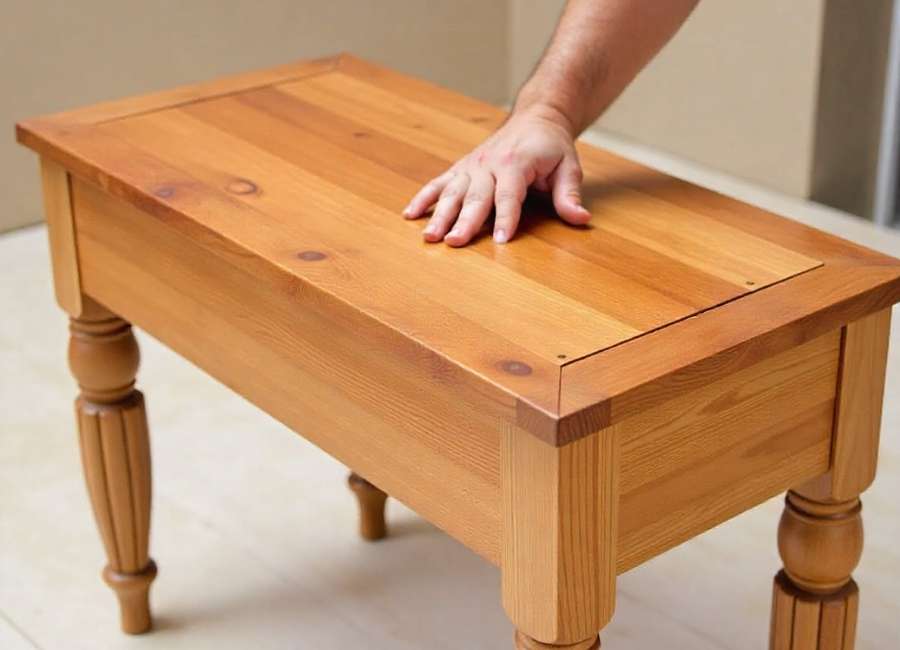
Once the stain has fully dried, which usually takes one to two days, protect your work with a clear topcoat. Polyurethane is a good option because it’s durable. (Varathane Poly and Stain, n.d.) Apply two or three thin coats, and lightly sand with fine sandpaper between each one for a smooth finish. So, can you stain over stain? Yes, especially if you’re changing from a light to a dark color and use the right product, like gel stain. The most important step is preparing the surface. Ensure it’s clean and free from any sealant that could block the new stain.
It takes some work, but staining over an old finish is a satisfying DIY project that can save you both time and money. If you follow these steps, you can give your wooden furniture a fresh look that you’ll enjoy for years to come.


