


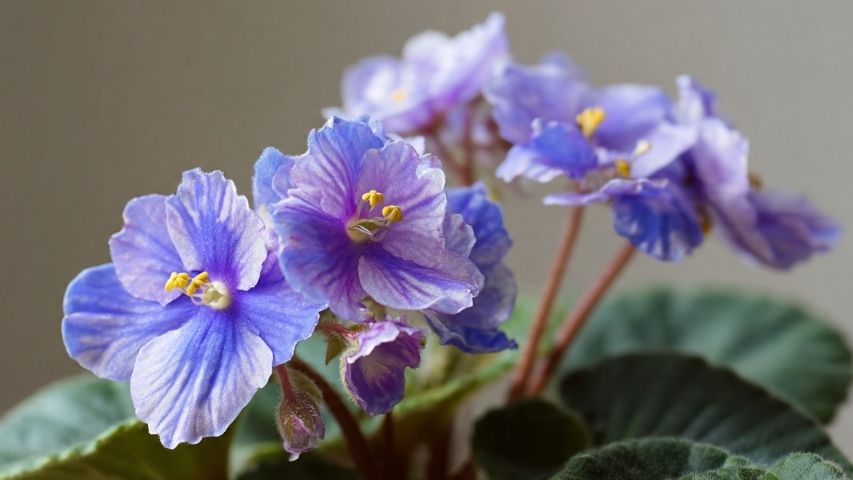
African Violets are popular with houseplant lovers for their bright flowers and soft leaves. With leaf propagation, you can turn one plant into many. This simple method lets you grow new plants from a single healthy leaf, making it both affordable and fun to grow your collection.
If you want to grow more African Violets, this guide is for you. You’ll learn how to choose the best leaf and care for your new plants. We’ll focus on planting leaves straight into potting mix, a method many growers find quicker and more reliable than rooting in water. (Starting Violets from Leaves, n.d.)
Choosing Your Propagation Method
There are two primary methods for rooting African Violet leaves. Some gardeners prefer to place the leaf stem in water until roots form, and then transfer it to soil. Although this method is effective, it adds an extra step to the process.
The second method, which this guide covers, is to plant the leaf directly in potting mix. This helps the leaf grow strong roots first, then small new plants. It’s an efficient way to see new plants appear sooner.
Step 1: Gather Your Supplies
Before you start, gather all your materials. Here’s what you’ll need:
- Small pots or cups: For standard-sized violets, 3-oz plastic cups work well. For miniatures and semi-miniatures, 2-oz or 2.5-oz condiment cups are ideal. Ensure your containers have drainage holes. You can easily create them with a soldering iron or a small drill bit.
- Potting mix: A light, airy mix is crucial for healthy root development. (African Violet – Plants for beginners, 2025) You can create your own by combining a peat-based blend, such as Pro-Mix BX, with coarse perlite. The mix should be pre-moistened but not waterlogged.
- A sharp, clean blade: Use an X-Acto knife or similar craft blade for clean cuts. Disinfect the blade with 70% rubbing alcohol between each cut to stop disease from spreading, especially when working with plants from different sources. (Clean and disinfect gardening tools and containers, 2021)
- Labels: Use electrical tape and a fine-tipped permanent marker (such as a Sharpie) to label each pot with the variety name and the date of planting. This helps you track their progress.
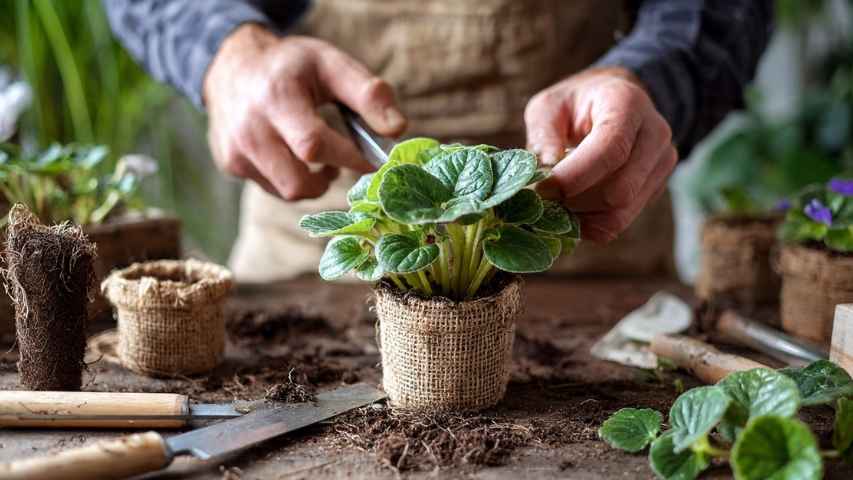
Step 2: Select and Prepare the Leaf

To start, pick the right leaf. Choose a healthy, fully grown leaf from the second or third row from the plant’s center. These leaves are mature enough to grow new plants but not too old or weak.
Don’t use leaves that are damaged, cracked, or old, since they might rot before making new plants. Even if an old leaf grows plantlets, they are usually weaker than those from a healthy leaf.
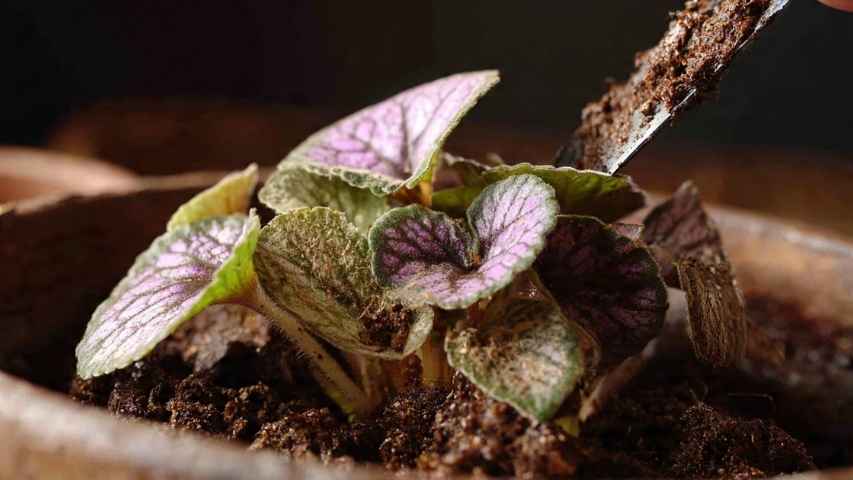
For variegated African Violets, select a leaf with a good amount of green. The green portions of the leaf contain chlorophyll, which is essential for photosynthesis and provides the energy needed to grow new roots and plantlets. (Roberts, 2023) A leaf that is primarily white or pink may look pretty, but it will have a much lower chance of successful propagation.
Once you’ve selected your leaf, snap it off cleanly from the base of the plant. You should hear a distinct “snap.” You’ll be left with a leaf on a long stem. Place the leaf on a hard surface and use your disinfected blade to cut the stem at a 45-degree angle, leaving about half an inch to an inch of stem attached to the leaf. Allow the cut end to dry for approximately 10 minutes before planting. This helps the wound form a callus, which can prevent rot. (African Violet Society of Canada – Propagation, 2017)
If a leaf breaks off without a stem, don’t toss it. You can still use it. Just lay the leaf on top of your moist potting mix. It might take longer, but small roots and plantlets can still grow from the base of the leaf.
Step 3: Plant the Leaf
Now you’re ready to plant your prepared leaf.
- Fill your pot with the damp, airy potting mix. Tap the pot gently to settle the mix, but don’t press it down too much.
- Put the cut stem into the soil at a 45-degree angle. You can make a hole first with a pen or stick, or gently push the stem in. This angle helps the new plants grow straight up toward the light.
- Water the pot just a little. Keep the soil lightly moist, not wet. Too much water is the main reason leaves rot. (African Violet (Saintpaulia spp.)-Root and Crown Rot, 2025)
While it’s possible to plant more than one leaf in a larger pot, it’s generally best to give each leaf its own small container. This prevents the babies from a stronger leaf from overshadowing those from a weaker one, ensuring all your new plants have room to grow. (Propagation of African Violets, 2017)
Step 4: Create a Humid Environment
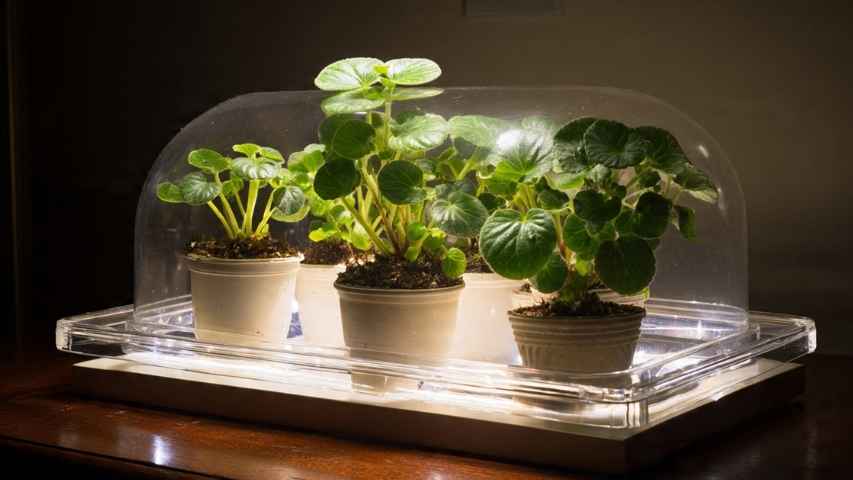
After planting, put your pots in a tray with a clear dome. This acts like a mini greenhouse and keeps the humidity high, which helps African Violet leaves root. (ENH17/MG028: African Violets, n.d.) The dome holds in moisture, so you won’t need to water often.
If your dome has vents, keep them halfway open for air flow to help stop fungus. Put the tray under LED grow lights (5000K, 4100 lumens works well) or in bright, indirect sunlight. Keep the temperature between 65°F and 79°F.
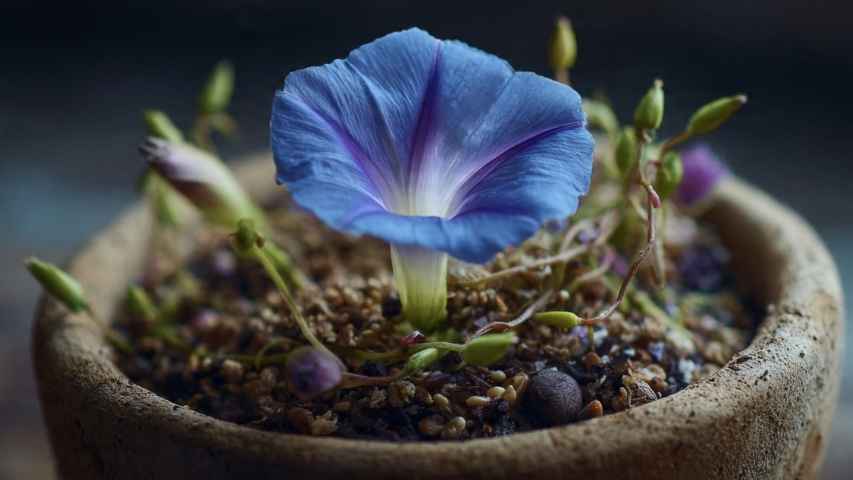
Step 5: Be Patient and Watch for Babies
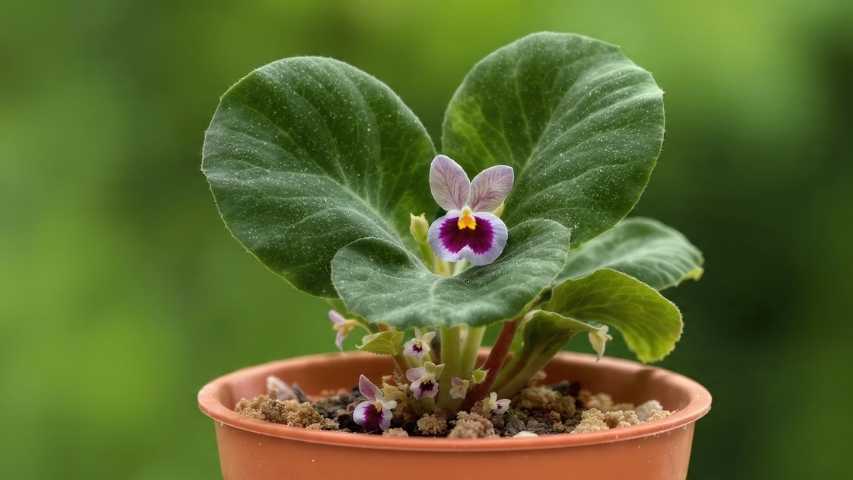
With the right care, you’ll see small plantlets, or “babies,” start to grow from the base of the leaf in two to three months. (Cultural Guidelines for Commercial Production of African Violets (Saintpaulia ionantha), n.d.) Some types are quicker, others take longer, so be patient.
After planting the leaves, start fertilizing lightly. Use a balanced fertilizer like Dyna-Gro 7-9-5 or Jack’s Classic 20-20-20, diluted to 1/8 to 1/4 teaspoon per gallon of water, with each watering.
Take the Next Step in Your Plant Journey
Propagating African Violets is a simple and rewarding project for any plant lover. By following these steps, you can grow your collection and share your favorite plants with friends and family. With some care and patience, you’ll soon enjoy a new generation of beautiful violets.


