


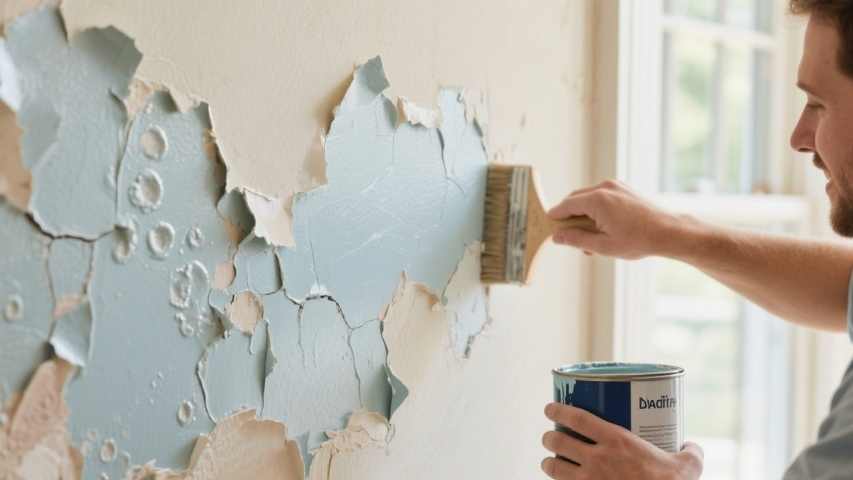
Peeling paint isn’t just unattractive—it can also point to bigger problems and even pose health risks. If you notice cracked, bubbling, or peeling paint, it’s important to take care of it right away. The process includes removing the damaged paint, getting the surface ready, and then applying new primer and paint.
This guide will show you how to fix peeling paint and keep your walls looking good for years. You’ll learn why paint peels, what tools you’ll need, and how to get a smooth, professional-looking result with easy steps.
What Causes Paint to Peel?
Before you start fixing the paint, it helps to know what’s causing it to peel. Figuring out the main reason can help you stop it from coming back.
- Moisture: This is the most common culprit. (Supplemental Guidelines For Removing Paint From Interior And Exterior Wood Surfaces, n.d.) High humidity, water leaks from plumbing or roofs, and poor ventilation in areas like bathrooms and kitchens can cause moisture to get trapped behind the paint, leading to bubbles and peeling.
- Poor Surface Preparation: Paint sticks best to a clean, dry, and slightly rough surface. If the wall was dirty, greasy, or too shiny when painted, the paint may not hold and could peel later.
- Using the Wrong Type of Paint: If you put oil-based paint over latex paint, or the other way around, without the right primer, the paint may not stick well. Also, using interior paint outside will make it peel quickly because of the weather.
- Age: Over time, paint wears out. It becomes brittle and loses its flexibility, making it prone to cracking and peeling, especially in areas with temperature fluctuations.
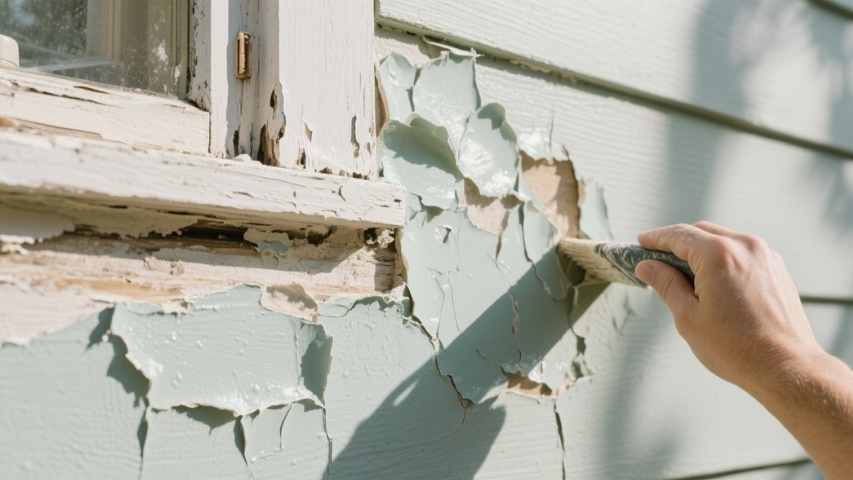
- High Temperatures and Direct Sunlight: Heat makes paint expand and contract, which can weaken how it sticks to the wall. Sunlight can also break down the paint, causing it to become chalky and peel.
A Note on Lead Paint
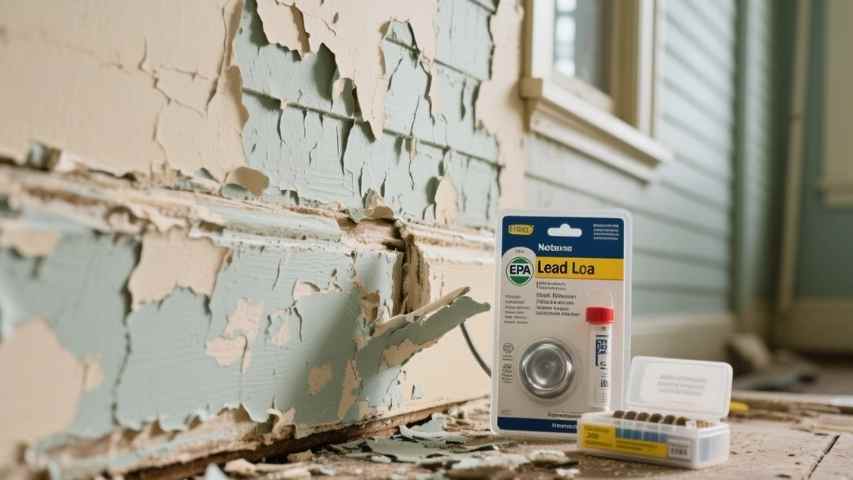
Before you start, think about how old your home is. If it was built before 1978, the peeling paint could have lead in it. (EPA, 2025) Lead is dangerous and can cause serious health problems, especially for children. (What are some of the health effects of lead?, 2025)
You can buy a lead testing kit from a hardware store for a preliminary check. However, for definitive results, the Environmental Protection Agency (EPA) recommends hiring a certified professional to test for lead. (The National Lead Laboratory Accreditation Program (NLLAP), 2025) If lead is present, do not attempt to remove the paint yourself. Instead, hire a lead-safe certified firm to handle the removal and repair safely. (Lead-Based Paint Poisoning Prevention in Certain Residential Structures, n.d.)
What You’ll Need to Fix Peeling Paint
Gathering your tools and materials before you start will make the process much smoother. Here’s a list of what you’ll need.
Tools & Equipment
- Personal protective equipment (safety glasses, mask, gloves)
- Plastic drop cloths or a tarp
- Painters tape
- Wire brush or paint scraper
- Putty knife
- Fine-grit sandpaper (150-220 grit)
- Paint roller or brush
Materials
- Patching compound or spackle
- Primer
- Interior paint
How to Fix Peeling Paint in 7 Steps
After you know what caused the peeling and have your supplies, you can start fixing the wall. Follow these steps for a smooth result.
Step 1: Prepare Your Workspace
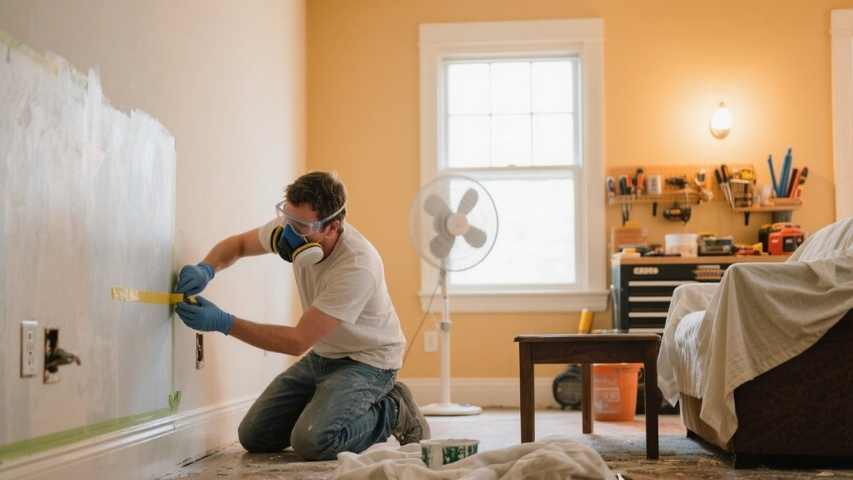
Before you start, make sure to protect yourself and your space. Wear safety glasses, a mask, and gloves. Put down a drop cloth to catch paint chips and dust. Use painter’s tape to cover trim, baseboards, and outlets. Move furniture out of the way or cover it. Open windows or use a fan to keep the room well-ventilated.
Step 2: Remove All Loose and Peeling Paint

Using a paint scraper or a stiff wire brush, carefully scrape away all the loose, cracked, and peeling paint from the affected area. Be firm but gentle to avoid gouging the wall underneath. Continue scraping until you can no longer easily chip away any more paint. Your goal is to remove anything that isn’t securely attached to the wall.
Step 3: Clean the Surface Thoroughly
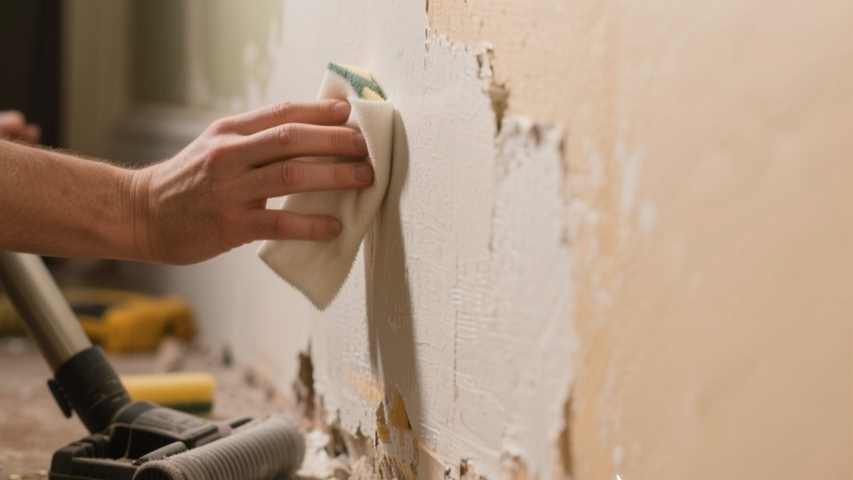
After you’ve removed the loose paint, clean up the area. Vacuum up paint chips and dust. Wipe the wall with a tack cloth or a damp sponge to get rid of any leftover dust or dirt. The wall needs to be clean for the new paint to stick. Let it dry fully before moving on.
Step 4: Repair Any Damage

After scraping, you might notice cracks, holes, or uneven spots on the wall. Use a putty knife to apply a thin layer of patching compound or spackle to these areas. Smooth the compound so it’s flush with the rest of the wall. Allow the patch to dry completely, following the manufacturer’s instructions, which may take several hours.
Step 5: Sand for a Smooth Finish
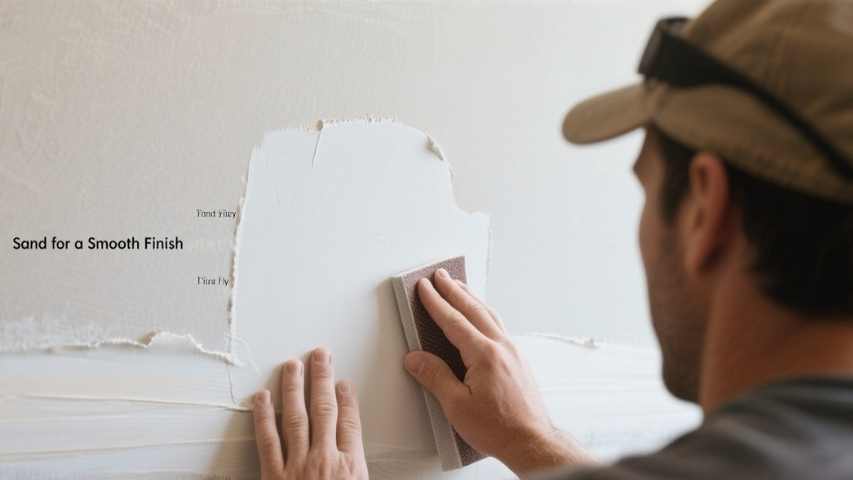
When the patch is dry, gently sand the fixed spots and the edges of the old paint with fine-grit sandpaper. Try to make the patched area blend in with the rest of the wall. Feel the surface with your hand to check if it’s smooth. Wipe away any dust with a clean, damp cloth and let it dry.
Step 6: Apply a Coat of Primer
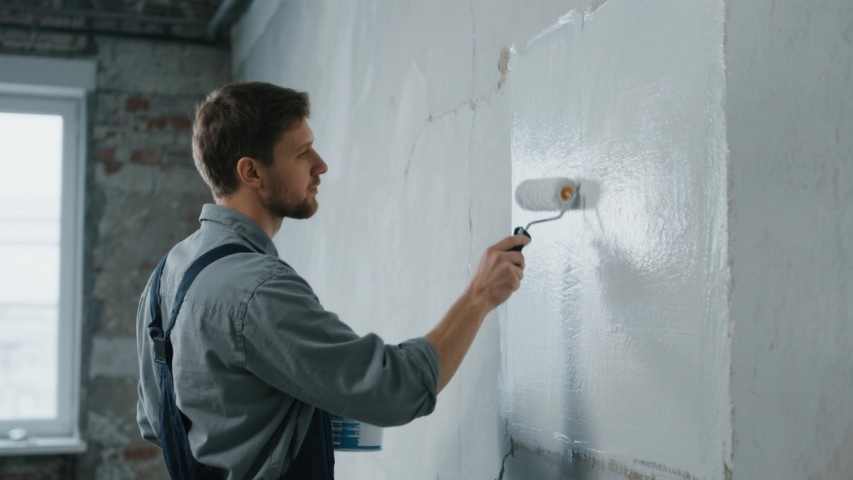
Primer helps the new paint stick and gives you a smooth finish. It also seals the patched spots and makes a good base for your paint. If moisture caused the peeling, use a stain-blocking or moisture-resistant primer. Cover the repaired area with an even coat of primer and let it dry all the way. Some primers dry in about 30 minutes.
Step 7: Paint the Wall
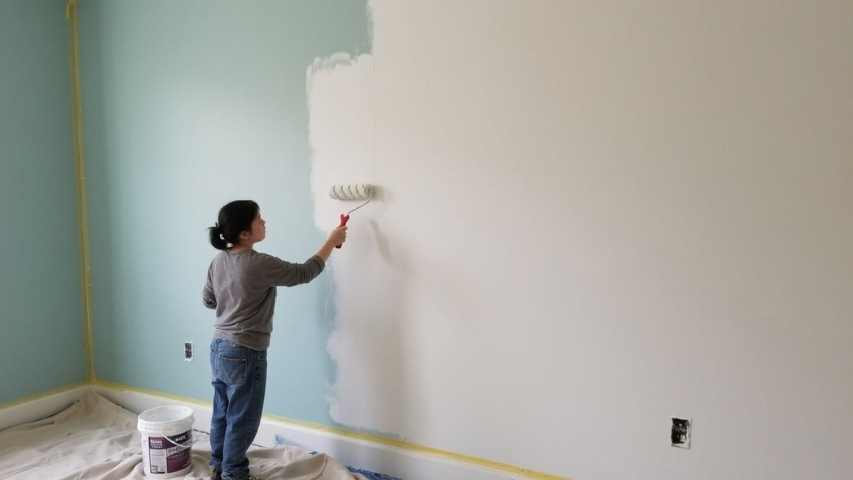
Now your wall is ready to paint. Use a brush or roller to put on the first coat evenly. Let it dry completely, following the paint instructions. You’ll usually need a second coat for the best coverage. When the last coat is dry, take off the painter’s tape and clean up your drop cloths.
Maintaining Your Newly Painted Walls
Fixing peeling paint is a good first step, but a bit of upkeep will help your walls stay fresh. Clean your walls often with a soft sponge and mild soap to get rid of dirt. If you notice new moisture problems, fix leaks or improve ventilation right away. These habits will help your paint job last for years.


