


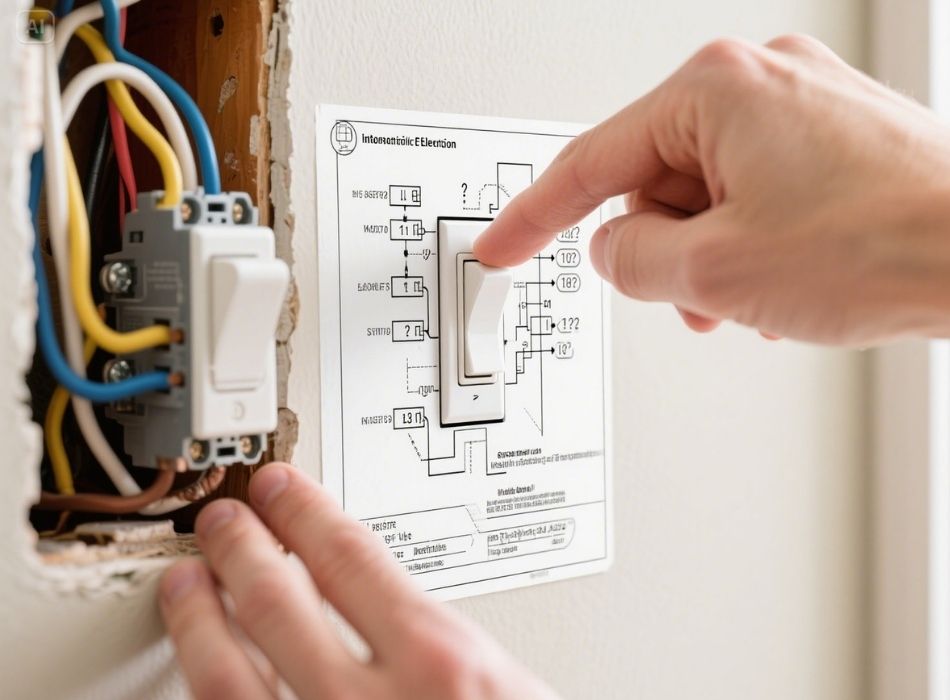
Have you ever looked at an electrical wiring diagram for a light switch and felt completely lost? Whether you’re a DIY enthusiast or a homeowner looking to understand your home’s electrical system, these diagrams can initially seem overwhelming. But don’t worry—with a guide, you can decode these diagrams and make simple fixes or adjustments yourself.
This blog will walk you through the essentials of understanding electrical wiring diagrams specific to light switches. From deciphering symbols to understanding different light switch configurations, you’ll come armed with knowledge and confidence.
Why Understanding Wiring Diagrams Matters
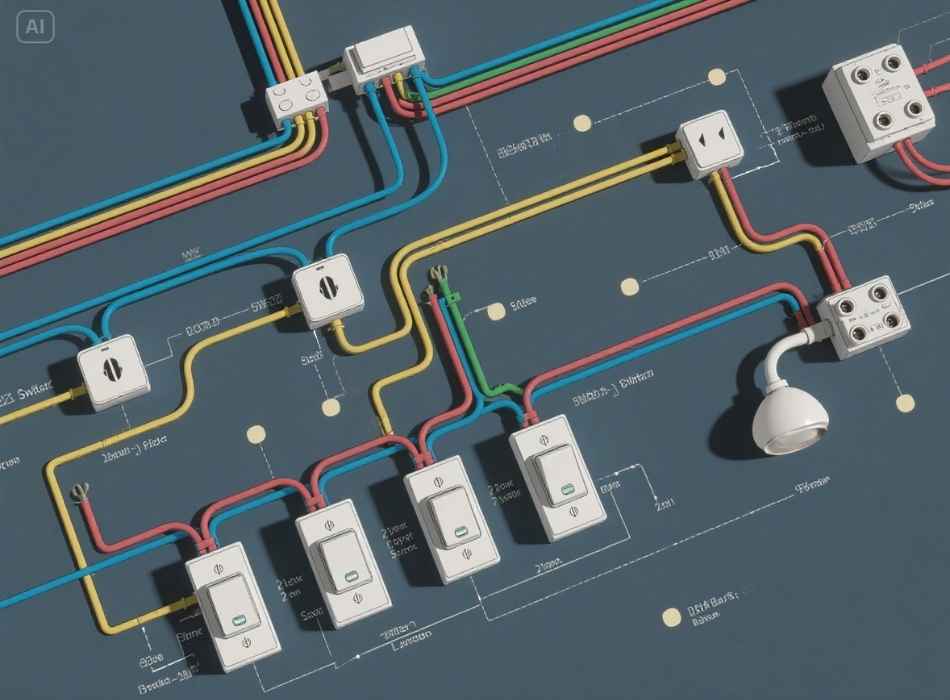
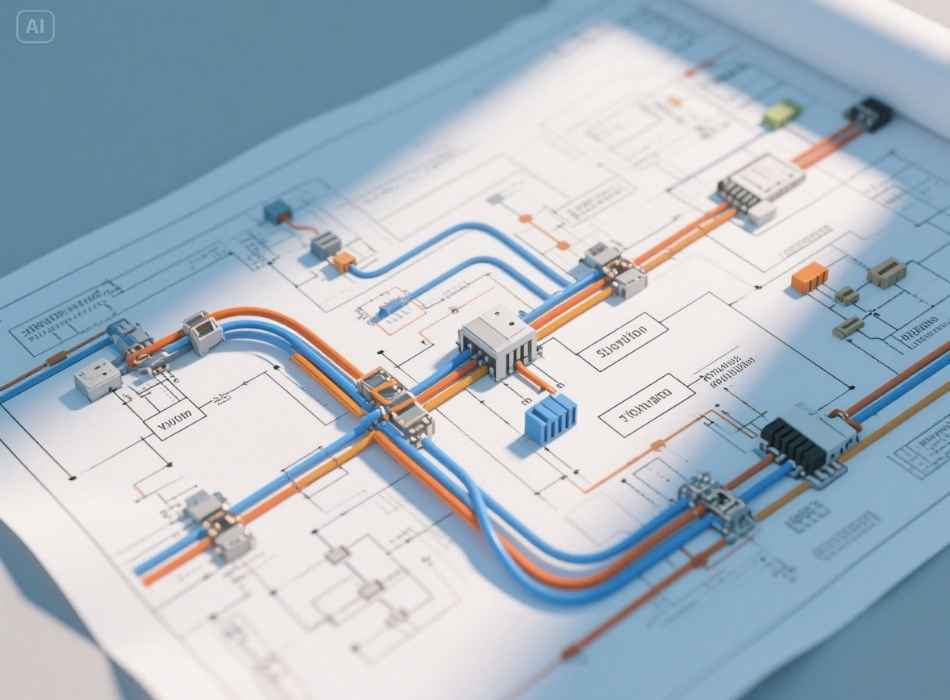
Electrical wiring diagrams act as a roadmap for circuits in your home. They show how wires connect to switches, light fixtures, and power sources. For light switches, these diagrams help you:
- Avoid costly mistakes when installing or replacing switches.
- Troubleshoot issues like flickering lights or non-functioning switches.
- Communicate effectively with electricians if professional help is needed.
Learning to read wiring diagrams can save you time and money—not to mention provide peace of mind when dealing with your home’s electrical systems.
Symbols You Need to Know
Before jumping into wiring diagrams, you must familiarize yourself with some common electrical and wiring symbols. These symbols provide a universal language for understanding how electricity flows in a diagram.
Key Symbols in Light Switch Diagrams:
- Straight Lines: Represent wires in the circuit.
- Curved Line or Loop: Indicates a connection between wires.
- Switch Symbol: A single line breaking a straight line shows a switch. Different switches (like single-pole, three-way, or dimmer) may have slightly different symbols.
- Light Bulb Symbol: A circle with a cross inside represents a light fixture.
- Power Source Symbol: A pair of parallel lines denotes the power source, usually a circuit breaker or transformer.
Mastering these symbols gives you a basic toolkit to read and understand wiring diagrams.
Types of Light Switch Wiring Diagrams
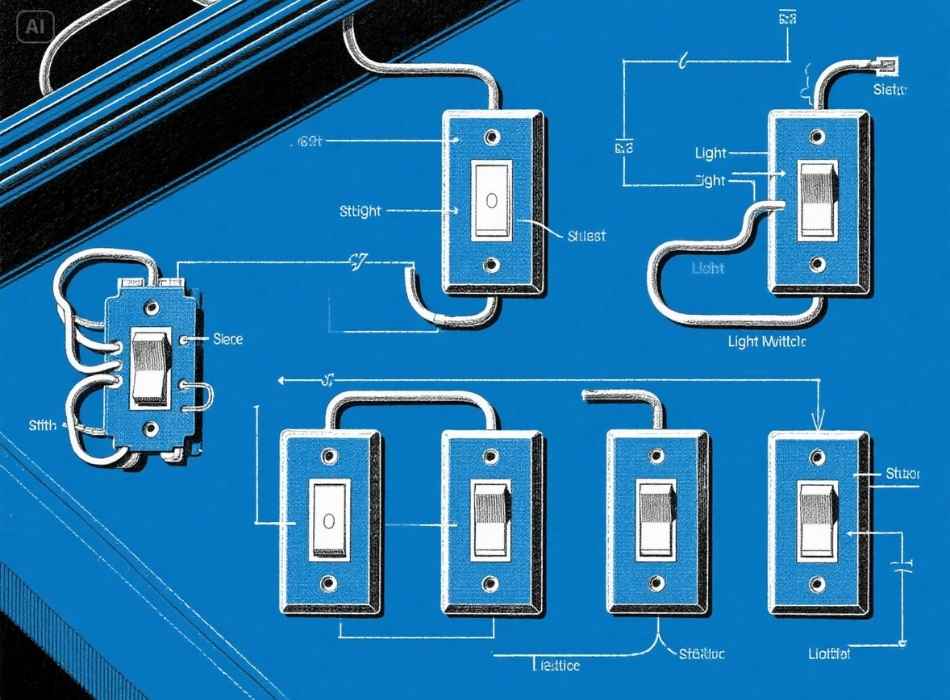
Not all light switch setups are created equal! Here are the most common types of wiring diagrams for light switches:
1. Single-Pole Switch Wiring Diagram
The simplest type of wiring setup, a single-pole switch, controls one light fixture from a single location. This is the most common home configuration for basic on/off light switches.
Key Features of a Single-Pole Setup:
- A single-pole switch will have two terminals (screws) plus a ground screw.
- Only one switch controls the light.
- Hotwire runs from the power source to the switch and then to the light fixture.
Where You’ll Find This: Bedrooms, bathrooms, or closets.
2. Three-Way Switch Wiring Diagram
Need to control the same light from two different locations? That’s where a three-way switch comes into play. This setup is more complex but adds convenience for spaces like hallways or staircases.
How It Works:
- Two switches control a single light.
- The hot wire from the power source connects to one switch, while traveller wires connect the switch to the second one.
- You’ll see an extra wire in the wiring diagram called a traveller wire.
Where You’ll Find This: Stairs, long hallways, large rooms.
3. Four-Way Switch Wiring Diagram
This is a step up from the three-way switch. A four-way switch allows control of one light from three or more locations. This setup uses three switches, with one being a four-way switch.
Key Features:
- The four-way switch is installed between the two three-way switches in the circuit.
- Traveller wires pass through the four-way switch to complete the circuit.
Where You’ll Find This: Bigger homes or commercial spaces.
Step-by-Step Guide to Reading a Light Switch Wiring Diagram
Step 1: Find the Power Source
Locate the symbol for the power source in the diagram. It will typically be near the circuit breaker or transformer.
Step 2: Follow the Wires
Trace the straight lines from the power source to the switch and the light fixture. Note the connections between each component.
Step 3: Identify the Switch Type
Is the diagram for a single-pole, three-way, or four-way switch? Pay attention to the symbols and additional wires to make the distinction.
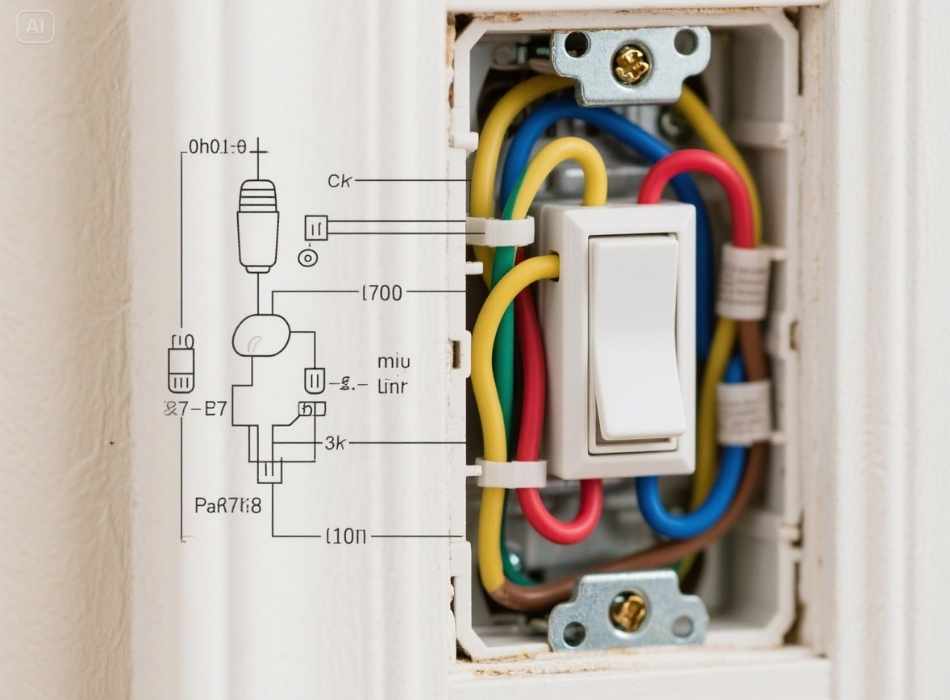
Step 4: Note the Ground Wire
Always locate the ground wire in the diagram. It’s often represented as a line connected to the “ground” symbol or labelled.
Step 5: Verify Connections
Look for additional components like dimmers or fixtures and ensure their connections are clear.
Common Problems You Can Solve with Wiring Diagrams
Understanding your wiring diagram can help you troubleshoot several issues. Here are some examples:
Flickering Lights
This usually points to a loose wire connection or a faulty switch. Check the connections at the switch and light fixture according to the wiring diagram.
Non-Functioning Switch
If flipping a switch doesn’t turn on the light, the issue could be a tripped breaker, loose wire, or broken switch. Refer to your diagram to confirm proper wiring.
Overloaded Circuit
If you’re experiencing frequent breaker trips, your diagram can help identify which circuits are overloaded and need adjustment.
Safety Tips When Working with Electrical Wiring
Before you grab your toolkit, remember that safety is paramount when working with electricity. Here are some essential precautions:
- Always Turn Off the Power at the circuit breaker before working on any wiring.
- Use a Voltage Tester to ensure no current is flowing in the wires.
- Wear Insulated Gloves for added protection.
- Follow the Wiring Diagram Exactly to avoid mistakes.
- Call a Professional if you’re unsure about handling complex configurations.
Safety first, always!
Bring Light to Your Electrical Knowledge
Understanding electrical wiring diagrams for light switches doesn’t have to be intimidating. With some knowledge, you can decode these diagrams and feel more in control of your home’s electrical system. Whether replacing a single-pole switch or troubleshooting a three-way setup, reading and understanding these diagrams is a skill worth having.
For more handy tips and step-by-step guides, bookmark our blog, and if you’re ready to take your electrical skills to the next level, stay connected for more insights tailored just for you.


