


Many homeowners take pride in having a lush, green lawn, but getting that perfect cut takes more than just mowing often. The real key is keeping your lawn mower blades sharp. Dull blades tear the grass instead of cutting it cleanly, which leaves ragged edges that can turn brown and make your lawn more likely to get diseases. (Sharp Mower Blades Make Healthy Grass, 2023) Sharpening your blades is one of the best ways to keep your yard healthy and looking great.
Sharpening your own mower blades might seem intimidating, and some people think it’s a job only for professionals. But with the right tools and some simple instructions, it’s an easy maintenance task you can handle yourself. You’ll save money, help your mower last longer, and keep your lawn healthier.
This guide will walk you through the entire process, from safely removing the blade to sharpening it and rebalancing it for a smooth, even cut. We’ll cover different sharpening methods, what tools you’ll need, and the essential safety precautions to take. By the end of this article, you’ll have the confidence and knowledge to keep your lawn mower in top cutting condition.
Why Should You Sharpen Your Lawn Mower Blades?

A sharp mower blade is important for your lawn’s health and for your mower to work well. Dull blades rip and pull at the grass instead of cutting it cleanly. This damages the grass, leaving frayed tips that can turn yellow or brown. A damaged lawn is also more likely to get pests and diseases, which can quickly undo your efforts. (Davis & Jonathan, 2025) A sharp blade provides a clean, precise cut, allowing the grass to heal quickly and retain moisture more effectively. (Catron & Phil, 2024) This results in a healthier, greener, and more resilient lawn.
Beyond lawn health, using a sharp blade also benefits your mower. A dull blade forces the engine to work harder, which consumes more fuel and puts unnecessary strain on the machine. (Modifying Your Lawn Mower for Improved Fuel Efficiency: A Practical Guide, 2025) Sharpening your blades reduces this workload, improving fuel efficiency and extending your mower’s lifespan. (Steinegger et al., 1983) A sharp blade makes the job faster and easier, giving you a better-looking lawn with less effort.
How Often Should You Sharpen Your Blades?
How often you need to sharpen your blades depends on how much you mow, your lawn’s size, and your type of grass. As a rule of thumb, sharpen your mower blades at least once a year, usually at the start of mowing season. (Fazio & Emily, n.d.)
If you have a large yard or mow often, try to sharpen your blades every 20 to 25 hours of use. (How Often Should You Sharpen Mower Blades?, 2023) Check your blades during the season, too. If your lawn looks ragged after mowing or you’ve hit rocks or sticks, it’s time to sharpen. Look for nicks, dents, or a rounded edge to see if your blades need work.
Getting Started: Tools and Safety
Before you start, gather your tools and set up your workspace. Always put safety first when working with lawn equipment.
Essential Tools and Supplies
- Wrench or Socket Set: To remove the blade bolt.
- Blade Removal Tool or Wood Block: To prevent the blade from spinning while you loosen the bolt.
- Work Gloves: To protect your hands from sharp edges.
- Safety Glasses: To protect your eyes from metal filings and debris.
- Sharpening Tool: You have several options, including:
- Bench Grinder: For fast and efficient sharpening.
- Hand File (Mill Bastard File): A traditional and effective method.
- Rotary Tool (like a Dremel) with a Sharpening Kit: Offers control and precision.
- Blade Balancer: An inexpensive but essential tool to ensure the blade is properly balanced after sharpening.
Safety First: Preparing Your Mower
- Disconnect the Spark Plug: This is the most critical safety step. It prevents the engine from accidentally starting while you are working on the blade.
- Empty the Fuel Tank: If you need to tip your mower, it’s best to do so with the fuel tank empty to prevent spills. If you can’t empty it, tip the mower so the carburetor and air filter are facing up to prevent fuel or oil from leaking into these components.
- Clean the Undercarriage: Before removing the blade, scrape away any caked-on grass and dirt from the underside of the mower deck. This will give you a clear view and easy access to the blade and mounting bolt.
A Step-by-Step Guide to Sharpening
Once you have your tools and safety steps ready, you can start sharpening the blade.
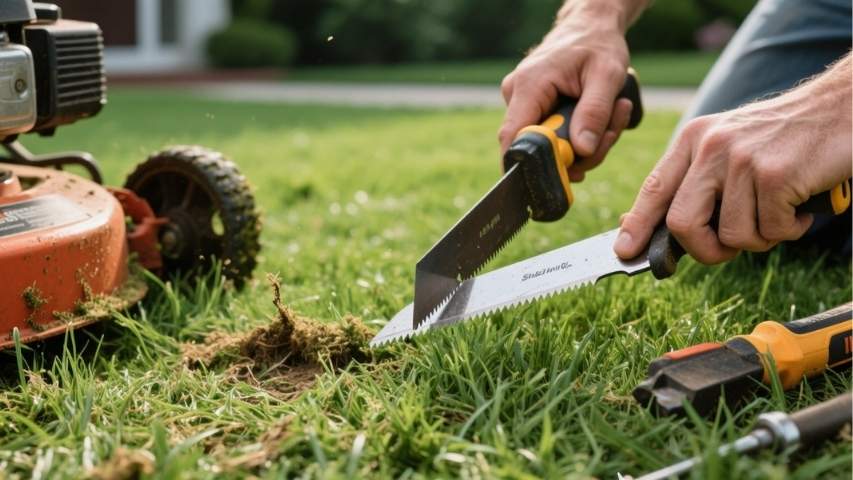
Step 1: Remove the Blade
Lay the mower on its side, ensuring the air filter and carburetor are pointing upward. Locate the bolt or nut that secures the blade to the mower’s driveshaft. To prevent the blade from turning as you loosen the bolt, wedge a block of wood between the blade and the mower deck. Using the correct size wrench or socket, turn the bolt counterclockwise to loosen it. Some mowers may have reverse-threaded bolts, so consult your owner’s manual if it won’t budge. Once the bolt is loose, remove it along with any washers, and carefully remove the blade.
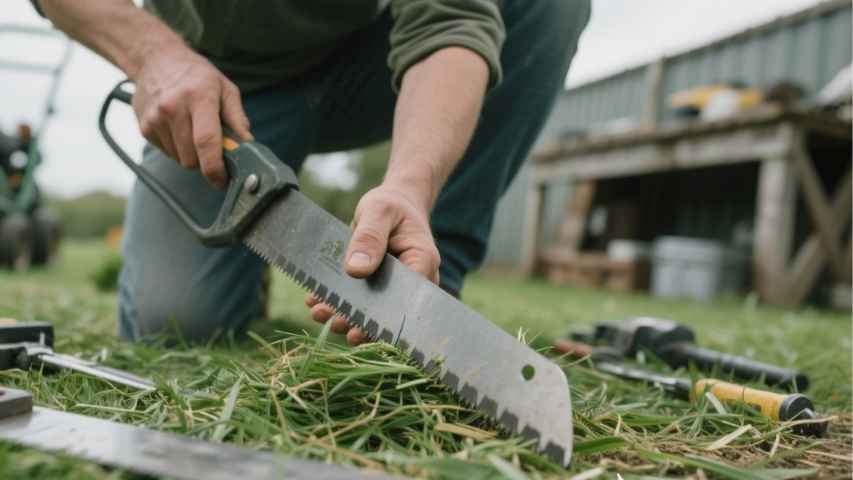
Step 2: Sharpen the Cutting Edge
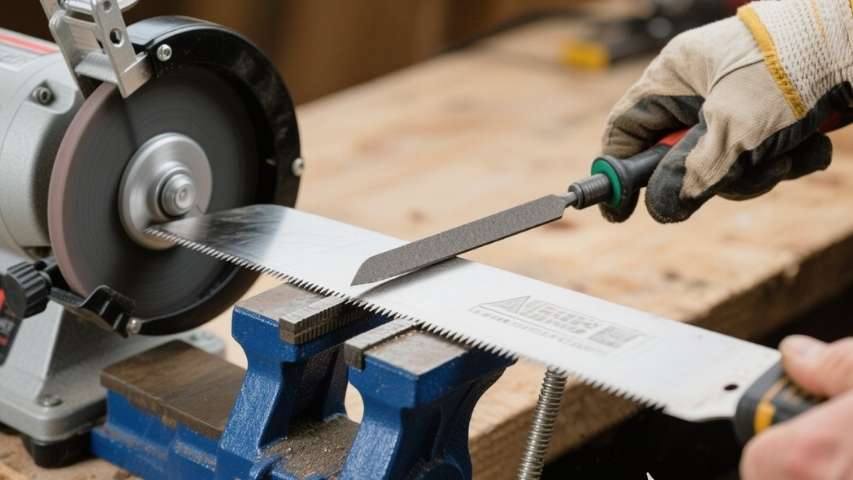
Clamp the blade in a vise to keep it steady. Find the cutting edge on each side; it’s the sloped, beveled part. Your goal is to restore this edge while maintaining its original angle, typically between 30 and 45 degrees. Only sharpen the top edge.
- Using a Bench Grinder: Wear your safety glasses and gloves. Turn on the grinder and pass the blade’s cutting edge across the wheel at a consistent angle. Use smooth, even strokes and avoid holding the blade against the wheel for too long, as this can overheat and weaken the metal.
- Using a Hand File: This method offers more control. Place the file on the beveled edge and push it away from you in long, smooth strokes. Follow the blade’s existing angle. Lift the file off the blade before the next stroke; do not drag it backward. Continue until the edge is sharp.
- Using a Rotary Tool: Attach the sharpening guide to your rotary tool. As recommended by Ace Hardware experts, this attachment helps maintain the correct sharpening angle. Turn on the tool and run the grinding stone along the cutting edge, moving from the inside out.
Do the same on the other side of the blade, trying to take off the same amount of metal from both ends.
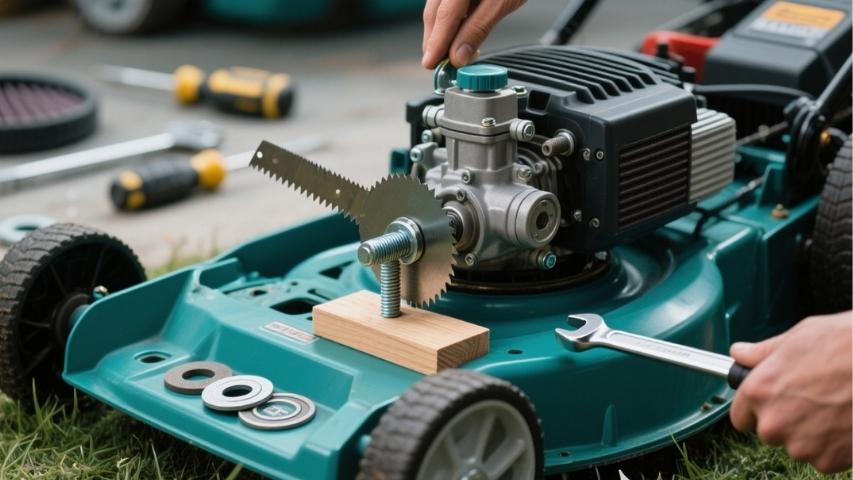
Step 3: Balance the Blade
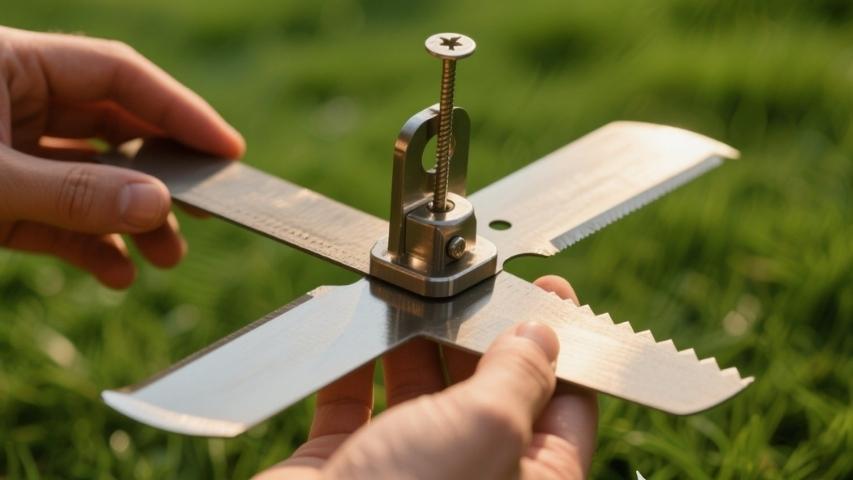
An unbalanced blade can cause excessive vibration, which can damage your mower’s engine and create an uneven cut. (How to balance lawnmower blades – according to the experts, 2025) To check the balance, use a blade balancer. You can also hang the blade on a nail on the wall. If the blade is balanced, it will remain horizontal. If one side dips lower, it means that side is heavier. To correct this, file a small amount of metal from the back edge (not the cutting edge) of the heavier side until the blade sits level.
Step 4: Reinstall the Blade
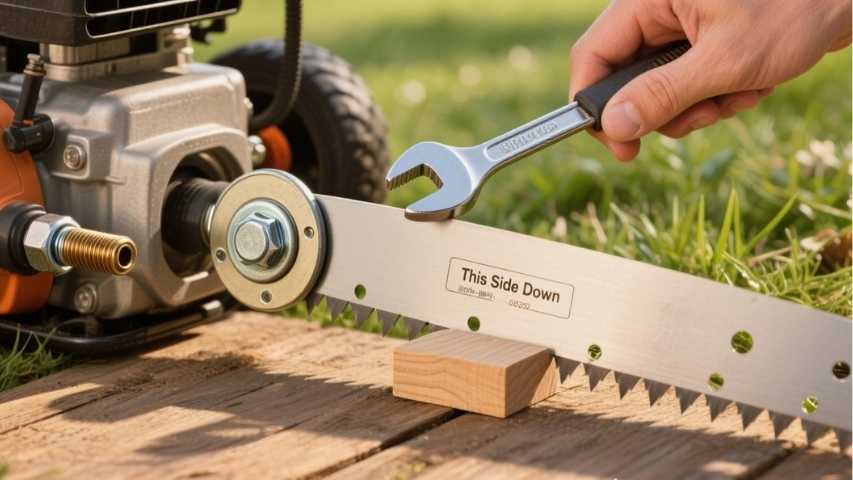
Once the blade is sharp and balanced, it’s time to reinstall it. Make sure you mount it with the correct side facing down—the cutting edges should be pointing toward the ground in the direction of the blade’s rotation. The phrase “This Side Down” or a part number is often stamped on the side that should face the grass.
Put the blade, washers, and bolt back on, and tighten them with your wrench. Use the wood block again to keep the blade from turning. Reconnect the spark plug, and your mower is ready to use.
Sharpen Your Way to a Better Lawn
Sharpening your lawn mower blades is an easy, satisfying task that helps your lawn look its best. A sharp blade gives a clean cut, helps grass grow strong, and makes your mower work better. By following these steps and staying safe, you can do this important maintenance yourself. If you take the time to sharpen your blades, you’ll enjoy a greener, healthier lawn all season.


