


A wobbly ceiling fan is more than just a noisy distraction. That rhythmic thump-thump-thump can signal an imbalance that, if ignored, might lead to unnecessary wear and tear on the fan’s motor. Fortunately, fixing a wobbly fan is a straightforward DIY project that doesn’t require an electrician. With a little patience and the right tools, you can restore peace and quiet to your room.
This guide will walk you through the entire process, from initial checks to final adjustments. By following these steps, you can pinpoint the cause of the wobble and fix it yourself, ensuring your fan runs smoothly and quietly for years to come. Let’s get that fan back in balance.
First, Check the Basics
Before you start the balancing process, it’s important to rule out a few common culprits that can cause a fan to wobble. These initial checks are simple but can often solve the problem without needing to go any further.
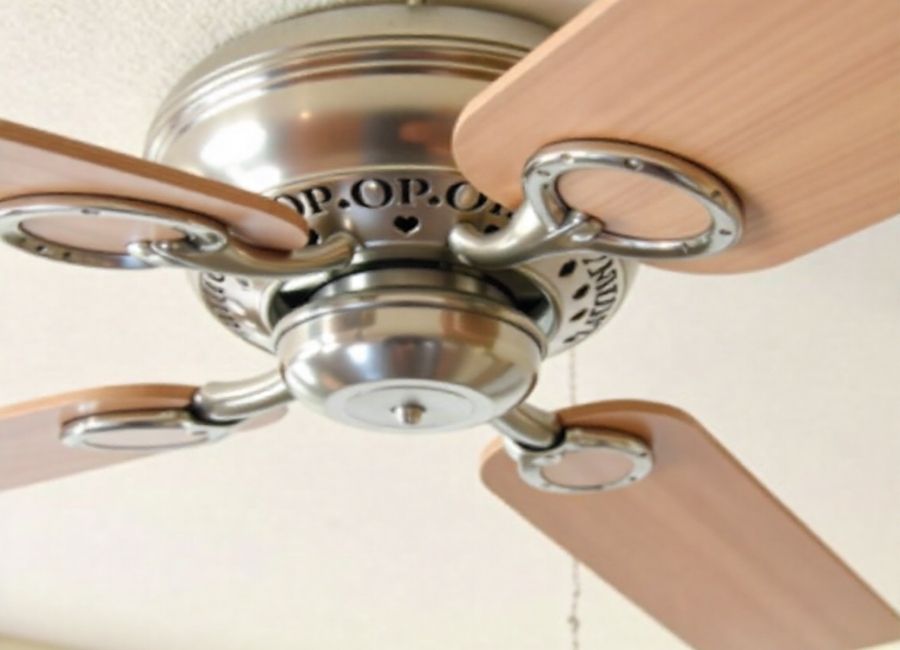
1. Clean the Blades
Over time, dust and grime can build up on the tops of your fan blades. While it might not seem like much, this accumulation can be uneven, adding extra weight to some blades and throwing the entire fan off balance. (Heavens & J., 2007)
- Grab a ladder and a damp cloth or a dedicated ceiling fan duster.
- Gently wipe down the top and bottom of each blade, removing all visible dust.
- While you’re up there, give the motor housing a quick wipe-down as well.
2. Tighten All Screws
Loose screws are one of the most frequent causes of a wobbly fan. Vibrations from normal use can cause them to loosen over time. (Why Does My Ceiling Fan Wobble?, n.d.)
- Turn off the power to the fan at both the wall switch and the circuit breaker for safety.
- Carefully climb your ladder and check the screws that connect each blade to its bracket (the metal arm). Use a screwdriver to tighten any that are loose.
- Next, check the screws that secure the blade brackets to the fan’s motor. Tighten these as needed.
- Finally, look at the canopy—the cover that sits flush against the ceiling. Check the screws holding the downrod to the mounting bracket in the ceiling and tighten them if necessary.
Once you’ve cleaned the blades and tightened all the screws, turn the power back on and run the fan at its highest speed. If the wobbling is gone, you’re all set! If it’s still there, it’s time to move on to the balancing process.
How to Balance Your Ceiling Fan
If the initial checks didn’t fix the issue, you’ll need to use a balancing kit. Most new ceiling fans come with one, but if you’ve lost yours, they are inexpensive and widely available at hardware stores. The kit typically includes a plastic balancing clip and several small, self-adhesive weights.
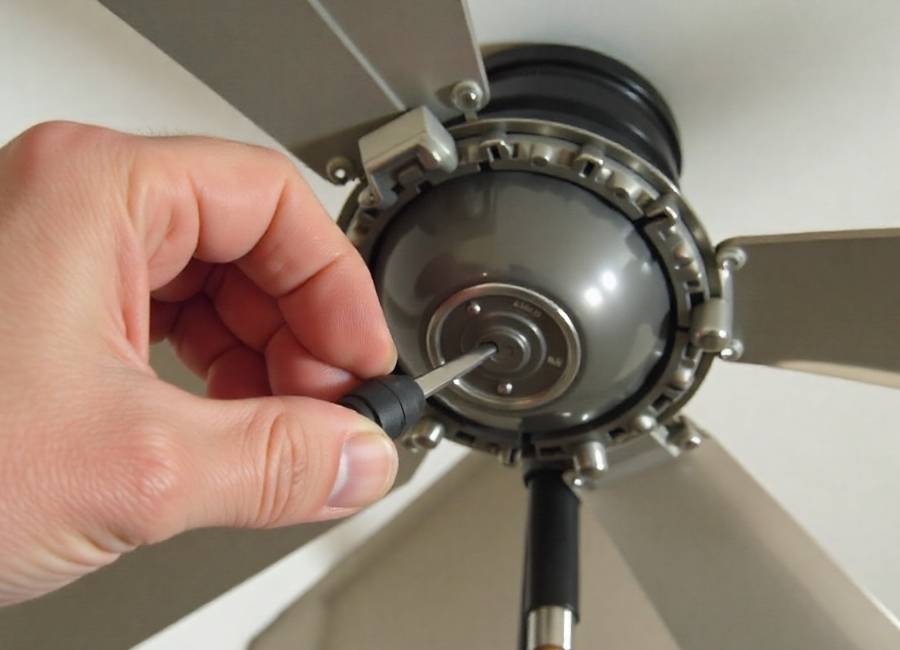
Step 1: Attach the Balancing Clip
The plastic clip is a diagnostic tool used to find which blade is causing the imbalance.
- Turn the fan off and wait for the blades to stop completely.
- Choose one blade and slide the plastic clip onto the trailing edge, halfway between the bracket and the tip of the blade.
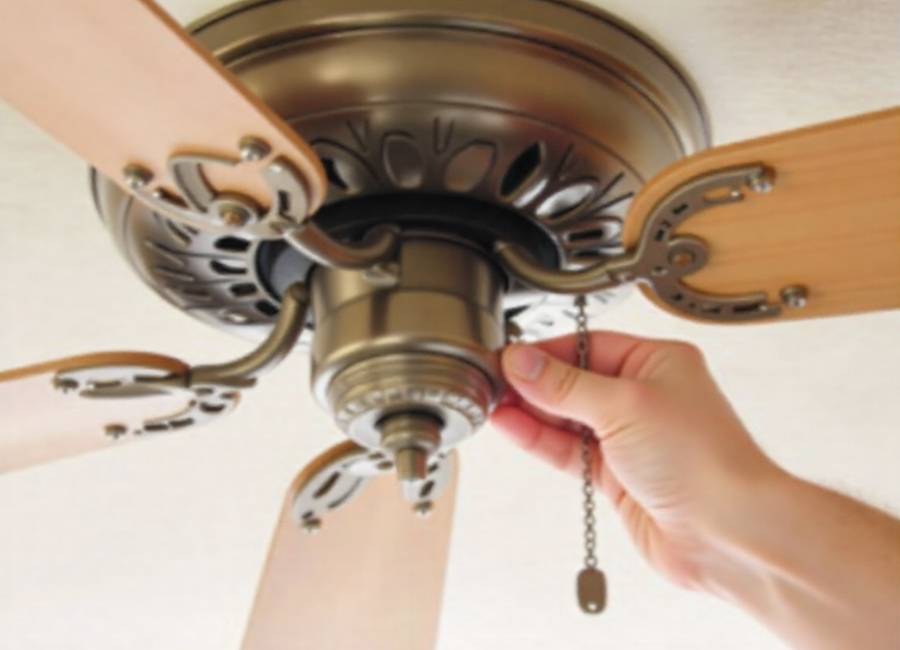
Step 2: Test the Fan and Identify the Problem Blade
Now, you’ll test the fan to see if the clip has made a difference.
- Turn the fan on and set it to its highest speed.
- Observe the wobble. Has it improved or gotten worse?
- If the wobble is still present, turn the fan off, wait for it to stop, and move the clip to the next blade.
- Repeat this process for each blade, noting which one shows the most improvement when the clip is attached. The blade that results in the least wobble is the one that needs a weight.
Step 3: Fine-Tune the Clip’s Position
Once you’ve identified the problem blade, you need to find the perfect spot for the weight.
- Keeping the clip on the correct blade, start moving it in small increments (about an inch at a time) along the edge, either closer to the motor or toward the tip.
- Test the fan at high speed after each adjustment.
- Continue adjusting and testing until the wobble is almost completely gone. This sweet spot is where you’ll place the permanent weight.
Step 4: Apply the Balancing Weight
Now it’s time to make the fix permanent.
- Turn off the fan and mark the spot on the top center of the blade directly where the clip is positioned. A small piece of tape or a pencil mark will work.
- Remove the plastic clip.
- Take one of the self-adhesive weights from your kit, peel off the backing, and press it firmly onto the top of the blade at the spot you marked. Make sure it’s centered on the blade to maintain balance.
Step 5: Perform a Final Test
With the weight in place, it’s time for the final check.
- Turn the fan on and run it at its highest speed. The wobble should now be gone or significantly reduced.
- If a slight wobble remains, you can try adding a second weight directly on top of the first one. In some cases, you may need to repeat the process with the clip to see if another blade also needs a minor adjustment.
Restore Your Room’s Tranquility
A balanced ceiling fan not only eliminates annoying sounds but also runs more efficiently and lasts longer. (How Often Should a Ceiling Fan Be Replaced?, 2025) By following these simple steps, you can easily fix a wobbly fan and restore a sense of calm to your space. You’ll gain the satisfaction of having solved the problem yourself and can get back to enjoying the comfort of a smooth, quiet breeze. If you’ve tried these steps and the fan still wobbles excessively, it may be time to consult a professional to check for more serious issues.


