Whether you’re a seasoned woodworker or just starting, knowing how to use a wood rasp properly can transform your projects. This versatile hand tool excels at shaping, smoothing, and refining wood in ways that power tools can’t match. It gives you control, precision, and a tactile connection to your work that keeps traditional craftsmanship alive.
In this guide, we’ll walk you through everything you need to know about using a wood rasp effectively. From choosing the right rasp to mastering basic techniques, you’ll learn how to get professional results while avoiding common mistakes.
What is a Wood Rasp?
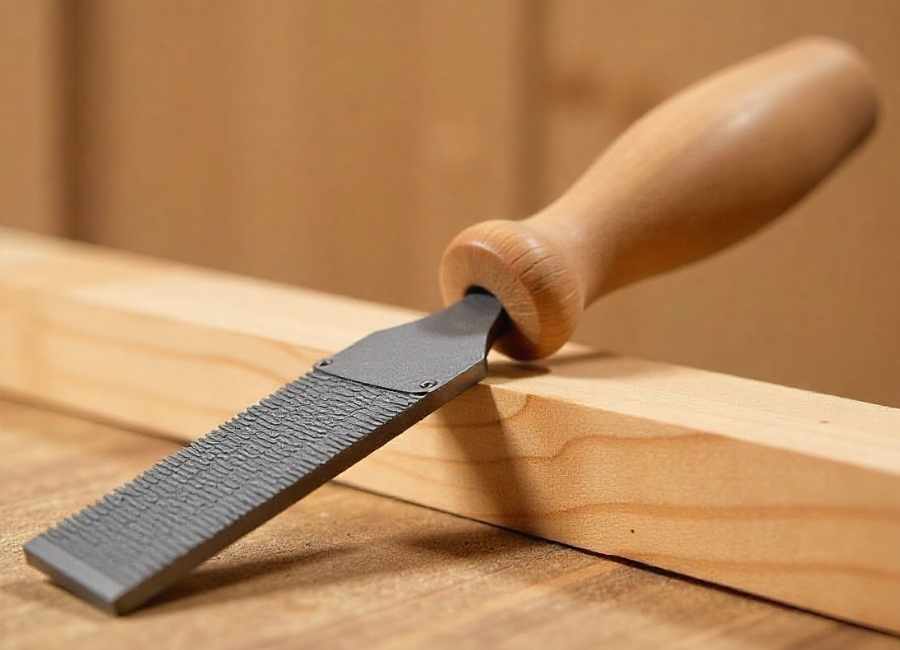
A wood rasp is a hand tool with rows of individually cut teeth designed to remove wood quickly and shape it with precision. Unlike files, which have parallel ridges, rasps feature individual raised points that bite into the wood more aggressively. This makes them ideal for rough shaping and material removal before you move on to finer finishing tools.
Rasps come in various shapes and sizes:
- Flat rasps: Perfect for flat surfaces and general shaping
- Half-round rasps: Feature one flat side and one curved side for versatile applications
- Round rasps: Ideal for shaping concave curves and enlarging holes
- Cabinet rasps: Finer teeth for more delicate work and smoother finishes
The coarseness of the teeth also varies. Coarse rasps remove material quickly but leave rougher surfaces, while fine rasps work more slowly but produce smoother results.
Choosing the Right Wood Rasp
Selecting the appropriate rasp depends on your project requirements. Consider these factors:
Material removal needs: If you need to remove a lot of wood quickly, start with a coarse rasp. For refining shapes and smoothing surfaces, choose a medium or fine rasp.
Wood hardness: Softer woods like pine work well with medium-tooth rasps, while hardwoods like oak or maple benefit from coarser teeth that can bite through the dense grain.
Surface area: Flat rasps work best on large, flat surfaces. Half-round rasps offer versatility for both flat and curved surfaces. Round rasps excel at shaping tight curves and interior contours.
Quality matters: Invest in a well-made rasp with properly cut teeth. Cheap rasps can leave uneven surfaces and wear out quickly, making your work harder and less precise.
Preparing Your Workspace
Before you begin rasping, set up your workspace properly. Secure your workpiece firmly using a vice, clamps, or bench dogs. The wood should be stable enough that it won’t move while you’re working, but positioned so you have comfortable access to the area you’re shaping.
Good lighting is essential. Position your work so you can clearly see the surface you’re rasping and identify any imperfections or areas that need more attention.
Keep your rasp clean and free of wood dust. A wire brush or rasp card (a specialised cleaning tool) will help clear the teeth between strokes, maintaining the tool’s effectiveness.
Basic Rasping Technique
Proper technique makes all the difference when using a wood rasp. Follow these steps for the best results:
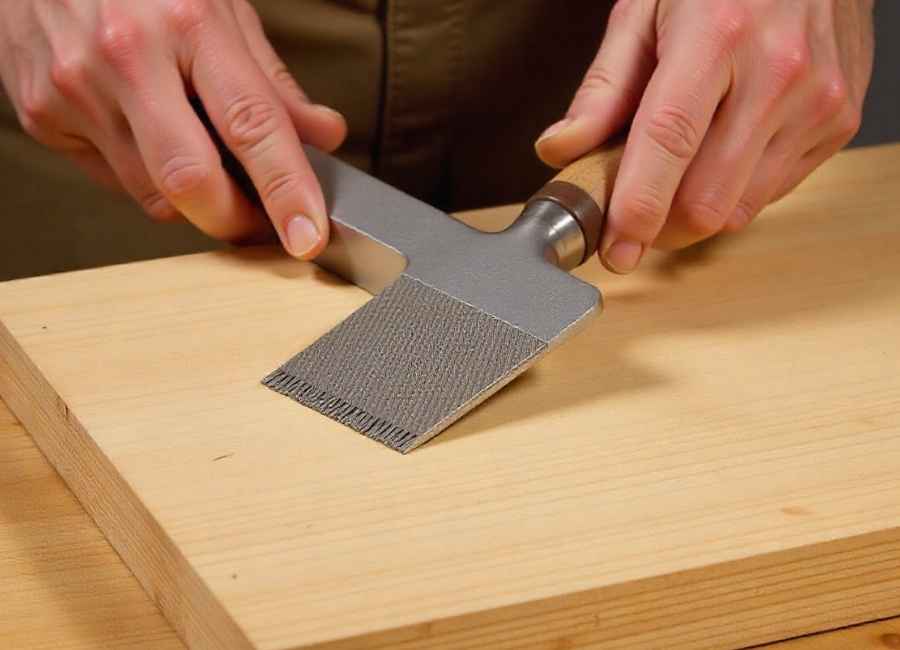
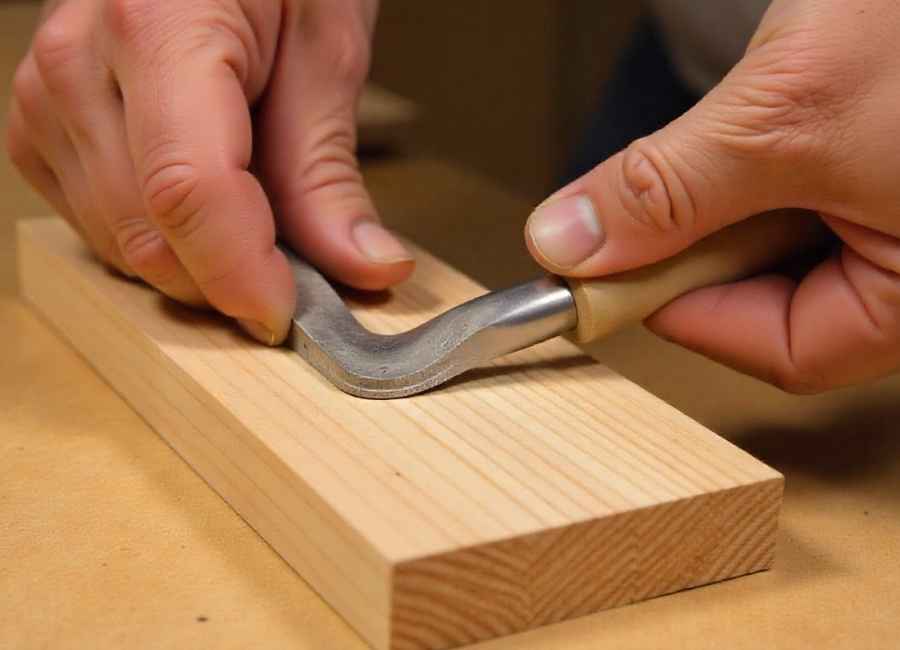
Hold the Rasp Correctly
Grip the handle firmly with your dominant hand. Place your other hand on the tip or nose of the rasp to guide and apply pressure. This two-handed approach gives you better control and prevents the rasp from skipping or digging in unevenly.
Use Push Strokes
Rasps cut on the push stroke, not the pull. Apply steady, even pressure as you push the rasp forward across the wood. Lift the rasp slightly on the return stroke to preserve the teeth and maintain efficiency.
Work at an Angle
Rather than pushing straight along the grain, angle your strokes at approximately 45 degrees. This cross-grain approach removes material more efficiently and helps prevent tear-out. Alternate the angle of your strokes to achieve an even surface.
Apply Consistent Pressure
Use moderate, steady pressure throughout each stroke. Too much pressure tyres you out quickly and can cause the rasp to dig in unevenly. Too little pressure wastes time and produces inconsistent results.
Check Your Progress Frequently
Stop regularly to feel the surface with your hand and visually inspect your work. This helps you identify high spots, uneven areas, and sections that need more attention before you’ve gone too far.
Advanced Rasping Tips
Once you’ve mastered the basics, these techniques will help you achieve professional results:
Follow the grain: After initial shaping, align your final strokes with the wood grain whenever possible. This reduces visible rasp marks and creates a smoother surface for sanding.
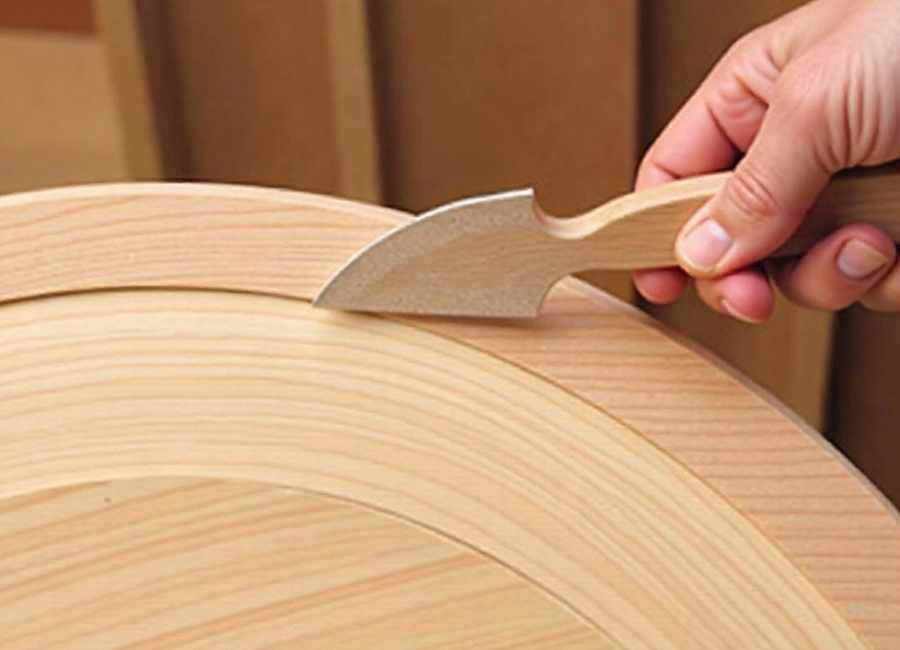
Use sweeping motions for curves: When shaping curved surfaces, use long, sweeping strokes that follow the contour. This creates smooth, flowing lines rather than flat spots or facets.
Blend transitions carefully: Pay special attention to areas where curves meet flat surfaces or where different contours join. Take your time blending these transitions smoothly for a professional appearance.
Progress through grits: Start with a coarse rasp to remove bulk material, then move to medium and fine rasps for refinement. This progression saves time and produces better results than trying to do everything with one rasp.
Common Mistakes to Avoid
Even experienced woodworkers can fall into these traps:
Rasping too aggressively: Trying to remove too much material too quickly leads to gouges, uneven surfaces, and loss of control. Be patient and let the rasp do the work.
Neglecting to clean the rasp: Clogged teeth reduce cutting efficiency and can leave burnished spots on your wood. Clean your rasp frequently during use.
Using the wrong rasp: Forcing a fine rasp to remove heavy material or using a coarse rasp on delicate work creates more problems than it solves. Match your tool to the task.
Ignoring grain direction: While cross-grain rasping works well for bulk removal, finishing strokes should respect the grain to minimise visible marks.
Skipping intermediate steps: Jumping from a coarse rasp directly to sandpaper leaves deep scratches that require excessive sanding to remove. Use progressively finer rasps before switching to abrasives.
Maintaining Your Wood Rasp
Proper care extends the life of your rasp and maintains its performance:
Clean the teeth after each use with a wire brush or rasp card, working in the direction of the teeth. Store rasps separately or in protective sleeves to prevent the teeth from becoming damaged or dulled by contact with other tools.
Never use rasps on metal, plastic, or other hard materials unless they’re specifically designed for those purposes. Wood rasps are meant for wood and will quickly dull on harder substances.
If your rasp becomes clogged with pitch or resin, try brushing with mineral spirits or a dedicated pitch remover before cleaning with your wire brush.
When to Use a Rasp vs. Other Tools
Rasps occupy a specific niche in woodworking. They excel at:
- Shaping curved surfaces that would be difficult with planes or chisels
- Removing material in areas where power tools can’t reach
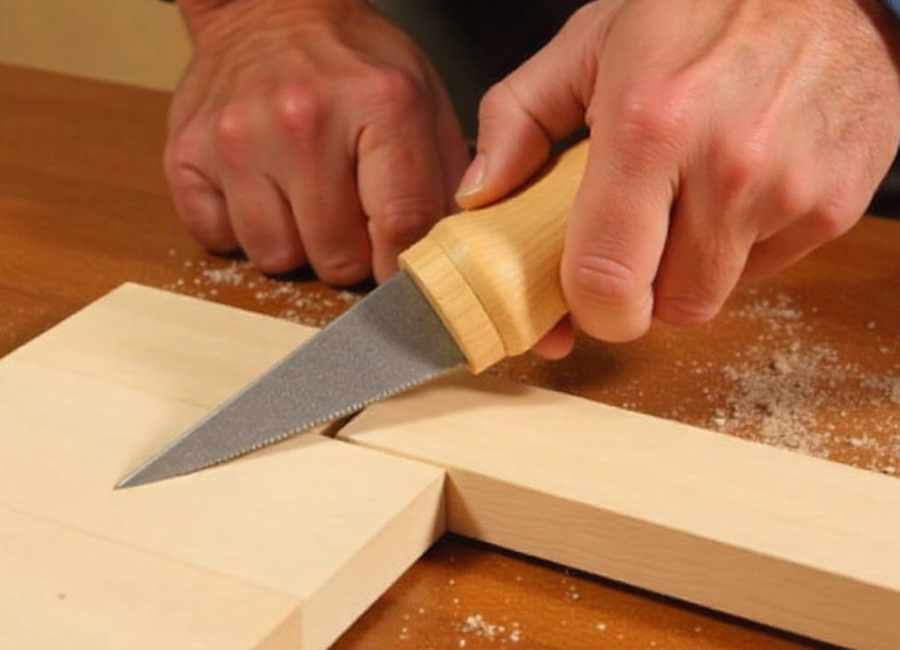
- Fine-tuning joints and fitting pieces together
- Creating organic, flowing shapes
- Refining carved details
However, they’re not ideal for creating perfectly flat surfaces (use planes), removing large amounts of material quickly (use saws or power tools), or achieving ultra-smooth finishes (use sandpaper or scrapers).
Practice Makes Perfect
Like any hand tool skill, rasping improves with practice. Start with scrap wood to get a feel for how different rasps cut and how much pressure to apply. Experiment with various stroke angles and patterns to see what works best for different situations.
Pay attention to how the wood responds. Different species, grain patterns, and moisture contents all behave differently under a rasp. Building this intuitive understanding will make you more effective and efficient over time.
Ready to Shape Your Next Project?
Mastering the wood rasp opens up new creative possibilities in your woodworking. This humble hand tool provides the control and precision needed for shaping curves, refining details, and adding those finishing touches that make your projects stand out.
Start with the basics: choose the right rasp, secure your workpiece properly, and use controlled push strokes at an angle to the grain. As you gain confidence, experiment with different techniques and progress to more complex shaping tasks.
Remember, the best way to improve is to practice. Grab a rasp, find some scrap wood, and start shaping. Your hands will quickly learn what your mind already knows.rive in unique ways.