


Acrylic sheets, or plexiglass, are used for everything from displays to protective covers for 3D printers. They are clearer and about ten times more impact-resistant than glass, making them great for both professionals and DIYers. (Properties – ACRYLITE®, n.d.) With so many colors and sizes available, you have endless creative options.
While acrylic is strong, cutting it can seem daunting. Many people worry about cracking or chipping the material, which can ruin an expensive sheet. The good news is that with the right tools and techniques, cutting acrylic can be a straightforward process.
This article will show you the best ways to cut acrylic sheets. We’ll begin with laser cutting, then cover five other common methods using regular woodworking tools. By the end, you’ll know how to make clean, professional cuts without damaging your acrylic.
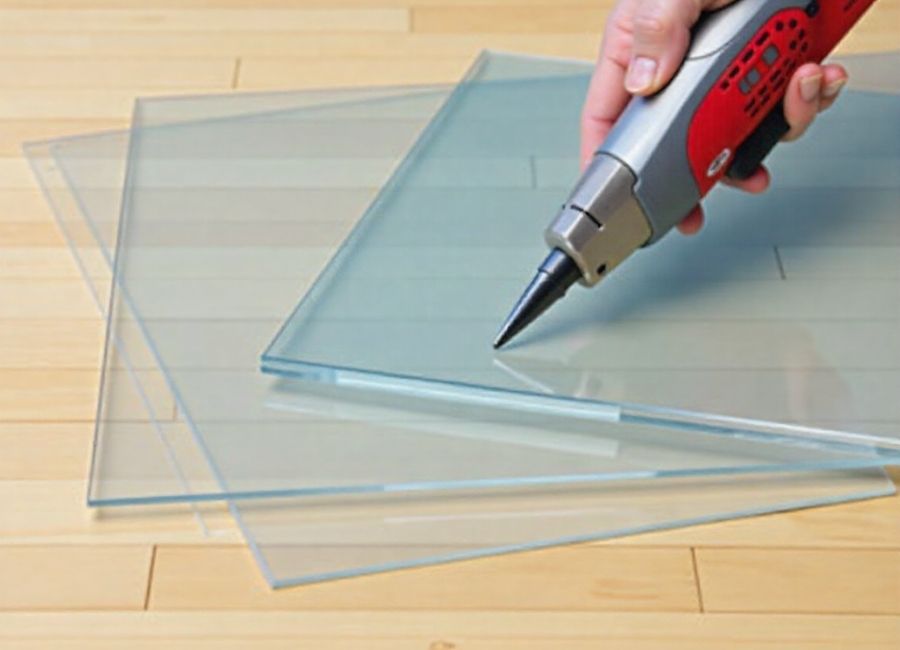
The Best Way to Cut Acrylic: Laser Cutting

Let’s start with the top choice: laser cutting. Cutting acrylic with a laser has big advantages over manual methods. The laser’s focused heat melts and vaporizes the material along a precise line (All About Acrylic Laser Cutting, n.d.). Because there’s no contact, the sheet isn’t stressed, which almost eliminates the risk of cracking or chipping (OPTIX® ACRYLIC SHEET, 2023).
Since the laser is computer-controlled, it can cut complex shapes and smooth curves with perfect accuracy (How Laser Cutting Handles Complex and Intricate Shapes, n.d.). Handheld tools can’t easily match this level of precision.
There are different types of lasers, but CO2 lasers are best for cutting acrylic. They work well on many colors, including clear and light shades (Material Processing Guide – xTool Support Center, n.d.). Diode lasers can cut acrylic, too, but they often have trouble with lighter colors (Diode Tested Materials: Houston Acrylic, n.d.). Since acrylic comes in so many colors, a CO2 laser lets you cut any sheet you want (Acrylic – Laser Cutting, n.d.).
5 Other Ways to Cut Acrylic Sheets
Not everyone has a laser cutter at home. Luckily, you can still get great results using regular woodworking tools. Acrylic may look like glass, but it’s much easier to work with.
If you remember only two things about manual cutting, keep these key points in mind:
- Avoid excessive heat. Tools that generate too much heat can melt the acrylic instead of cutting it cleanly. This can leave you with a lumpy, messy edge.
- Prevent unnecessary bending. Acrylic is rigid and can crack if bent too far. Ensure the sheet is well-supported during the cut, and avoid using overly aggressive tools that can cause it to flex and break.
Now that you know the basics, let’s look at five more ways to cut acrylic.
Scoring and Snapping
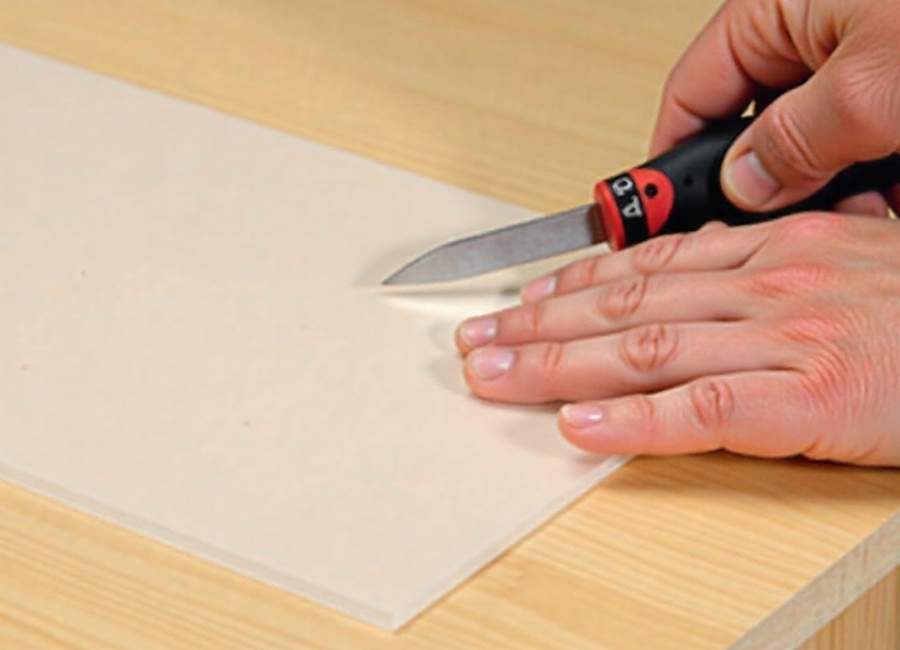
Like cutting glass, you can score acrylic with a sharp blade and snap it along the line. This works best for straight cuts, but with practice, you can score gentle curves too.
For the best results:
- Wear gloves and safety glasses. Breaking acrylic can create sharp edges and send small shards flying.
- Use a straight edge to guide your scoring tool for a clean line. A special scoring blade works best, but a sharp utility knife can also do the job.
- Support the sheet on a flat surface. Do not try to score a line that is hanging over the edge of a table.
- Apply steady, even pressure. You don’t need to cut all the way through—just make a groove about a quarter of the way deep. Try practicing on a scrap piece to find the right pressure.
- After scoring, place the sheet on the edge of a workbench so the score line lines up with the edge. Hold the main part of the sheet down and press quickly and evenly on the overhanging piece. The sheet should snap cleanly along the line.
This method can leave a rough edge, so you might need to sand it for a smoother finish.
Jigsaw or Coping Saw
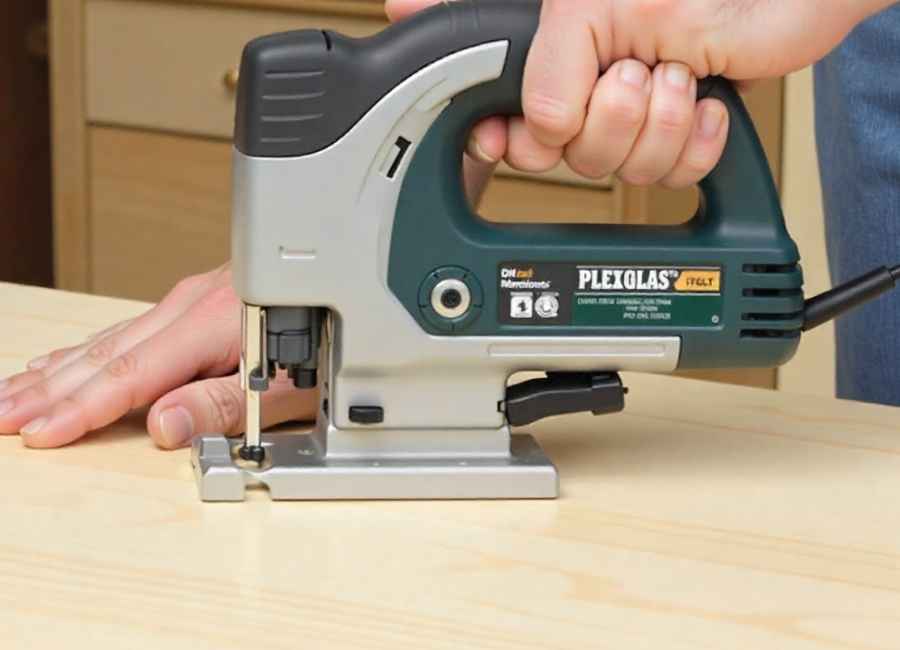
Jigsaws and coping saws are great for cutting curves (Cutting PLEXIGLAS®, n.d.). Here’s how to use them well:
- Protect the surface. Acrylic scratches easily. Leave the protective paper film on if it’s still there. If not, apply masking tape along the cut line to prevent marks from the saw’s base.
- Choose the right blade. A fine-toothed blade, like one made for cutting metal, works best. Avoid rough wood-cutting blades, as they can chip the acrylic.
- Support the material. Ensure the sheet is held firmly to prevent it from bouncing against the saw blade, which can cause the sheet to crack.
- Cut slowly. If your jigsaw has an adjustable speed, set it low to reduce heat. If the acrylic starts to melt, use water or alcohol as a coolant to help make a smoother cut.
- Turn off the orbital action on your jigsaw to ensure the blade moves straight up and down.
Bandsaw
A bandsaw is like a jigsaw for cutting curves, but it’s more stable (CAST ACRYLIC SHEETS & BLOCKS, n.d.). Use the same tips as above:
- Use a fine-pitch blade suitable for thin metal.
- Keep the blade speed low to avoid heat buildup. Blowing compressed air on the cut can also help keep it cool.
- Mask the surface of the acrylic where it will slide against the saw’s table to prevent scratches.
Table Saw or Circular Saw

A table saw is great for making long, straight cuts and cutting large sheets into smaller pieces (Cutting – ACRYLITE®, n.d.). You can get similar results with a circular saw and a straightedge guide.
When using a table saw, consider sandwiching the acrylic between two pieces of sacrificial material. When using a table saw, try placing the acrylic between two pieces of scrap wood, like plywood or MDF. This supports the sheet on both sides as the blade cuts through and helps prevent chipping. Using a zero-clearance insert on your saw also helps a lot. A very fine-toothed wood finishing blade can work. Avoid rough-cutting or ripping blades.
Drilling
Drilling holes in acrylic isn’t cutting, but it follows the same rules. Use drill bits made for plastic or with a sharp angle. Drill slowly to avoid heat and support the sheet to prevent cracks.
How to Get a Professional Finish
Manual cutting often leaves a dull or rough edge. That might be fine for some projects, but you can easily sand and polish the edges for a more professional look.
- Sanding: Begin with 120-grit sandpaper and move up to finer grits like 220 or 400. Sand until the saw marks are gone, then switch to the next grit. If you use a power sander, keep it moving so the acrylic doesn’t melt.
- Polishing: After sanding with very fine grit, you can get a glossy, clear edge using a polishing compound. Automotive polishing compounds work well. Apply it with a soft cloth or buffing wheel, and be careful not to create too much heat.
Your Next Cut
You can cut acrylic at home with the right tools and some patience. The main things to remember are to keep the material cool and well-supported to avoid melting or cracking. No matter which method you use, always wear safety glasses and gloves.
With these tips, you can confidently take on your next DIY project and get clean, professional cuts every time. If you’d prefer expert help, services like SendCutSend can deliver perfectly laser-cut acrylic parts to your door.


