Removing an old ceiling fan can transform a room, making way for a modern light fixture or simply a cleaner ceiling line. While it might seem like a job reserved for an electrician, with the right tools and a careful approach, it’s a project most homeowners can tackle themselves. This guide will walk you through the entire process, from turning off the power to patching up the ceiling.
This comprehensive guide breaks down each step required to safely uninstall a ceiling fan. You’ll learn how to prepare your workspace, disconnect the electrical wiring correctly, and leave your ceiling ready for whatever comes next. By following these instructions, you can confidently complete this project and avoid common pitfalls.
Prepare for the Project
Before you even think about touching the fan, you need to prepare your workspace and gather the necessary tools. Proper preparation is the most important step for ensuring your safety and making the job go smoothly.
Turn Off the Power
This is the most critical step. Never work on electrical wiring without first cutting the power to the circuit.
- Locate Your Circuit Breaker Box: This is usually in a garage, basement, or utility closet.
- Identify the Correct Breaker: Most breaker boxes have a diagram labeling which circuit corresponds to each room. Find the one for the room where you’ll be working. If it’s not labeled, you may need to test a few.
- Flip the Breaker: Switch the breaker to the “OFF” position.
- Confirm the Power is off: Go back to the room and try turning the ceiling fan and its light on and off using the wall switch. If they don’t turn on, the power is successfully cut. For an extra layer of safety, use a non-contact voltage tester to confirm there is no live current in the wires.
Gather Your Tools
Having everything you need on hand will prevent multiple trips up and down the ladder. Here’s a list of essential tools for the job:
- Sturdy Ladder: Make sure it’s tall enough to let you work comfortably without overreaching.
- Screwdrivers: You’ll likely need both Phillips head and flathead screwdrivers. A multi-bit screwdriver is a great all-in-one option.
- Non-Contact Voltage Tester: This is a crucial safety tool to verify that the electricity is off before you touch any wires.
- Pliers: A pair of needle-nose pliers can be helpful for handling wires.
- Wire Cutters/Strippers: You may need these to trim or strip wires if you plan to install a new fixture.
- Safety Goggles: Protect your eyes from falling dust and debris.
- Work Gloves: Optional, but they can protect your hands.
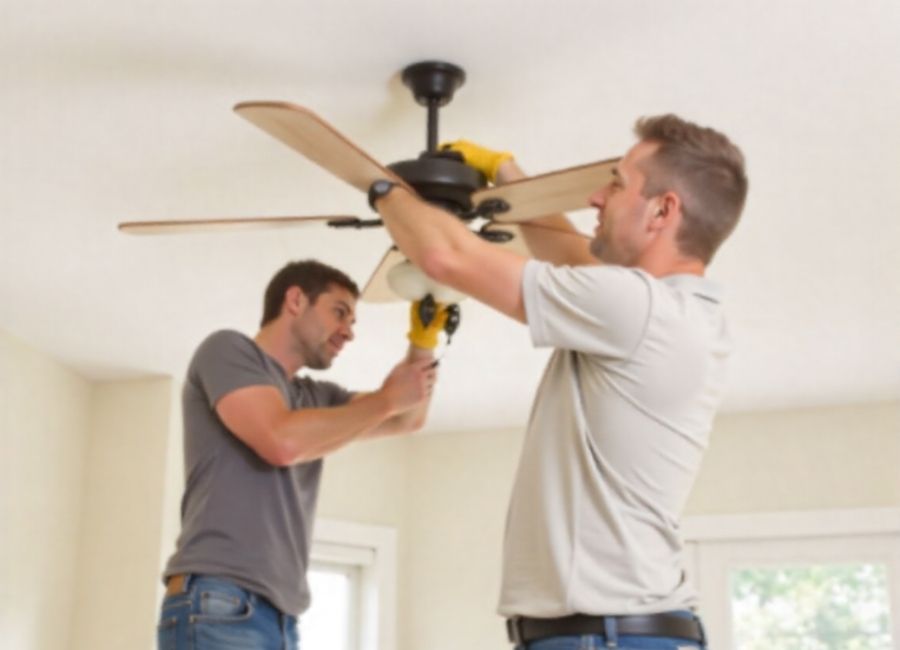
- A Helper: A ceiling fan can be heavy and awkward to handle alone. Having a second person to hold the fan while you disconnect it is highly recommended.
Step-by-Step: Removing the Ceiling Fan
With the power off and your tools ready, it’s time to start the removal process. Work slowly and methodically.
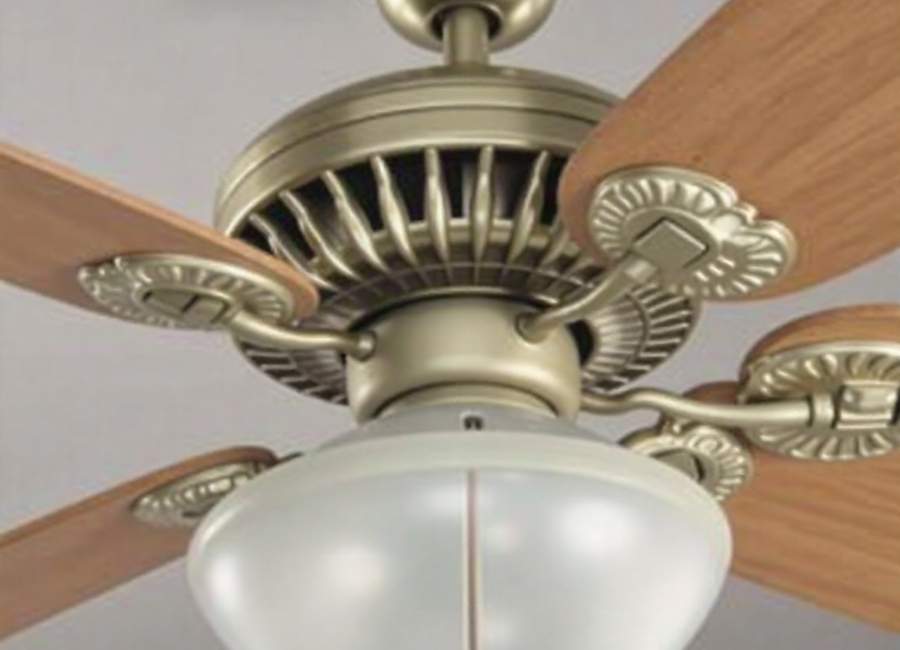
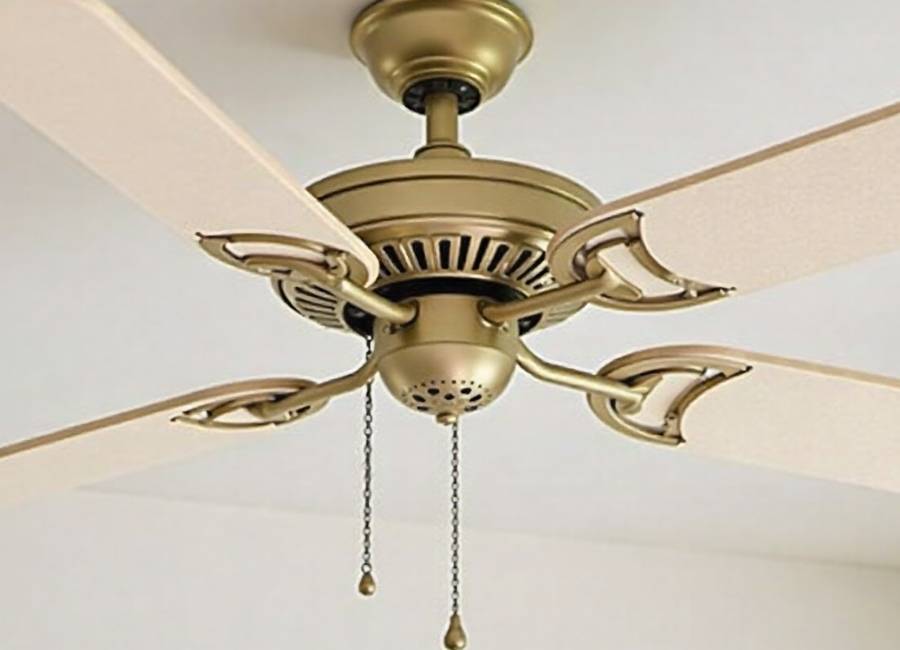
Step 1: Remove the Light Fixture and Fan Blades
Most ceiling fans have a light kit attached. Removing this first, along with the fan blades, will make the fan much lighter and easier to manage.
- Remove Light Bulbs and Globes: Unscrew any light bulbs and carefully remove the glass shades or globes. They are often held in place by small thumbscrews.
- Detach the Light Kit: Look for screws that attach the light fixture housing to the fan motor. Unscrew them and gently lower the fixture. You’ll see a set of wires connecting the light to the fan motor. Unscrew the wire nuts connecting these wires and set the light fixture aside.
- Unscrew the Fan Blades: Each fan blade is attached to a bracket, which is then screwed into the fan’s motor housing. It’s often easiest to unscrew the entire blade and bracket assembly from the motor.
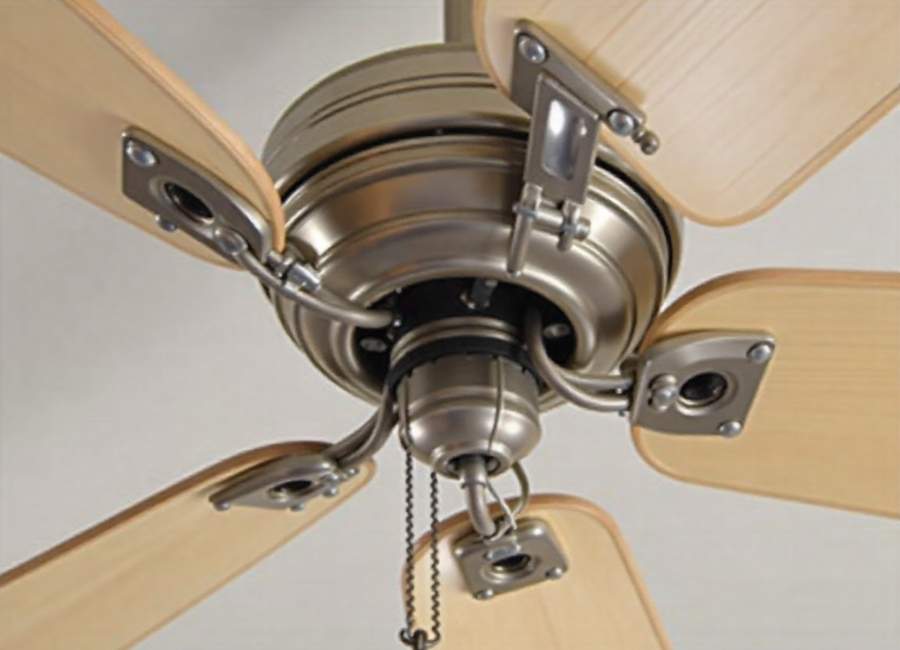
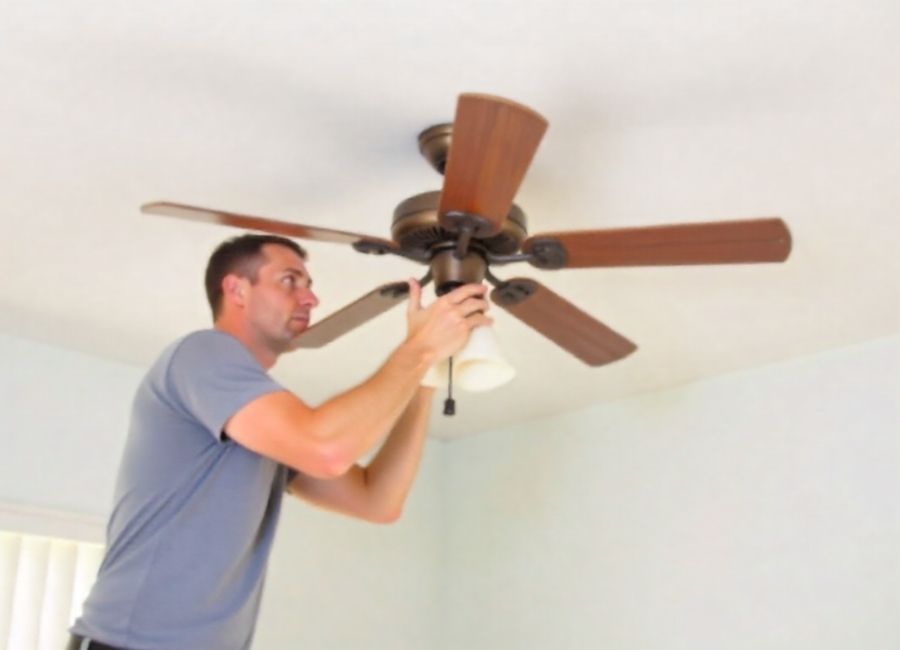
Step 2: Detach the Fan Motor Housing
Now you’re left with the heaviest part of the fan: the motor.
- Remove the Canopy Cover: The canopy is the dome-shaped cover that sits flush against the ceiling, hiding the mounting bracket and wiring. There are usually two or more screws holding it in place. Loosen them and slide the canopy down the downrod to expose the wiring and mounting hardware.
- Support the Fan Motor: This is where a helper is invaluable. Have them hold the weight of the fan motor so it doesn’t fall when you disconnect it. If you’re working alone, some fans have a small hook on the mounting bracket that allows you to hang the motor while you work on the wires.
- Disconnect the Wiring: Use your voltage tester one last time to confirm there is no power. You should see three wires coming from the ceiling: a black (hot), a white (neutral), and a green or bare copper (ground) wire. They will be connected to the fan’s corresponding wires with wire nuts.
- Unscrew the wire nuts, twisting counter-clockwise, to separate the fan wires from the ceiling wires.
- Remove the Fan Motor: With the wires disconnected, you can now unhook the motor from the mounting bracket. Carefully hand the motor down to your helper or carry it down the ladder yourself.
Step 3: Remove the Mounting Bracket
The final piece attached to the ceiling is the mounting bracket.
- Unscrew the Bracket: The bracket is screwed directly into an electrical box in the ceiling. Use your screwdriver to remove these screws.
- Inspect the Electrical Box: Once the bracket is off, take a look at the electrical box. It should be securely fastened to a ceiling joist or a support brace.
What to Do After Removal
Once the fan is down, you have a few options for what comes next.
- Installing a New Light Fixture: If you’re replacing the fan with a light, you can now install the new fixture’s mounting bracket and follow its installation instructions. The wiring process will be the reverse of the removal: connect black to black, white to white, and ground to ground.
- Covering the Electrical Box: If you no longer want a fixture in that spot, you can’t just plaster over the electrical box. Building codes require that electrical junction boxes remain accessible. (Can Junction Boxes Be Behind Drywall? Complete Code Compliance Guide, 2025) You can purchase a simple, paintable ceiling box cover from any hardware store to safely and discreetly cover the opening.
Safely Complete Your DIY Project
Removing a ceiling fan is a straightforward task that can open up new possibilities for your space. The key to a successful project is prioritizing safety at every step. By turning off the power, using the right tools, and taking your time, you can handle this home improvement task like a pro. Whether you’re upgrading to a new fixture or enjoying a cleaner ceiling, you’ll have the satisfaction of a job well done.