


If you’re getting into woodworking, you’ve probably noticed that your finished projects depend a lot on the quality of your materials. Lumber from big-box stores is convenient, but it’s usually not perfectly flat or straight. That’s why tools like jointers and planers are so important.
A lot of beginners think a planer is what you use to make a board flat (Jointer/Planer Combo Machines, 2022). This mix-up can cause frustration and waste wood. Both jointers and planers shape wood, but they do different jobs that work together. Knowing the difference is important before you spend money on these tools. This guide will explain what each tool does, why you need both for well-prepared lumber, and which one to buy first.
Understanding Common Wood Defects
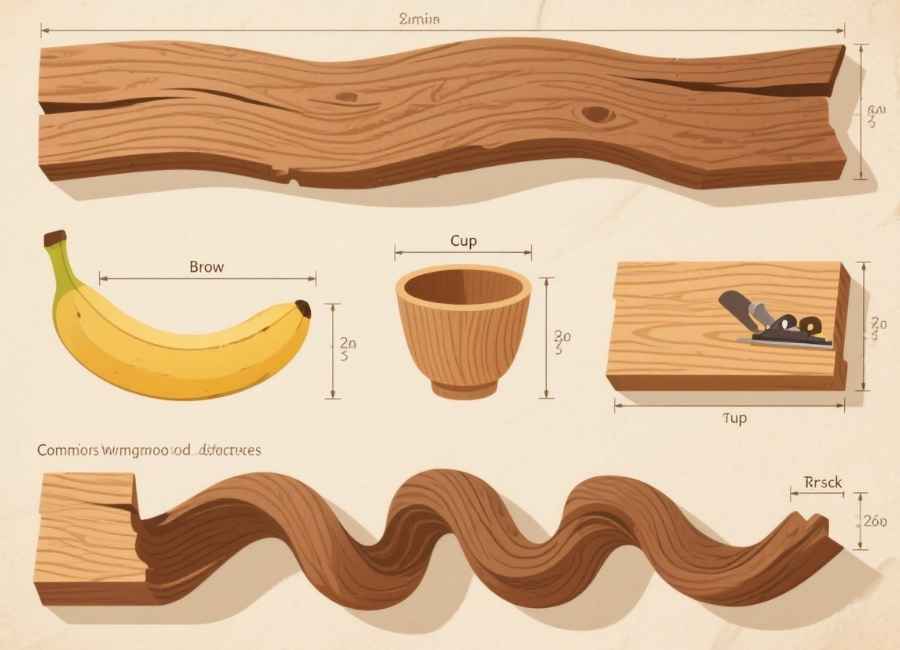
Before we compare the tools, it’s helpful to understand the problems they are designed to solve. Wood is a natural material that expands and contracts, changing shape over time. Even lumber that looks straight at the store can have subtle (or not-so-subtle) imperfections. The most common types of wood warp include:
- Bow: A curve along the length of the board’s face, like a banana.
- Cup: A curve across the width of the board, where the edges are higher or lower than the center.
- Twist: When one or more corners are not on the same plane, causing the board to rock when placed on a flat surface.
Attempting to build with warped wood results in gaps in your joints, unstable assemblies, and an overall unprofessional appearance. (Common Wood Defects: Identification and Solutions, 2025) A jointer and a planer work together to eliminate these defects and produce lumber that is flat, square, and of a consistent thickness—a process often called “milling.” (Jointer – Wikipedia, n.d.)
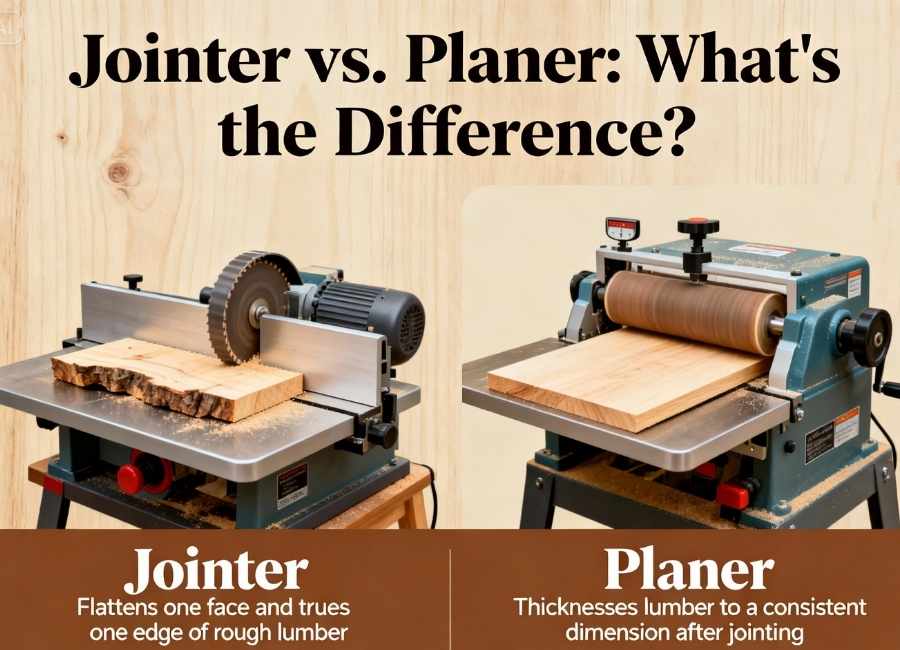
What Is a Jointer and What Does It Do?

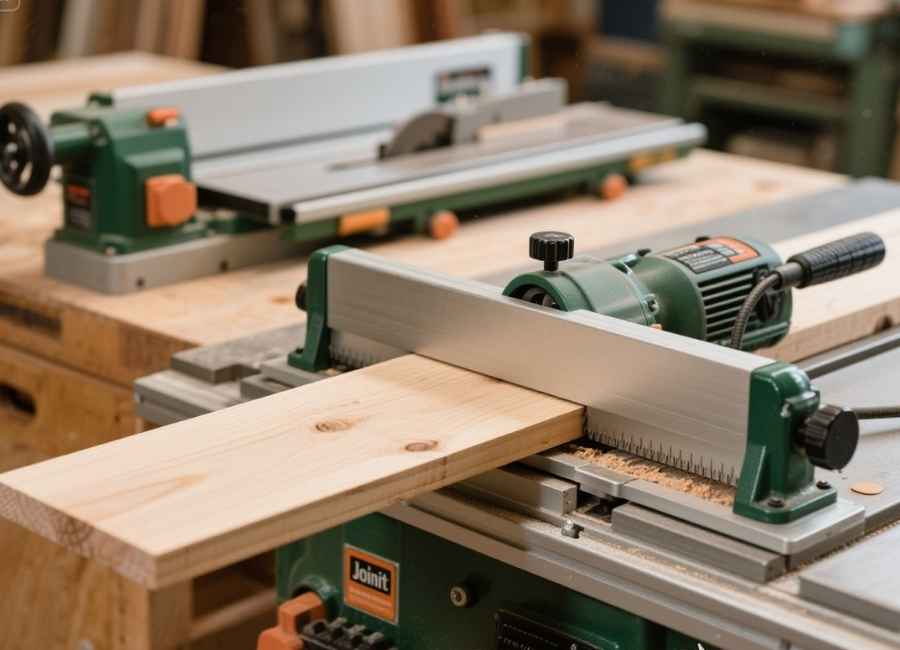
A jointer’s main job is to make one face of a board perfectly flat (Jointer – Wikipedia, n.d.). It can also make one edge perfectly square to that flat face.
A jointer has an infeed Table, an outfeed Table, and a cutting head in between. The outfeed Table is level with the top of the cutter head’s blades, while the infeed Table sits a bit lower. The difference in height sets how much wood is cut off.
To flatten a board, you place it on the infeed Table and push it across the cutter head onto the outfeed Table. Because the outfeed Table supports the newly flattened board, to flatten a board, you set it on the infeed Table and push it over the cutter head to the outfeed Table. The outfeed Table supports the flat part of the board, so the jointer uses that as a guide to remove high spots. It doesn’t press the board flat; it just shaves off wood until the whole face is flat, the bow is gone, and you have one truly flat reference face.
- For a cupped board, it’s safer to put the cupped side facing up, since the board is unstable if it faces down. The jointer will then shave off the high edges until the whole surface is flat.
- With a twisted board, the jointer removes the high, diagonal corners until the whole face sits flat on the Table.
After creating one flat face, you can turn the board on its side and run an adjacent edge over the jointer (with the flat face pressed against the jointer’s fence) to create a perfectly square edge. At this point, you have a board with one flat face and one square edge, which is the perfect starting point for the next tool.
What Is a Planer and What Does It Do?
A thickness planer doesn’t make a board flat. Instead, it makes the board an even thickness and ensures the top face is perfectly parallel to the bottom face (Thickness Planer, n.d.).
A planer pulls the board through with rollers. Inside, a cutter head above the board shaves off a thin layer from the top. The important thing is that the board sits on the bottom deck, while the rollers press down from above.
That’s why a planer alone can’t flatten a warped board.
- If you put a bowed board into a planer, the rollers press the bow flat as it goes through. The planer cuts the board to a uniform thickness, but once it comes out, the board springs back to its bowed shape. You end up with a bowed board that’s evenly thick, but not flat.
- With a twisted board, the rollers press the twist flat against the bed. The result is a board that’s still twisted, but now it’s an even thickness along the twist.
A planer needs a flat surface to start with to work well. That’s why it works best with a jointer.
The Perfect Workflow: Jointer and Planer Together
To turn rough lumber into a “four-square” (S4S) board, which is flat and parallel on all sides, you need to use both tools in a certain order.
- Face Jointing: First, use the jointer to make one face perfectly flat. This becomes your main reference surface.
- Edge Jointing: Place the newly flattened faEdge Jointing: Next, put the flat face against the jointer’s fence and run one edge over the cutters. This gives you a second surface that’s square to the first. To the planner. Place it with the jointed (flat) face down on the planer’s deck. The planer will then cut the rough top face, making it perfectly parallel to the flat bottom face. After a few passes, your board will have two flat, parallel faces and be at your desired thickness.
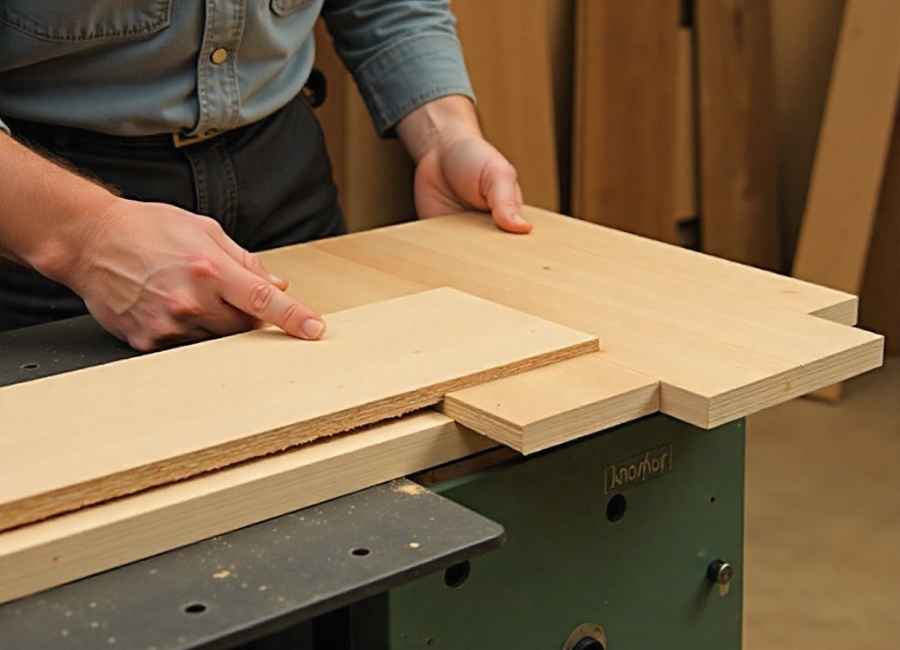
- Ripping to Width: Finally, use a Table saw. Put the jointed edge against the fence and cut the rough edge. This makes the last edge parallel to the jointed edge, finishing your square board.
Which Tool Should You Buy First?
Ideally, you’d have both a jointer and a planer, but they can be expensive. Most woodworkers say that if you can only buy one at first, the planer is more versatile.
Without a jointer, it’s still possible to create a flat reference face for your planer using a planer sled. (Staff, 2022) A planer sled is a simple, flat jig (often made from MDF or plywood) that you secure your warped board to. Using shims to stabilize any rocking or gaps, you can then feed the entire sled through the planer. The planer references the flat bottom of the sled, and its cutters will skim the high spots off your warped board. Once the top is flat, you can remove the board from the sled, flip it over, and plane the other side as you normally would.
This method lets you get the same results as a jointer, though it takes a bit more time to set up. But you can’t easily use a jointer to make a board an even thickness (Jointer – Wikipedia, n.d.).
Elevate Your Woodworking
Starting with flat, square, and evenly thick lumber isn’t just a nice extra—it’s the key to good woodworking. It makes every step after, from cutting joints to putting everything together, easier and more accurate. The jointer gives you a flat surface, and the planer makes the board an even thickness. Together, they’re the best team for getting your wood ready.
If you want to get the most out of your materials and try new things in your projects, buying a planer is a great first move. With a simple homemade sled, you can work with almost any rough lumber and get it ready for your next project.


