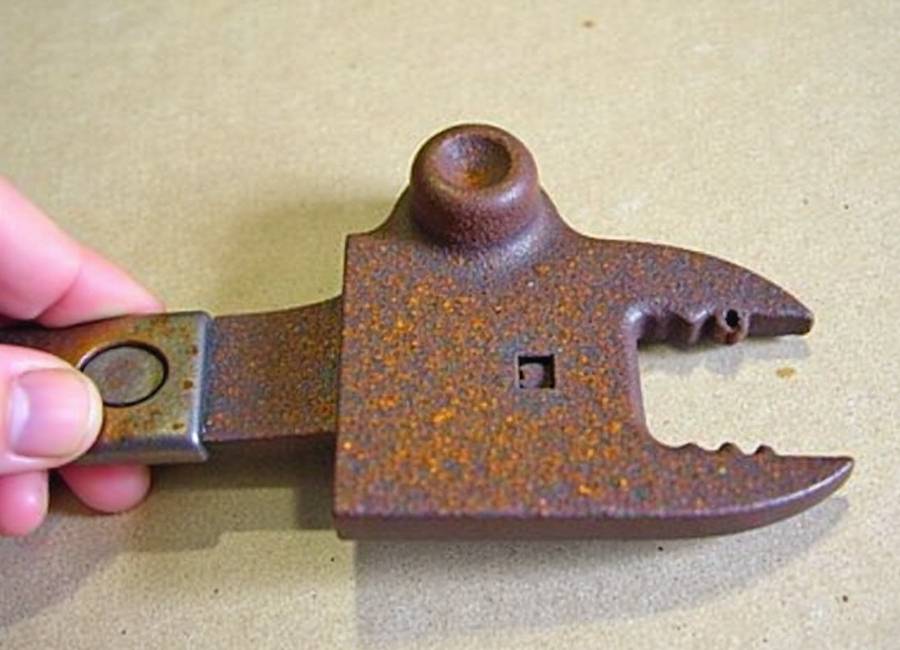
Have you ever found an old tool covered in rust and thought it was no longer useful? Before tossing it out, know that with a bit of work, you can make it look and work like new again. Rust often looks worse than it is and can usually be removed with common household items or a rust remover.
Rust, or iron oxide, forms when iron or steel is exposed to oxygen and moisture over time. (How Does Metal Rust? | Science, Process, & Facts, n.d.) This chemical reaction, known as oxidation, slowly corrodes the metal, creating that familiar reddish-brown flaky coating. (Rusting of Iron – Explanation, Chemical Reaction, Prevention, n.d.) If you’ve ever left tools outside in the rain or stored them in a damp garage, you’ve likely seen this process firsthand.
This guide covers three ways to remove rust from your tools. We’ll look at two easy DIY methods with household items and one commercial rust remover. By the end, you’ll know how to restore your tools and keep them in good shape for years.
What You’ll Need
Before you start, gather your materials. You’ll need protective gear and cleaning supplies, in addition to the rust removal solution you choose.
Protective Gear:
- Gloves
- Safety glasses
Cleaning Supplies:
- Wire brush or steel wool
- Sandpaper (optional)
- Clean cloths or rags
- A container or bowl (for soaking)
Method 1: The White Vinegar Soak
White vinegar is a common way to remove rust because its acetic acid breaks down rust well (rust removal – working by hand, n.d.). This method works best for small tools that you can soak completely.
How to Do It:
- Prepare the solution: Mix equal parts white vinegar and water in a container. Make sure there’s enough to cover your rusty tools.
- Soak the Tools: Place your tools into the vinegar solution, ensuring they are fully submerged.
- Let them sit: Soak the tools for up to 24 hours. The vinegar will dissolve the rust, making it easier to scrub off later. You might see rust flakes come off during soaking.
- Scrub and clean: After soaking, take out the tools and scrub off any leftover rust with a wire brush or steel wool. For tough spots or small grooves, use a smaller brush or sandpaper.
- Rinse and Dry: After the rust is removed, rinse the tools thoroughly. Rinse and dry: Once the rust is gone, rinse the tools well with water to remove any vinegar, then dry them with a clean cloth. hold items. However, it requires a full day of soaking, so it’s not the quickest option.
Method 2: The Baking Soda Paste
If you’re dealing with larger items that can’t be soaked or tools with intricate parts, a baking soda paste is an excellent alternative. Baking soda is alkaline, which allows it to neutralize the acidic materials in rust. (Winter – 2012/2013, 2012)
How to Do It:
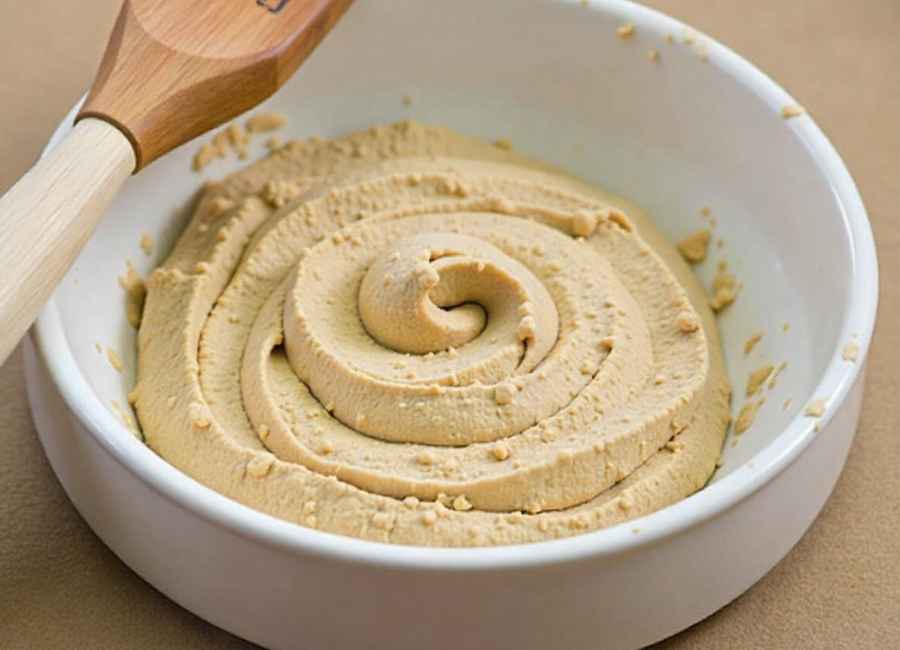
- Create the paste: Mix baking soda with a little water in a bowl until it’s thick like toothpaste.
- Apply to tools: Use a brush or your gloved fingers to spread a thick layer of paste over the rusty spots. Cover all the rust.
- Wait and harden: Let the paste sit for a few hours or overnight. It will dry and form a shell.
- Break down and scrub: Spray a little white vinegar on the dried paste to help break it up. The fizzing will loosen it. Then scrub with a wire brush to remove the paste and rust.
- Rinse and dry: After scrubbing, rinse the tools well to get rid of any leftover paste and rust. Dry them completely to stop new rust from forming.
This method can be rough on surfaces. On painted or coated metals, baking soda and scrubbing might take off some of the finish along with the rust. Test it on a small hidden spot first.
Method 3: Commercial Rust Remover
If you want quick results, use a commercial rust remover. These products are made to dissolve rust fast, often in 30 minutes or less. Many also protect the metal from rusting again for up to a year (AC-10 Rust Remover & Metal Prep, n.d.).
How to Do It:
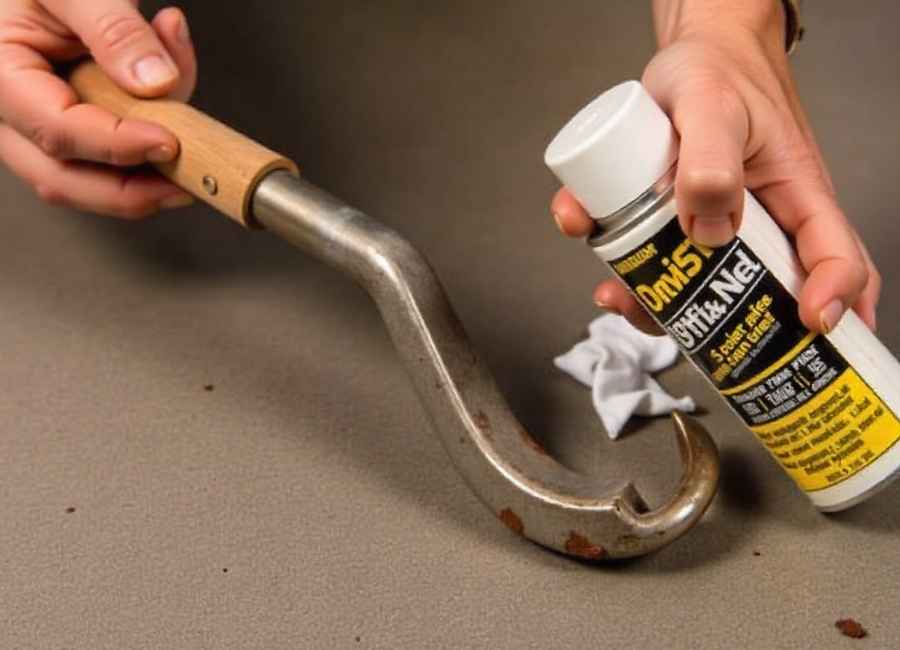
- Apply the product: Follow the instructions on the label and cover all rusty areas with the remover. Work in a well-ventilated space and wear gloves and safety glasses.
- Let it work: Leave the product on for the time listed, usually 15 to 30 minutes. You’ll probably see the rust start to break down right away.
- Wipe and clean: When time’s up, wipe the tool with a clean cloth. The rust should come off easily, showing a clean surface. If any rust remains, scrub lightly.
- Dry and store: Make sure the tool is fully dry before putting it away to help prevent rust from coming back.
This is the fastest method, but also the most expensive. Still, it often makes tools look almost new again.
Choosing Your Best Path to Rust-Free Tools
Restoring rusty tools is simple and can save you money while keeping your gear in good shape. Whether you use a DIY soak, a baking soda paste, or a store-bought remover, the main thing is to get rid of the rust and stop it from coming back.
After cleaning, always dry your tools well. You can also add a thin layer of oil or use a rust-preventing spray to keep them from rusting again. Store them in a dry place, and with a little care, your tools can last for years.