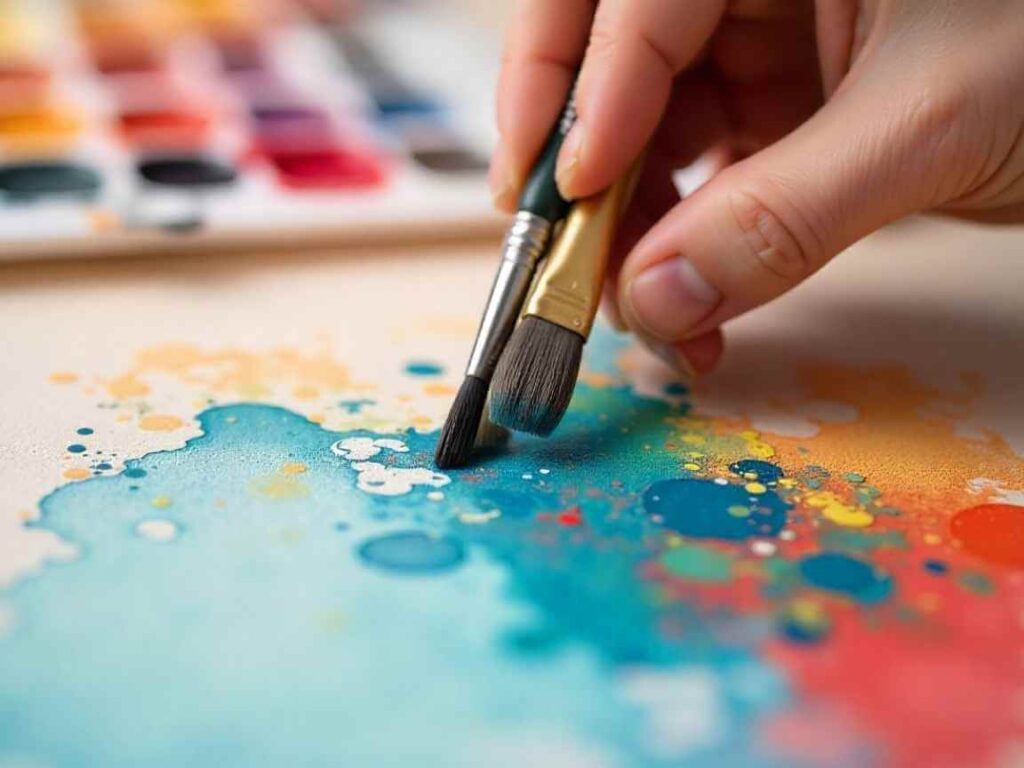
Oil painting can produce beautiful results, but cleaning your brushes afterward might seem overwhelming. Many artists find brush care challenging, which can damage bristles, waste paint, and shorten brush life. Knowing how to clean your oil paint brushes properly helps you save money, keep your tools in good shape, and enjoy painting more.
This guide will show you the key steps for cleaning oil paint brushes, from removing paint to storing them correctly. Whether you are just starting out or have years of experience, these tips will help you keep your brushes in great shape.
Why Proper Brush Cleaning Matters
Oil paint does not actually dry; instead, it hardens through oxidation. (Pizzimenti et al., 2021) If you leave paint on your brushes, it will eventually form a hard layer that can ruin the bristles. Natural hair brushes can be expensive, so taking care of them helps them last longer. (Royal Brush® Boxed Assortment of 144 Natural Hair Paintbrushes, 2025)
Keeping your brushes clean also stops leftover paint from mixing with new colors, which can make your palette look dull and affect your artwork. Cleaning your brushes well helps you achieve bright, clear colors in your next painting.
Essential Supplies for Cleaning Oil Paint Brushes
Before you start cleaning, make sure you have these supplies ready:
- Solvent: Turpentine, mineral spirits, or odorless mineral spirits
- Brush cleaner: Commercial brush cleaners or mild dish soap.
- Paper towels or rags: For wiping excess paint
- Glass jars: Two containers for the cleaning process
- Brush soap: Specialized soap for artists’ brushes (optional but recommended)
Step-by-Step Guide to Rinsing Oil Paint Brushes
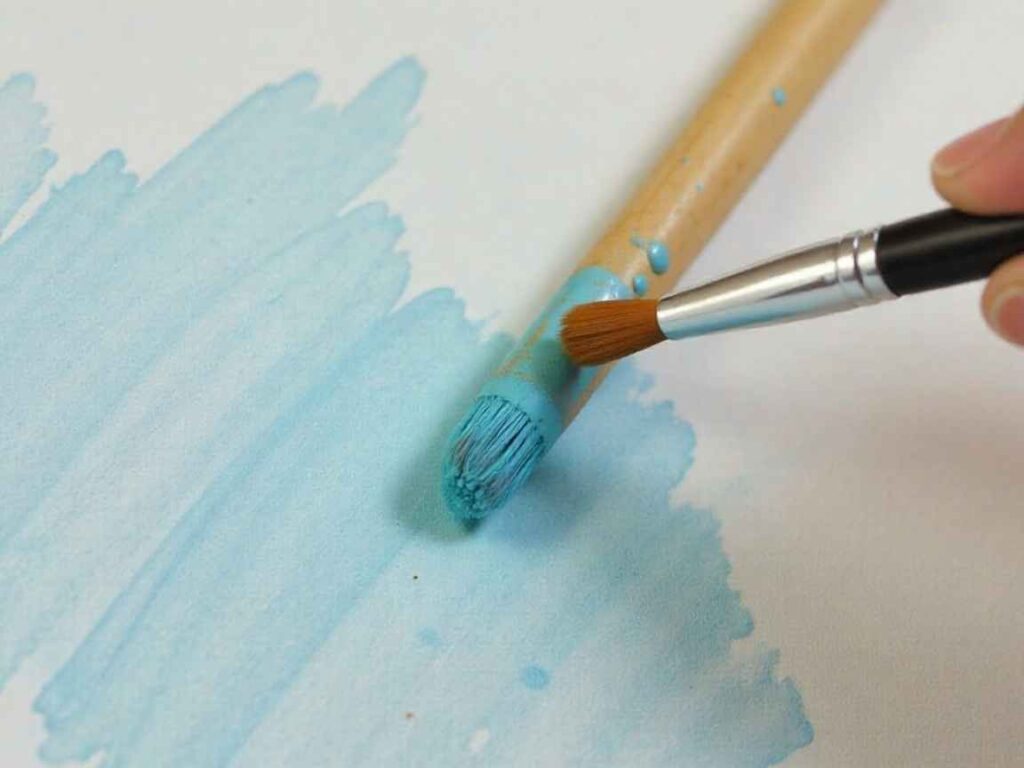
Step 1: Remove Excess Paint
Begin by gently wiping your brush on a paper towel or clean rag. Try to remove as much paint as you can without pressing too hard. Move from the metal part of the brush toward the tip, following the direction of the bristles.
If your Brush has a lot of paint on it, gently squeeze the bristles between folded paper towels. Do not pull or tug, as this can change the shape of the brush.
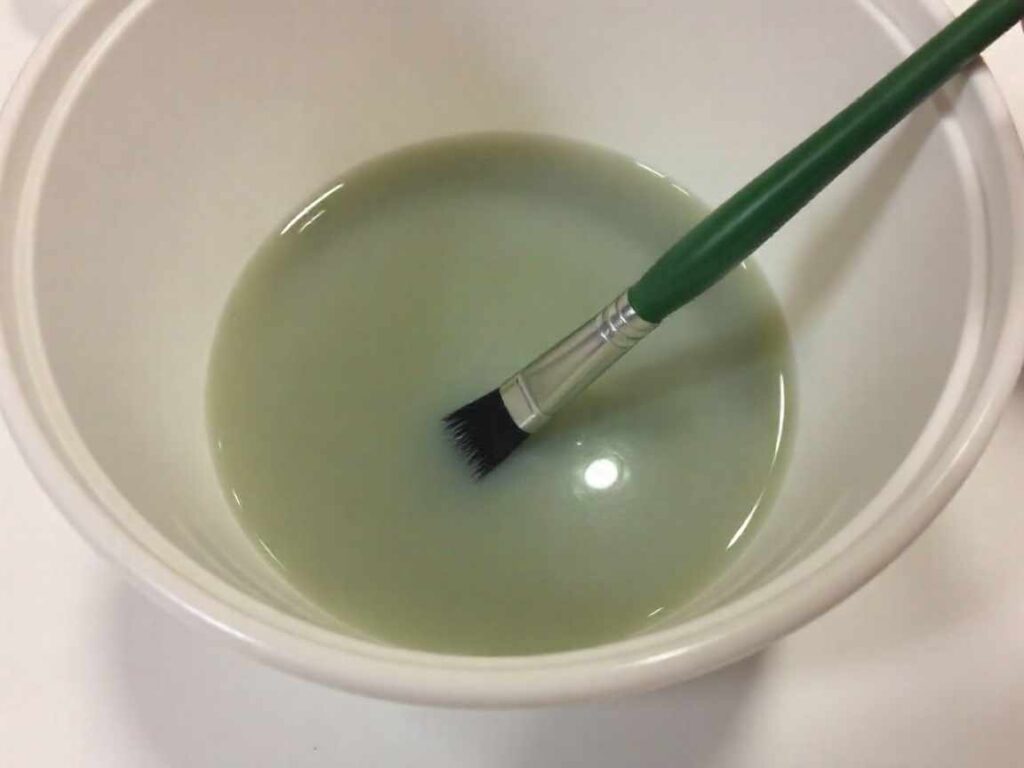
Step 2: Initial Solvent Rinse
Dip your brush into the first container of solvent. Swirl it gently so the solvent can reach the paint. This will start to dissolve the oil paint and make it easier to clean off.
Move the brush in gentle circles against the bottom of the container. You will see paint coming off into the solvent. Keep going until no more paint comes out of the brush.
Step 3: Second Solvent Rinse
Move to your second container of clean solvent for a final rinse. This step removes any remaining paint particles and ensures your brush is thoroughly cleaned. The second container should remain relatively clean, indicating that most paint was removed in the first rinse.
Gently reshape the brush tip while it’s still wet with solvent. This helps maintain the brush’s original form and prevents bristles from splaying.
Step 4: Soap and Water Cleaning
Once you have used the solvent to remove the oil paint, wash your brush with mild soap and lukewarm water. This will get rid of any leftover solvent and oil. Gently work the soap into the bristles with your fingers until you see a light lather.
Specialized brush soaps contain conditioners that help maintain bristle flexibility. These products are particularly beneficial for expensive natural hair brushes like sable or hog bristle. (How to Clean Oil Paint Brushes – HogoNext, n.d.)
Step 5: Final Rinse and Shaping
Rinse the brush well with clean water until all the soap is gone. Gently squeeze out extra water with a towel, then shape the tip of the brush. The bristles should go back to their original point or flat edge.
Alternative Cleaning Methods
Using Commercial Brush Cleaners
Many artists like to use commercial brush cleaners instead of traditional solvents. (Best Brush Soaps for Painters: Top Picks for Cleaner Brushes, n.d.) These cleaners often work more quickly and are less toxic than turpentine. (Oil Painting Without Solvents-What Artists Need to Know, n.d.) Always follow the instructions on the label, since each brand may have its own directions.
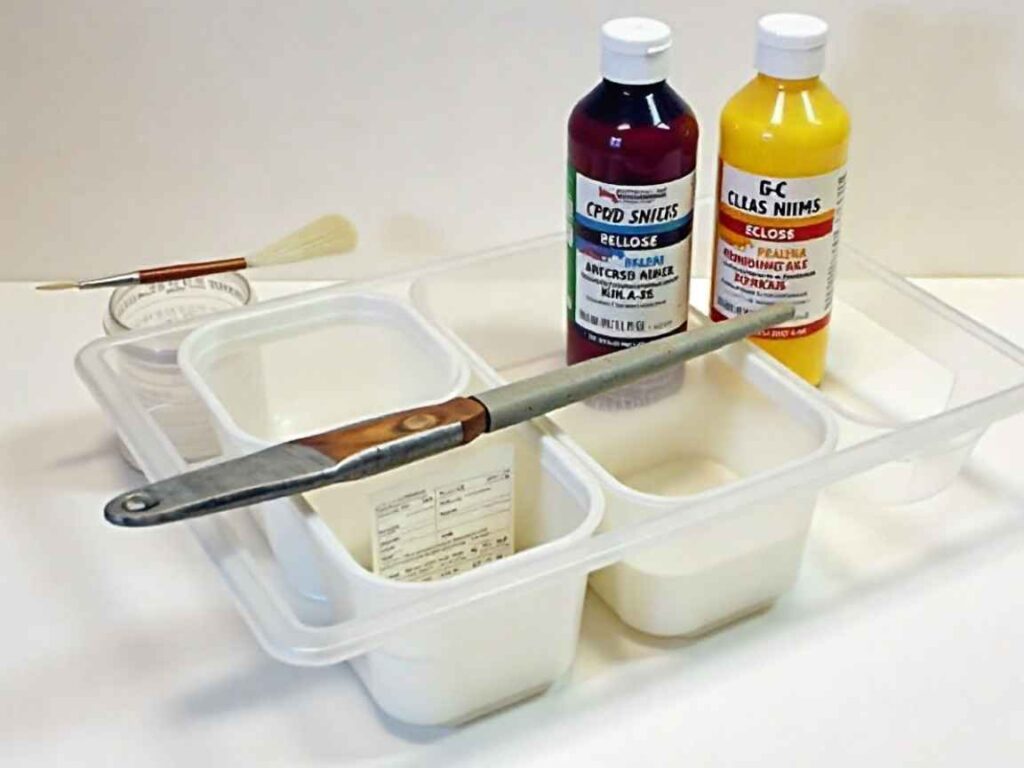
The Two-Container System
Many professional artists use a two-container system for cleaning. (MEEDEN Brush Washer with Dual Oil Pots Set, n.d.) The first container holds used solvent, which gets dirtier as you clean. The second container has fresh solvent for the final rinse. This method helps you use solvent efficiently and clean your brushes well.
Brush Cleaning Tanks
Cleaning tanks with coil springs helps remove paint from brush bristles. (Silicoil Brush Cleaning Tank, n.d.) The spring stirs the bristles and loosens tough paint. These tanks are useful for artists who paint often and want a quick way to clean their brushes.
Proper Brush Storage
Clean brushes keep your brushes in good shape. Store them properly after cleaning. Lay them flat or stand them upright with the bristles facing up. Do not store brushes with the bristles pointing down, as this can bend the tips for good. Erm, storage, ensure brushes are completely dry before putting them away. Moisture trapped in stored brushes can lead to mold growth or ferrule loosening.
Common Mistakes to Avoid
Using Hot Water
Hot water can damage natural bristles and loosen the ferrule. (How to Clean Oil Paint Brushes, 2025) Always use lukewarm or cool water when cleaning brushes.
Soaking Brushes
Do not leave your brushes soaking in solvent or water for a long time. This can make the wooden handle swell, loosen the metal part, or cause the bristles to lose their shape. (Ask the Experts – Making Your Brushes Last, n.d.)
Aggressive Cleaning
Scrubbing brushes harshly against surfaces can damage delicate bristles. (How To Rinse Oil Paint Brushes – Paint Explained, n.d.) Use gentle motions and let the cleaning agents do the work.
Neglecting Regular Cleaning
Clean your brushes right after each painting session to stop paint from drying on the bristles. (Painting Studio Handbook, 2025) Even if you plan to paint again soon, a quick clean will help keep your brushes in good shape.
Maintaining Your Investment
Good oil painting brushes are a big investment for any artist. (How to Clean Oil Paint Brushes: The Ultimate Guide for Artists, n.d.) Cleaning and caring for them properly can make them last for years, so the time you spend cleaning is worth it. Brushes that are well looked after work better, keep their shape, and help you get more consistent results in your art. (Mastering the Cleaning of Oil-Based Paint Brushes, n.d.)
Consider keeping a cleaning log to track which brushes need attention and when you last performed deep cleaning. This systematic approach helps ensure no brush gets neglected.
Keep Your Brushes in Peak Condition
Learning how to clean your brushes well can turn a boring task into a satisfying way to finish your painting sessions. Clean brushes last longer and help you get bright colors and sharp brush strokes in your work.
Try using these cleaning tips after your next painting session. Your brushes and your future paintings will benefit from the extra care. Building good cleaning habits early on will help you throughout your art journey.